Shed Stories: A Printmaker’s Blog
Notes from a small studio in East Devon
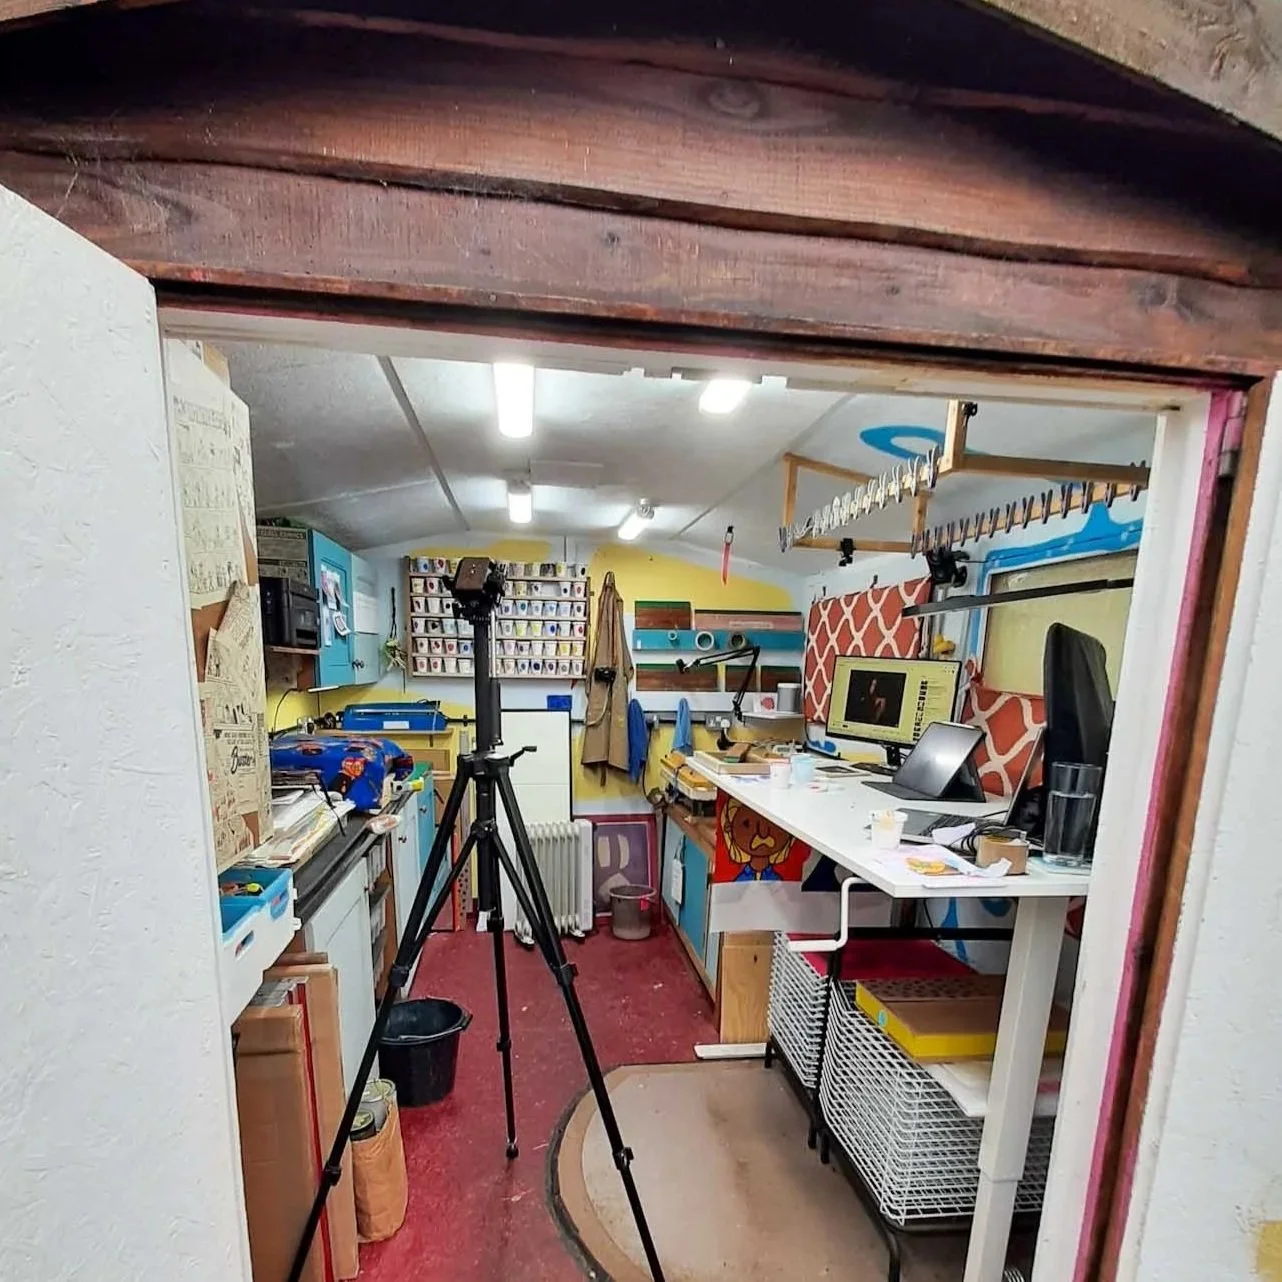
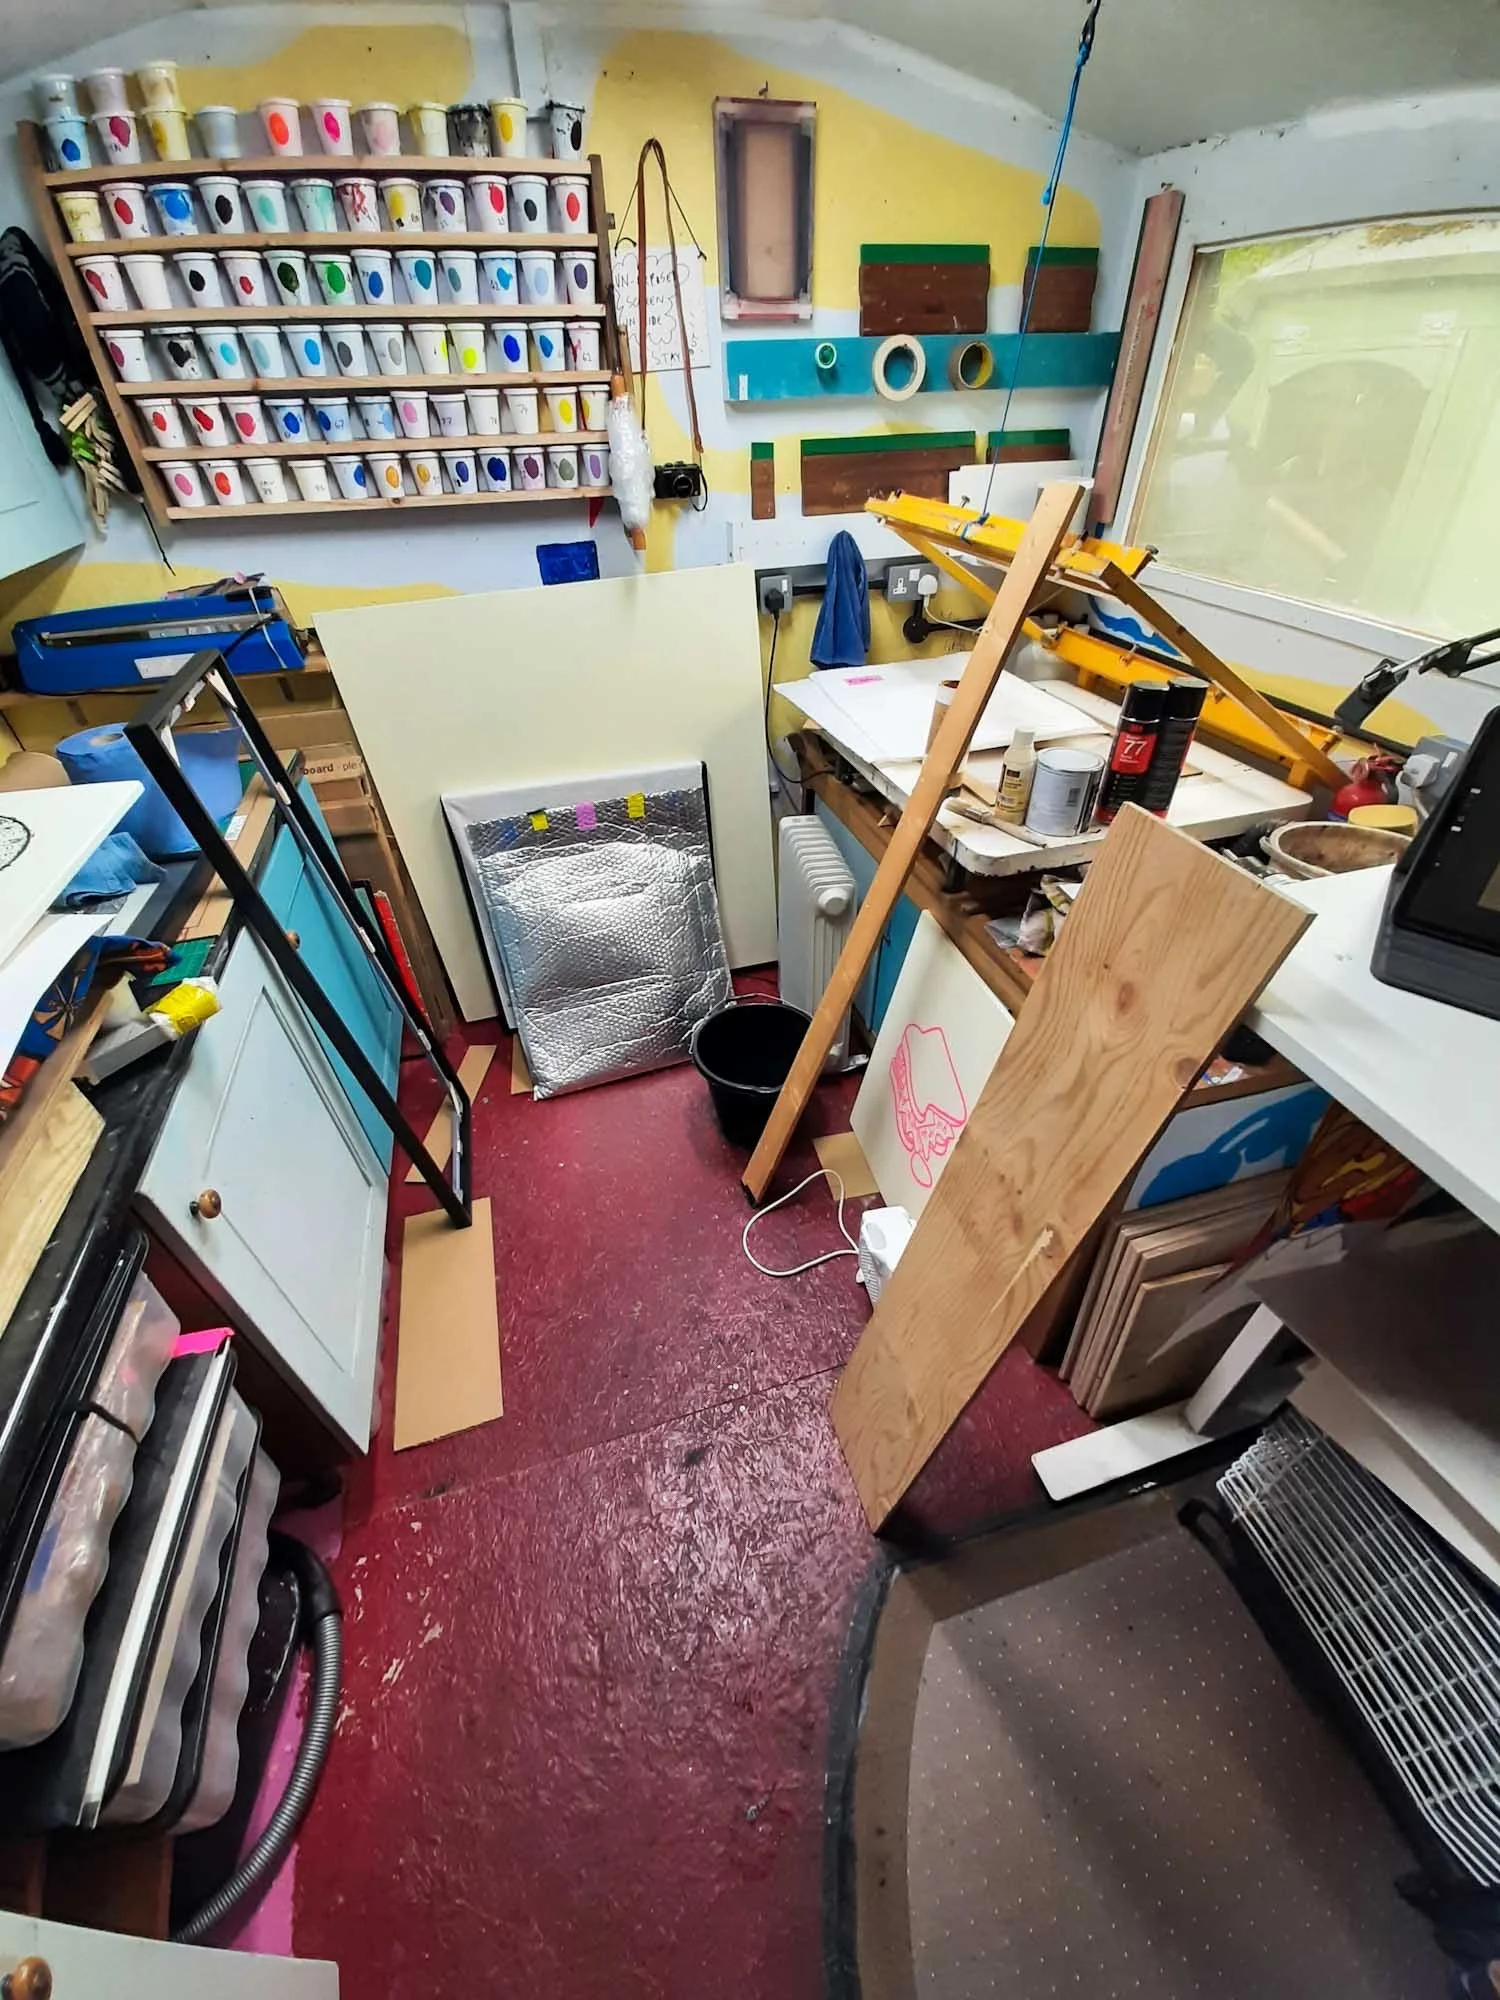
Hi - welcome to my blog about life as an artist and printmaker working from a tiny garden studio in East Devon. After many years of experimenting, improvising, failing, fixing, and occasionally triumphing, I’ve built a studio that lets me work completely independently.
This blog is where I share what I’ve learned along the way — from setting up a small studio to choosing tools and materials, to the techniques and habits that keep me printing.
If you’re new here, start with these posts:
Setting Up a Silkscreen Studio in a Small Space - A tour of my studio and how I make a tiny space work.
Essential Tools for Silkscreen Printing - A simple overview of the equipment I rely on every day.
How to Prepare Screens - A practical guide to one of the most important parts of the process.
What Silkscreen Printing Taught Me About Patience - A more reflective piece about the rhythm of printmaking.
As the blog grows, I’ll be adding deep dives into tools, techniques, studio hacks, and the stories behind my prints. Whether you’re building your own studio or simply curious about the process, I’m glad you’re here.
PICK a post
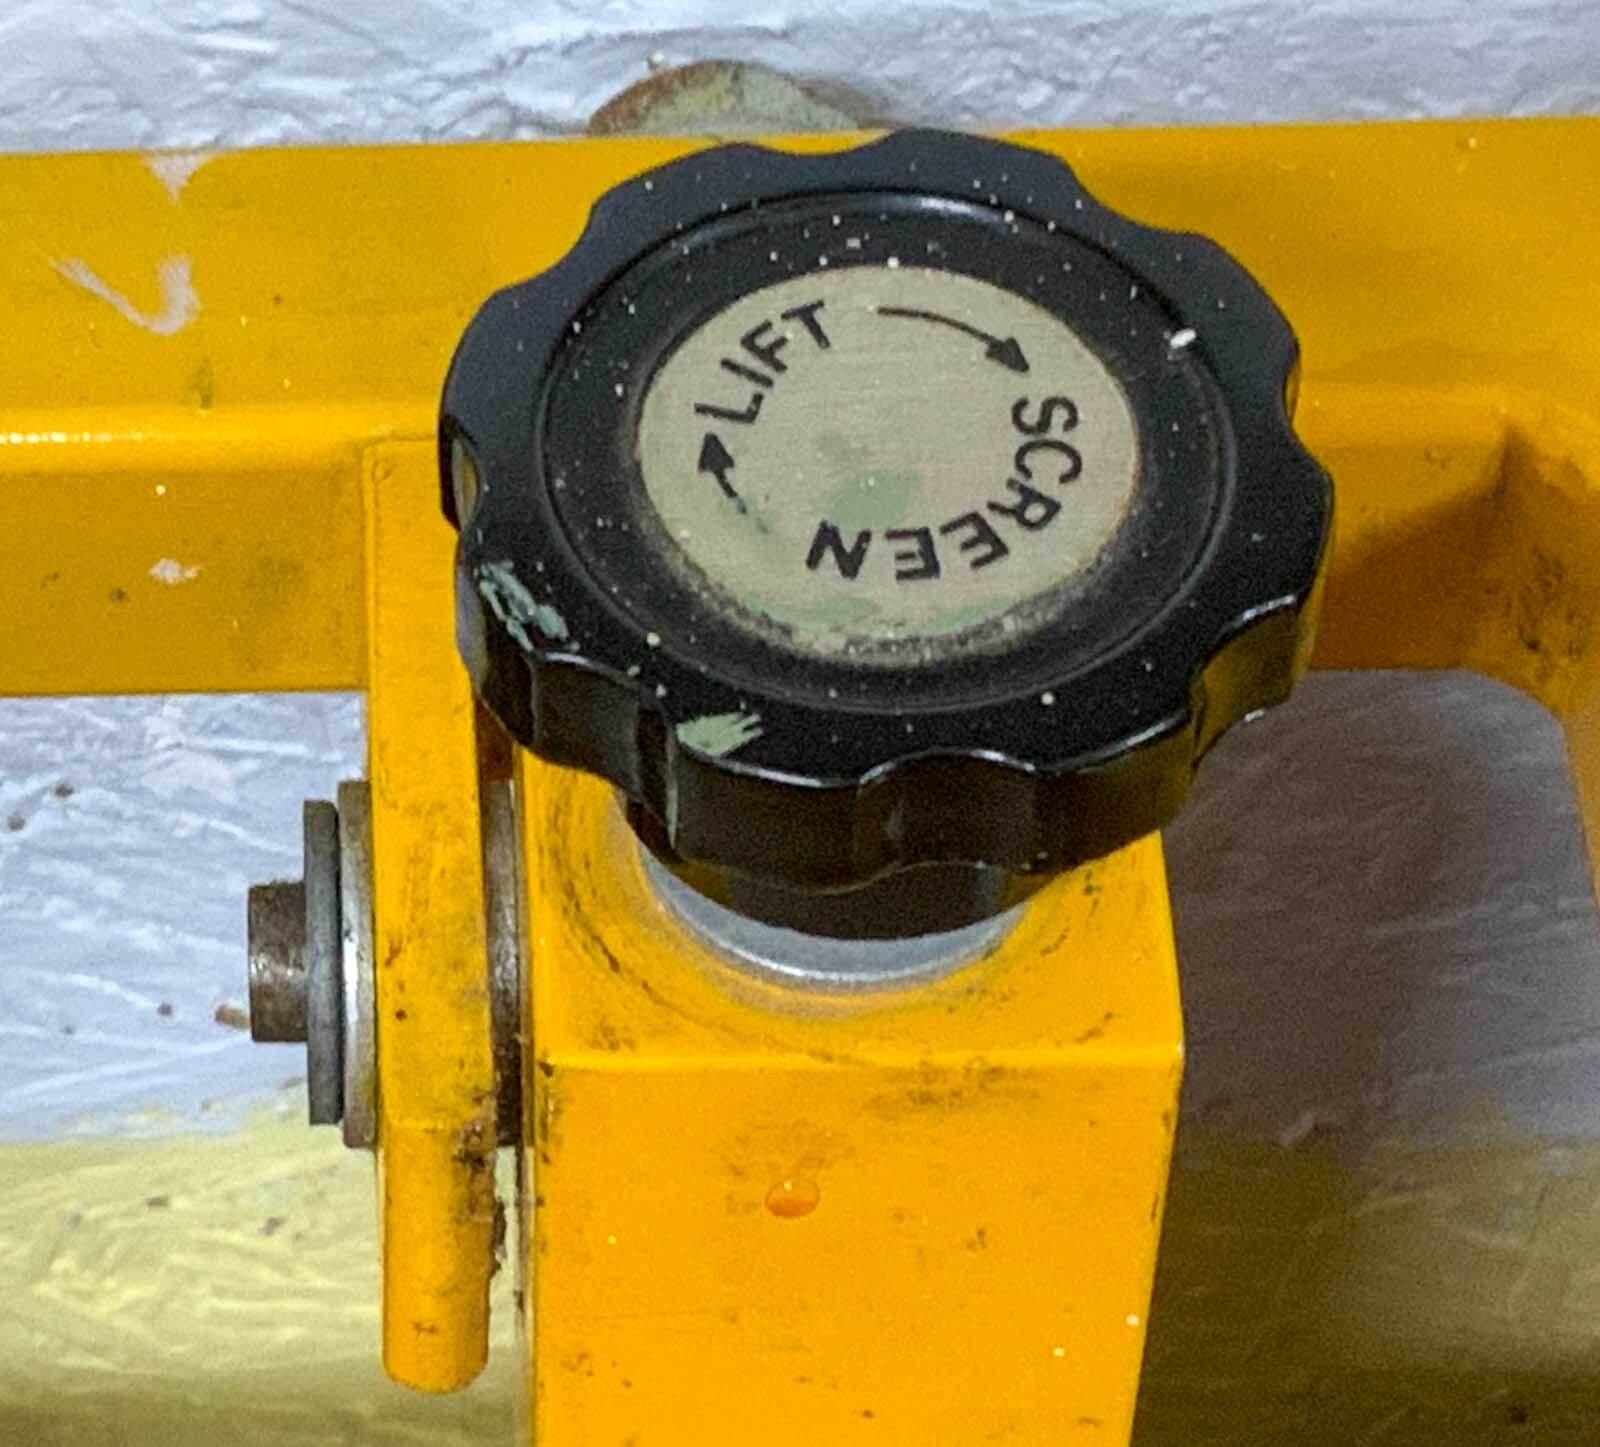
The vacuum table sits at the heart of my screen printing studio. In this post, I take a closer look at how it works, how I’ve adapted it, and why it’s become one of the most important tools in my shed workspace — from the suction system and frame adjustments to the DIY fixes that keep it running smoothly.
Keeping a garden studio comfortable through the seasons isn’t always straightforward. In this post, I share the insulation fixes, DIY window panels and heating solutions that help me manage temperature in my shed studio — including a near‑miss with a kerosene heater that taught me a valuable lesson.
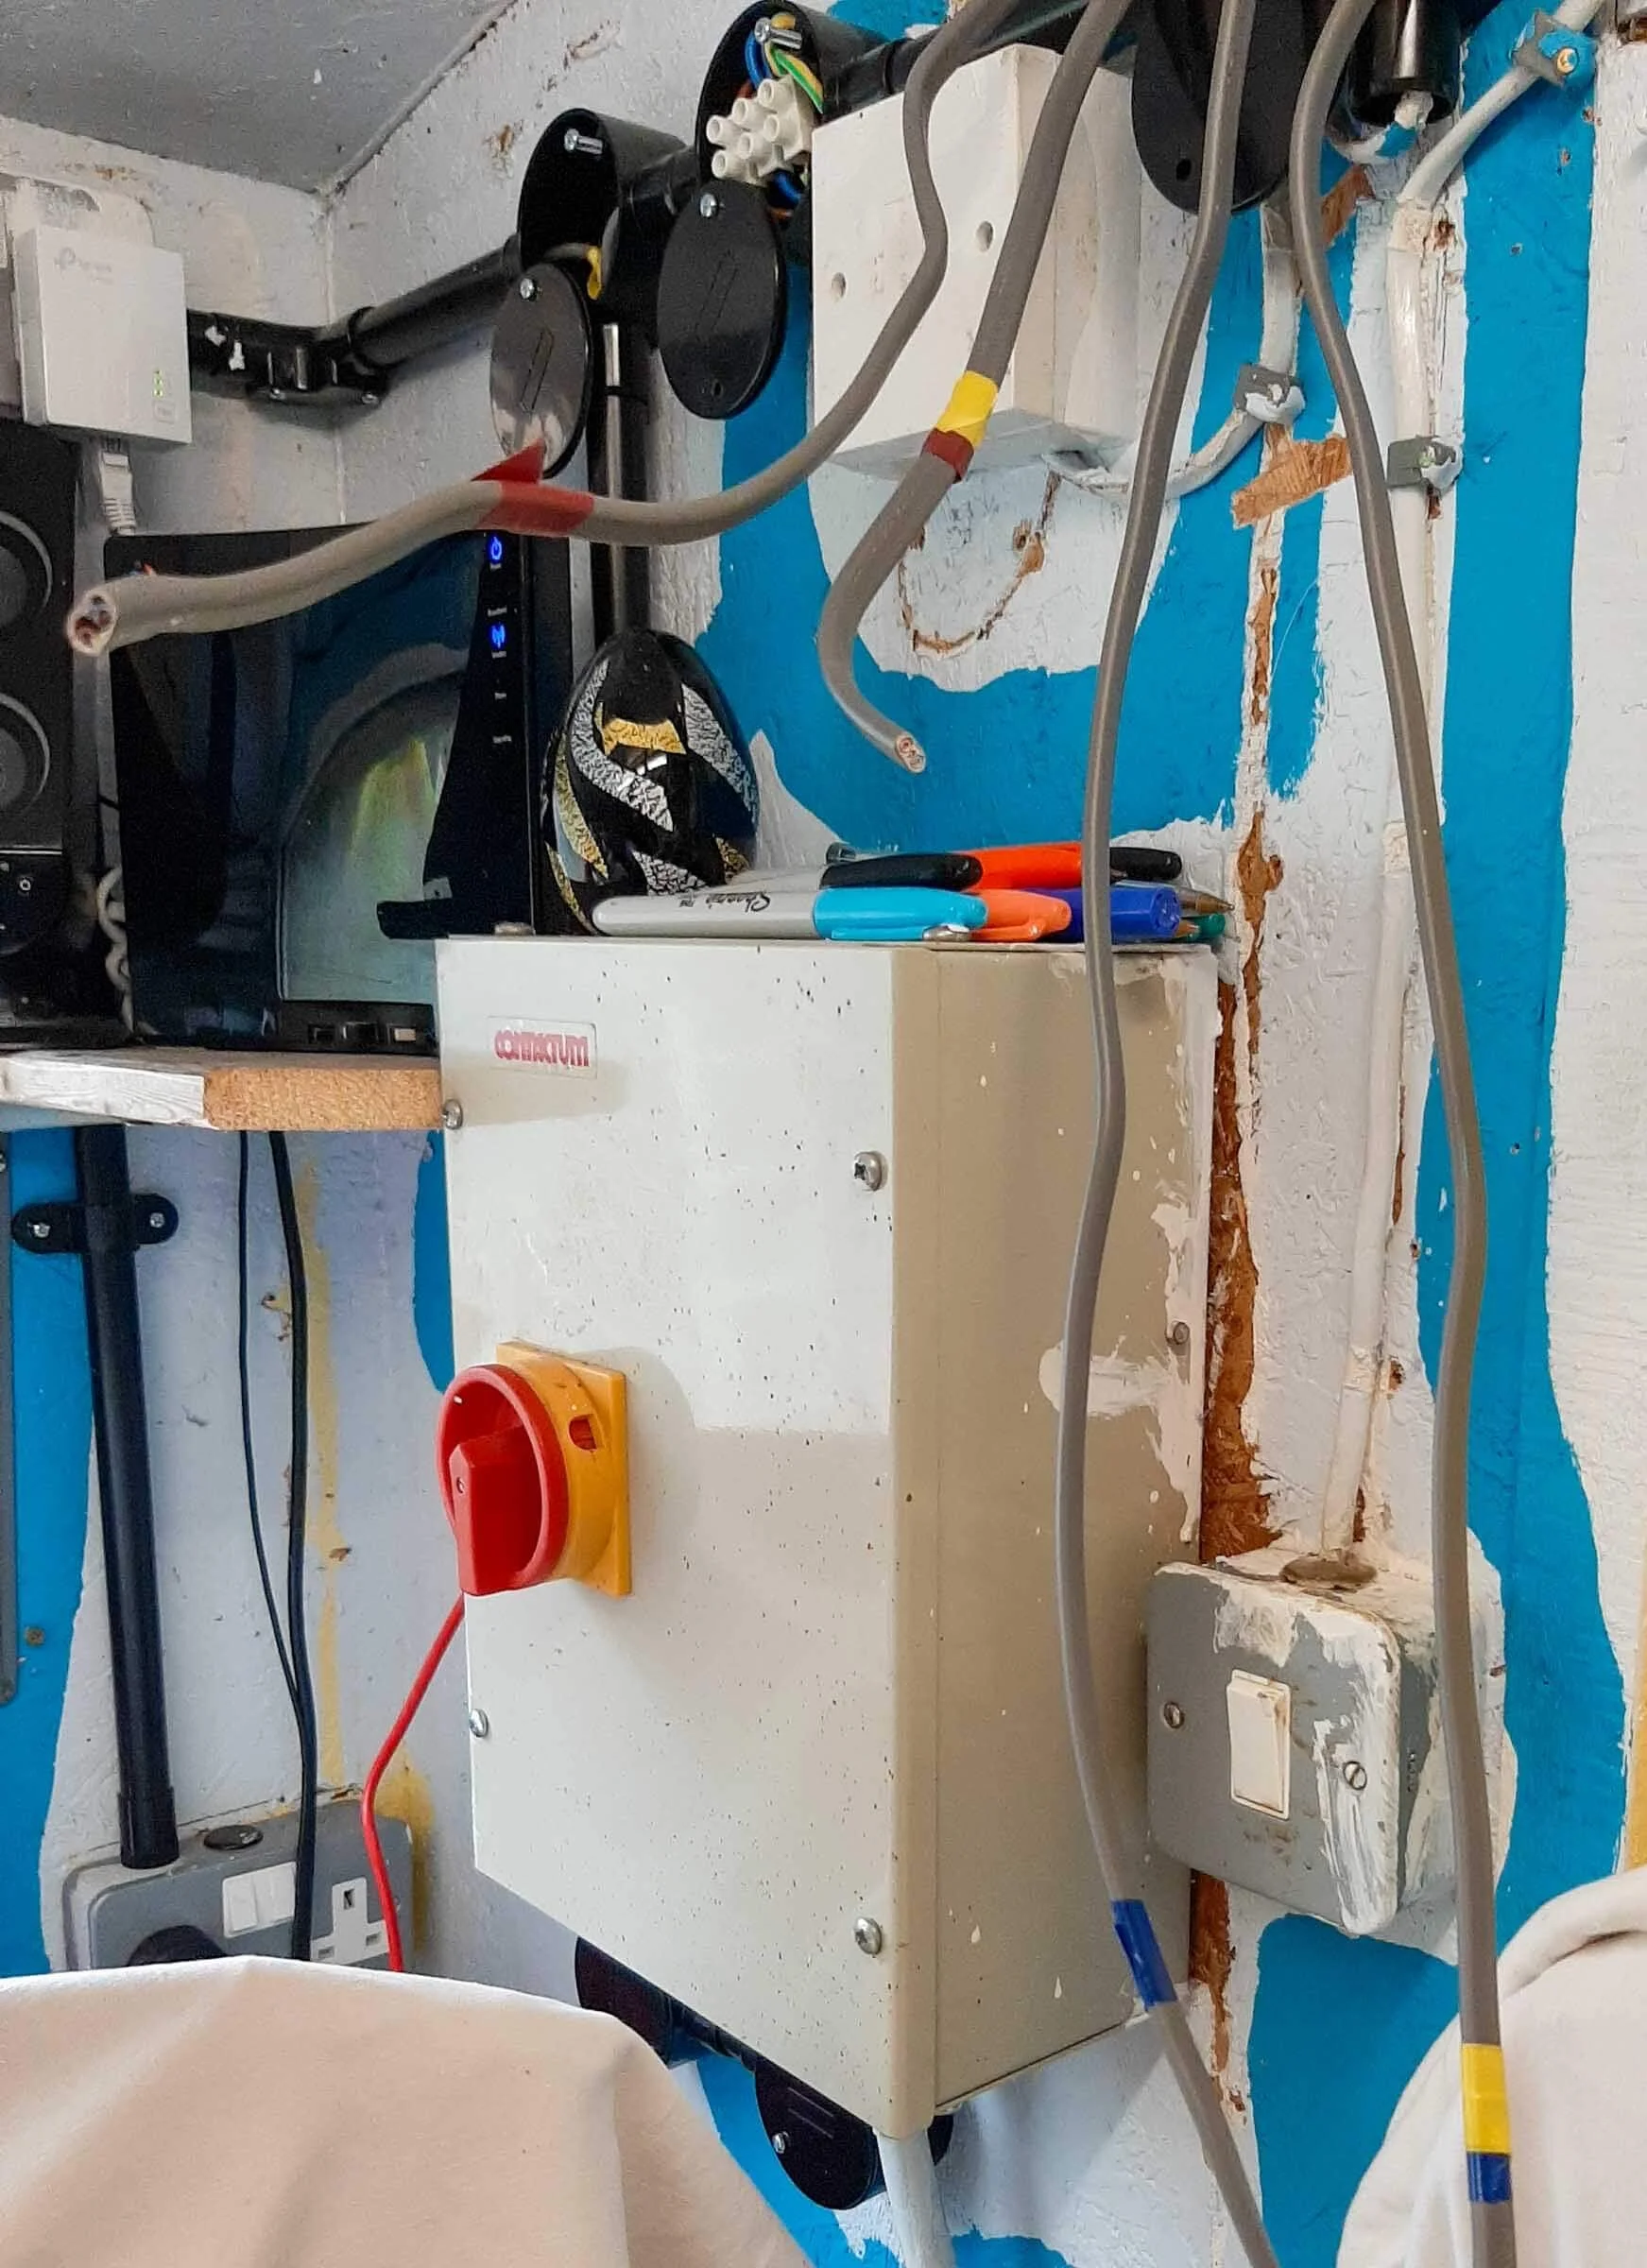
Upgrading the lighting and electrics in my garden studio made a huge difference to how the space feels and functions. From repositioned sockets and tidy conduit runs to LED daylight strips and task lighting, this post shares the practical changes that keep my shed studio running smoothly.
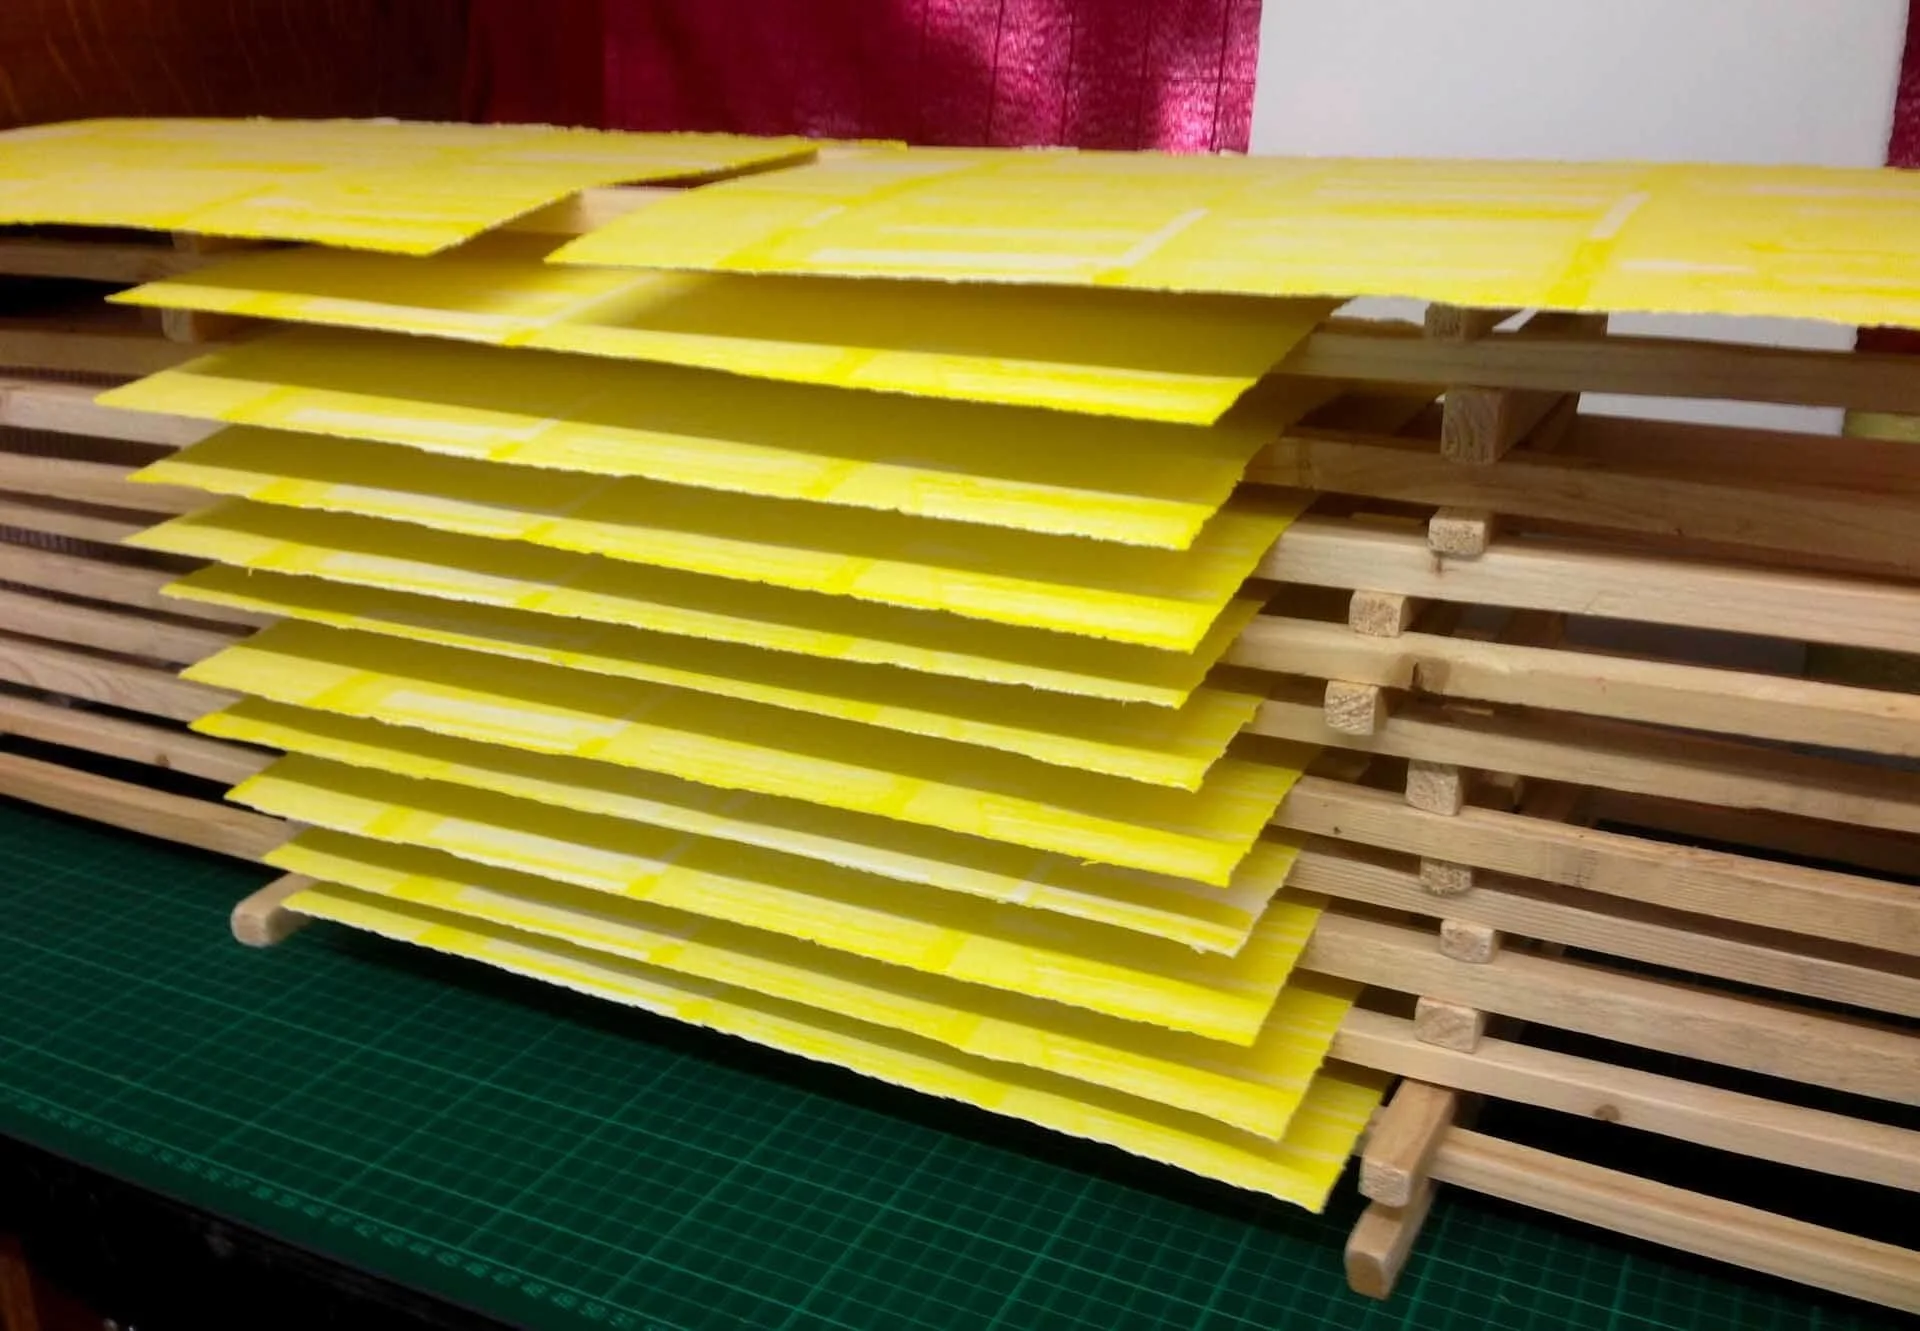
Working in a tiny studio means every inch counts. Here’s how I store inks, tools, paper, screens and works‑in‑progress in my shed studio — and why adaptable storage makes all the difference.
A look inside my tiny garden studio and how I’ve shaped it into a fully working silkscreen space. From storage and layout to tools and workflow, here’s how I make a small space work for printmaking.
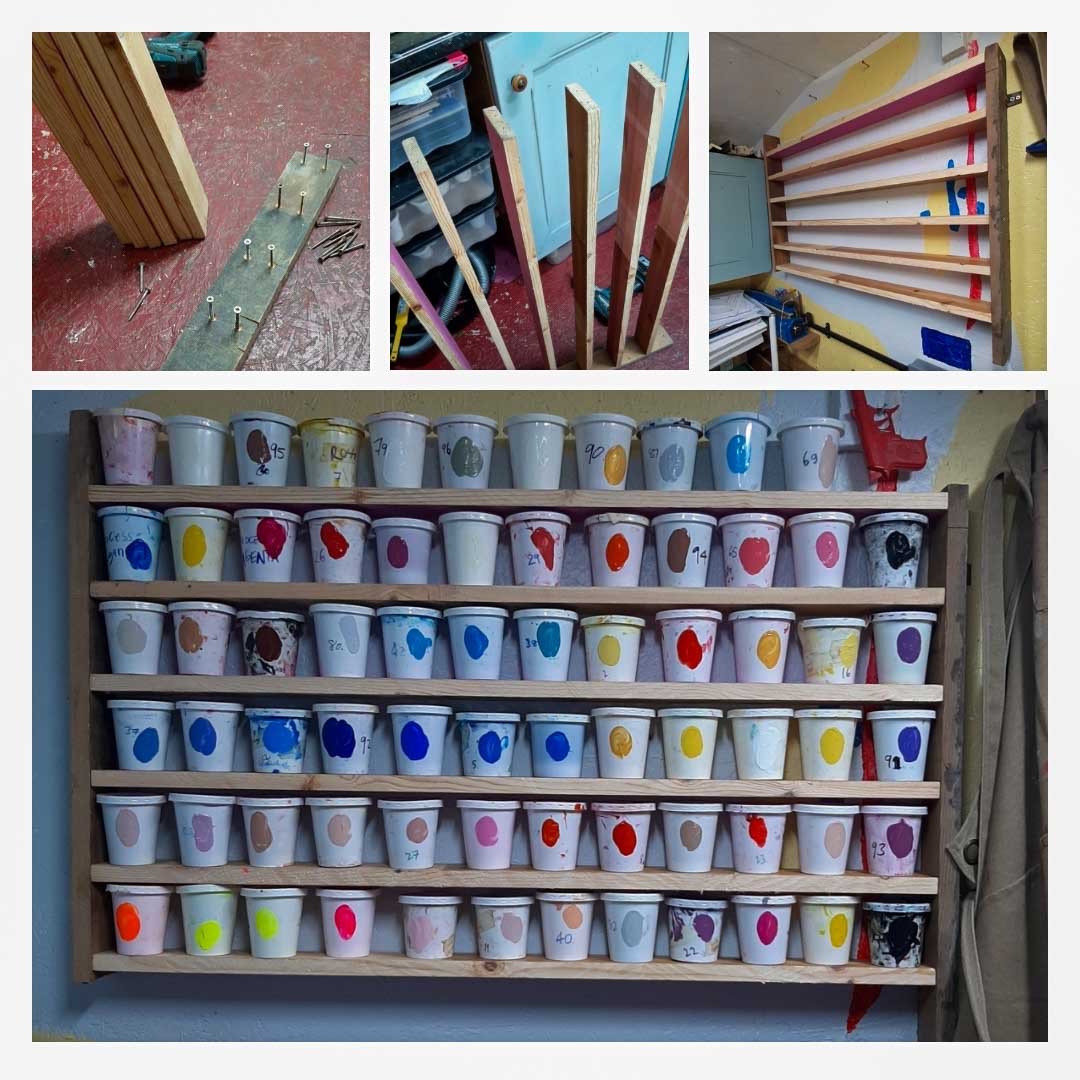
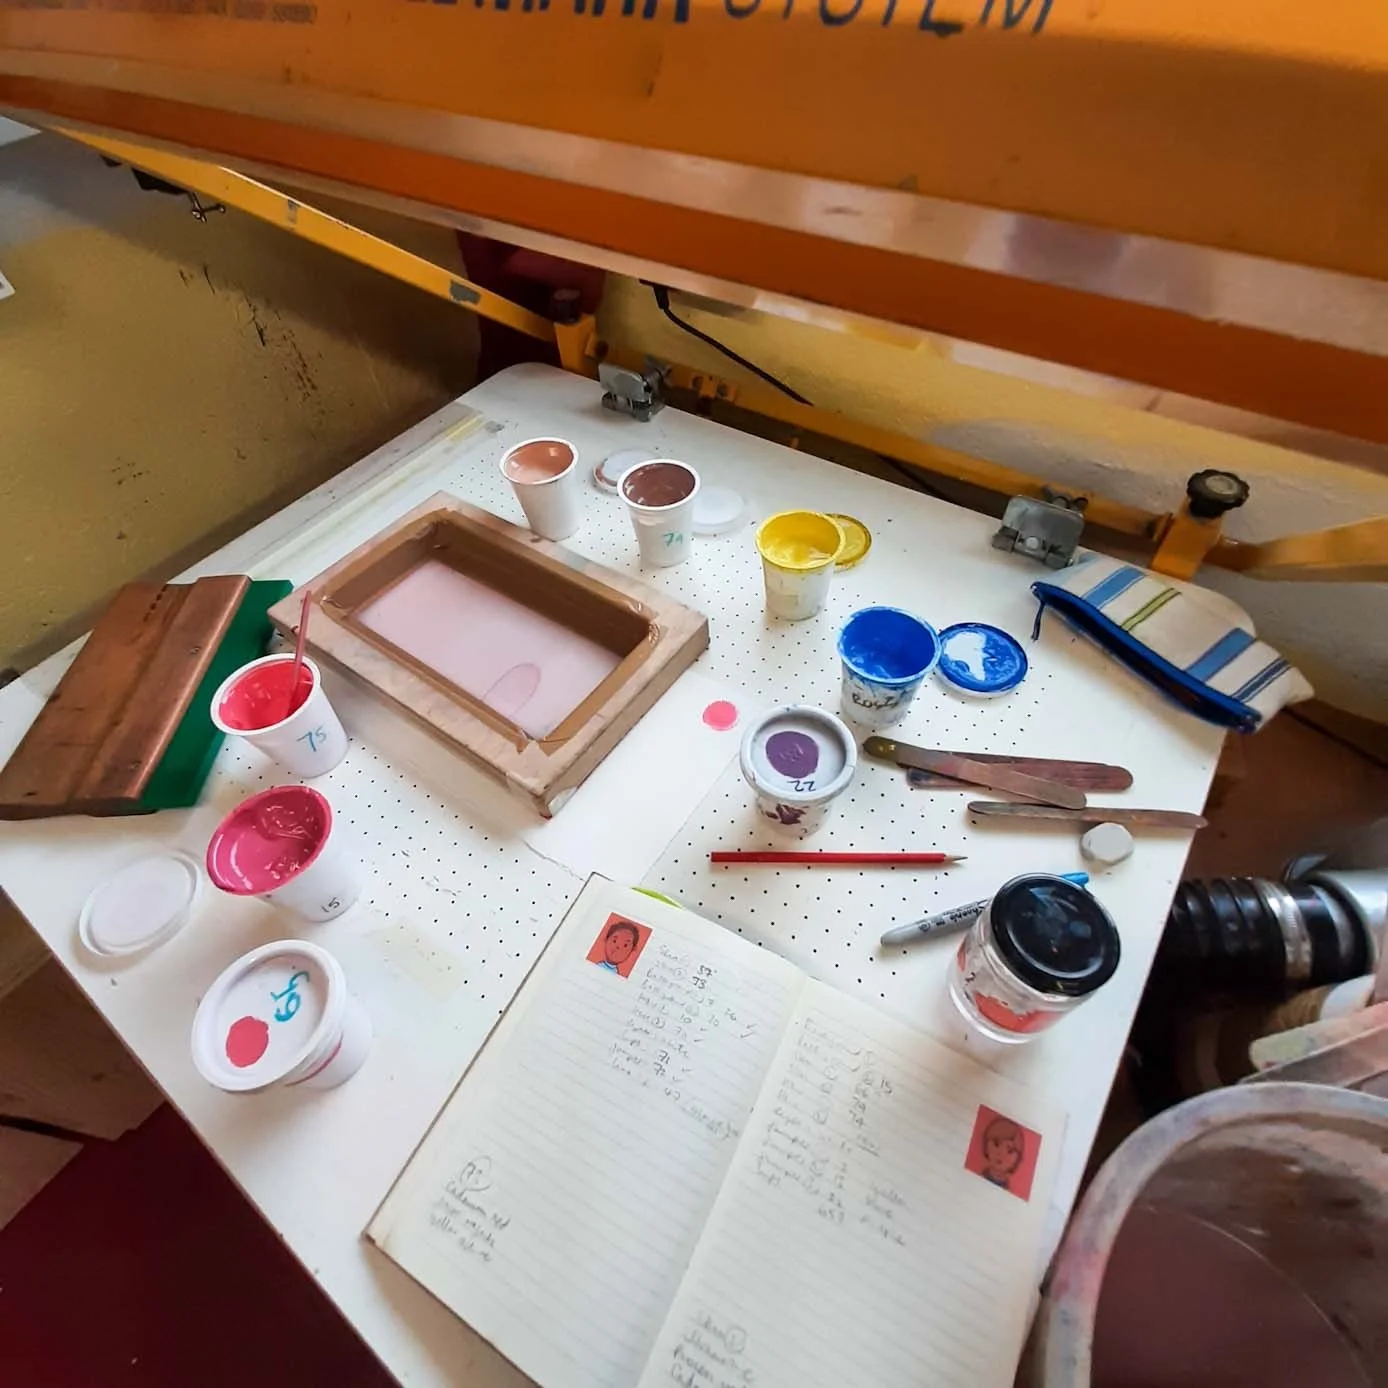
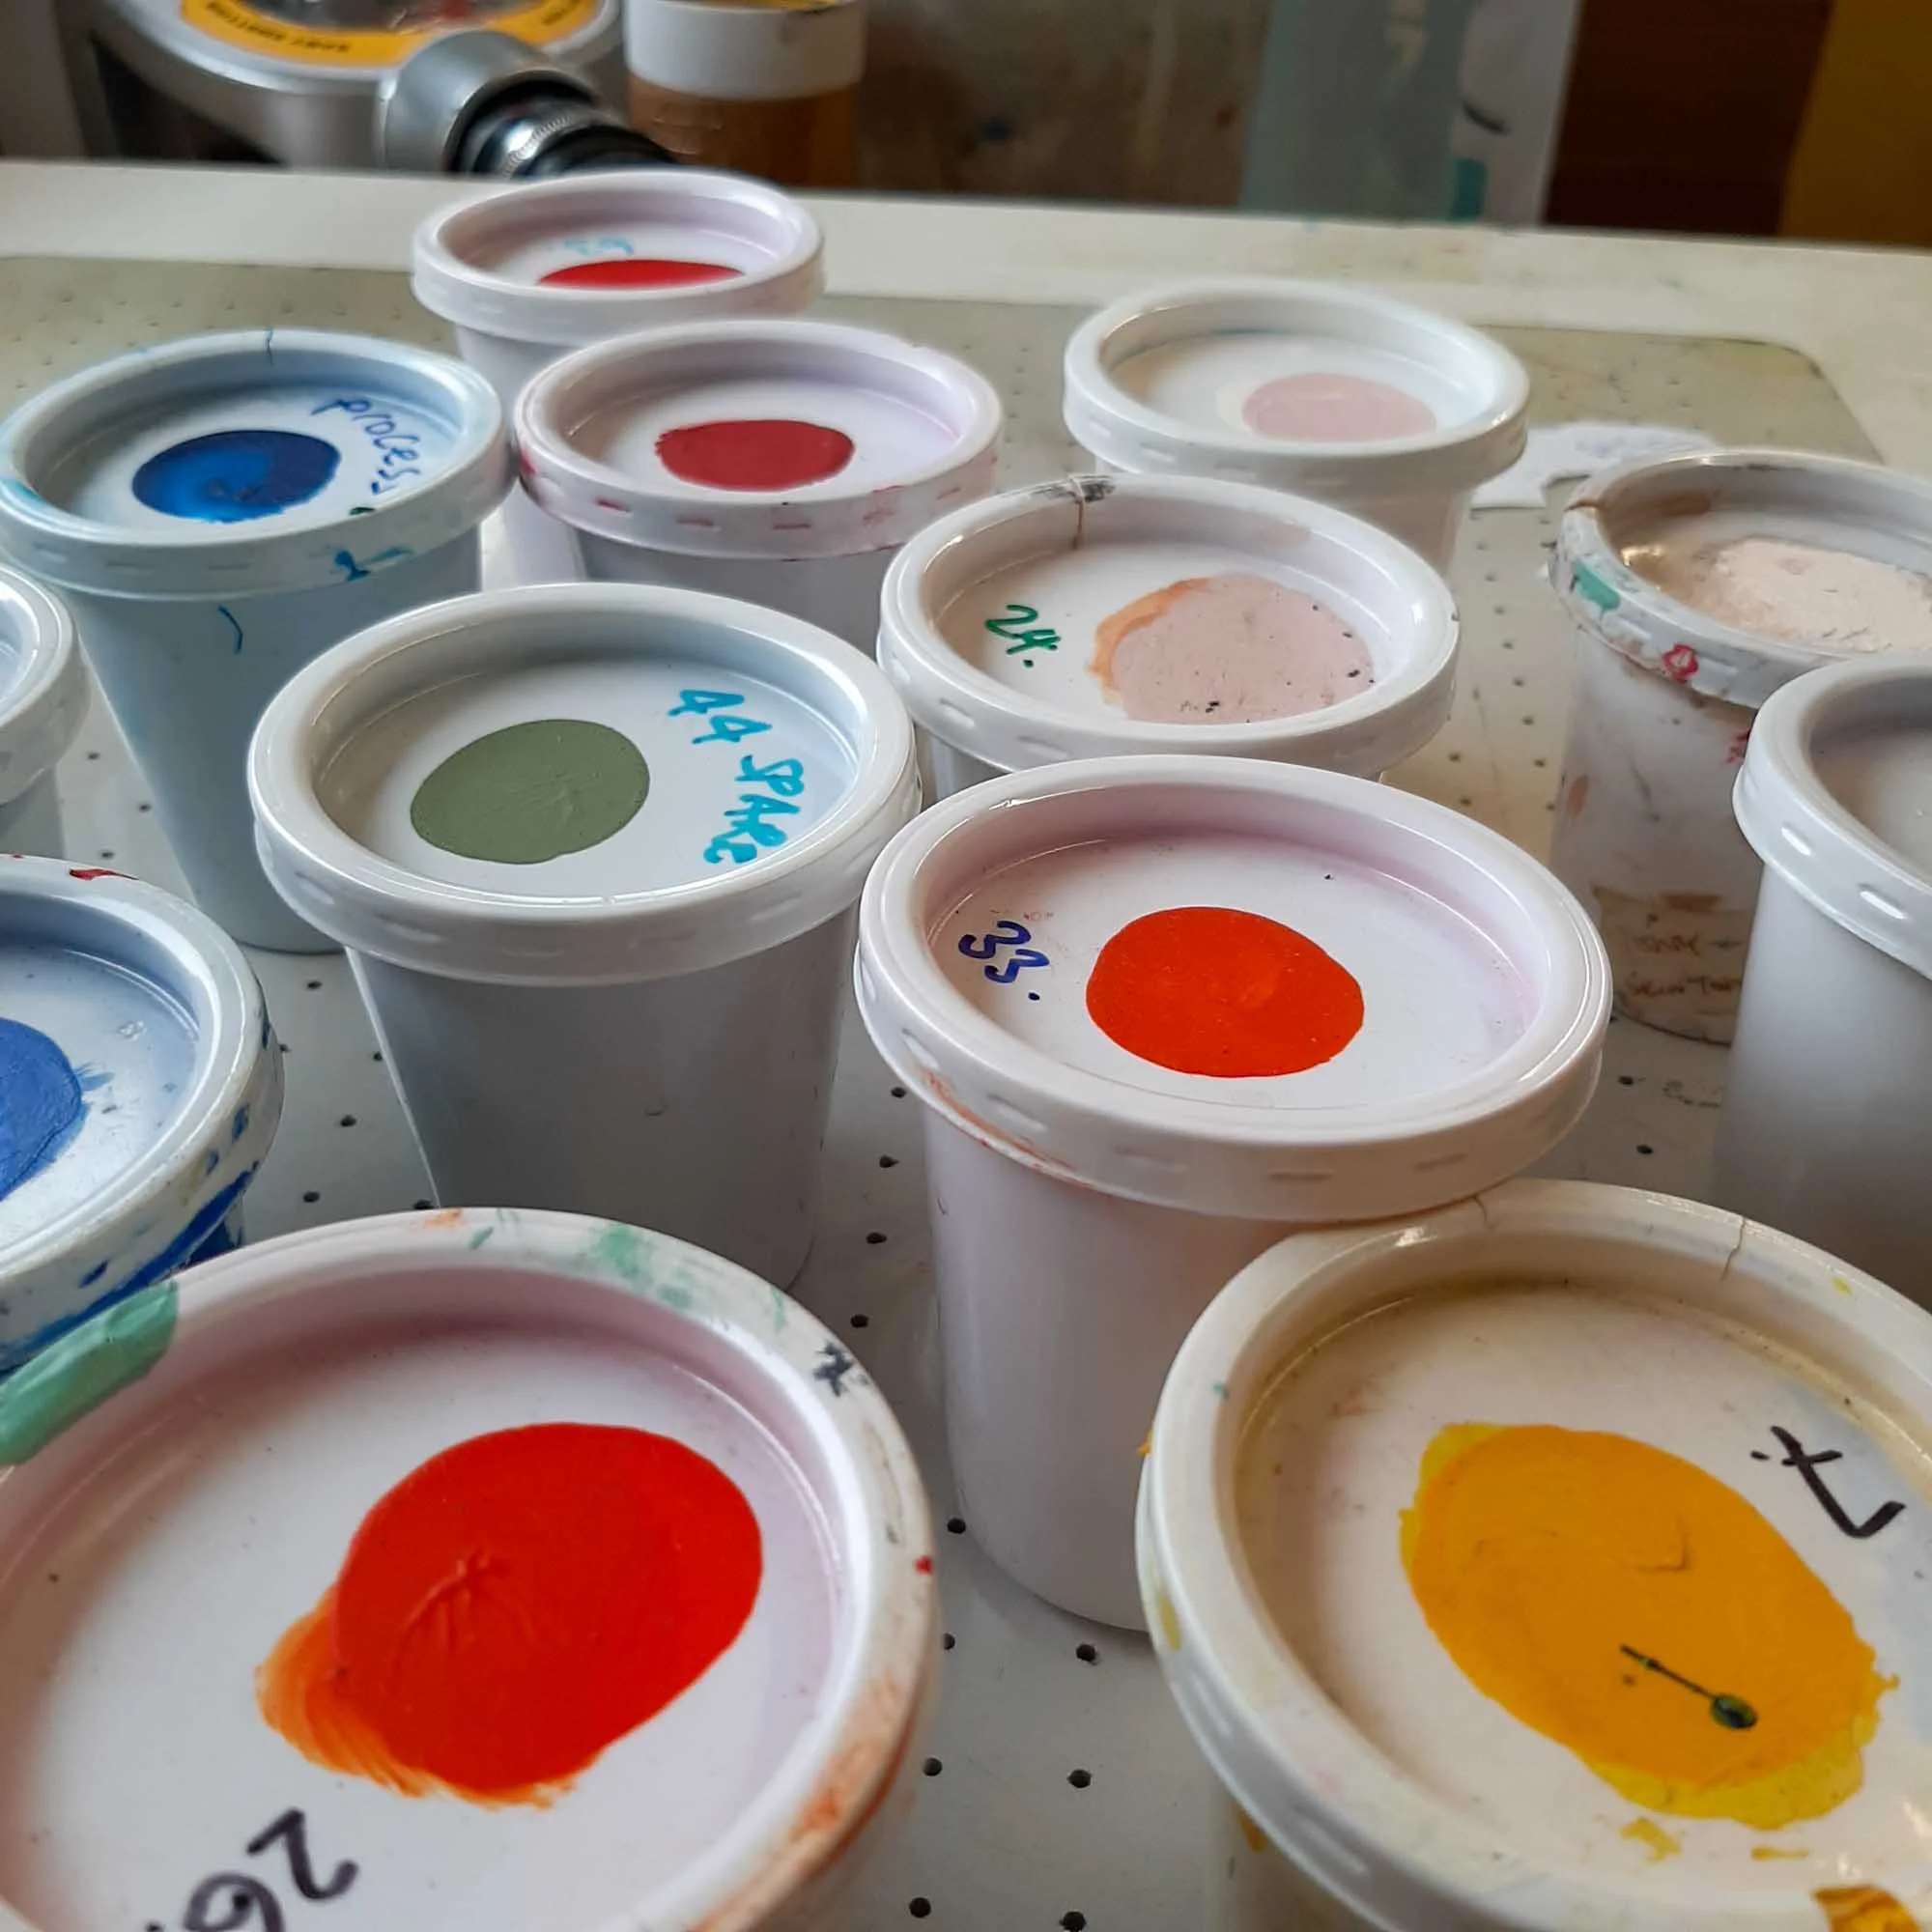
I use water‑based acrylic inks for all my printing, mixing them thick, storing them carefully and reviving older colours when needed. In this post, I share how I mix my inks, the colours I keep on hand, and the storage setup that keeps more than 120 pots in good working order.
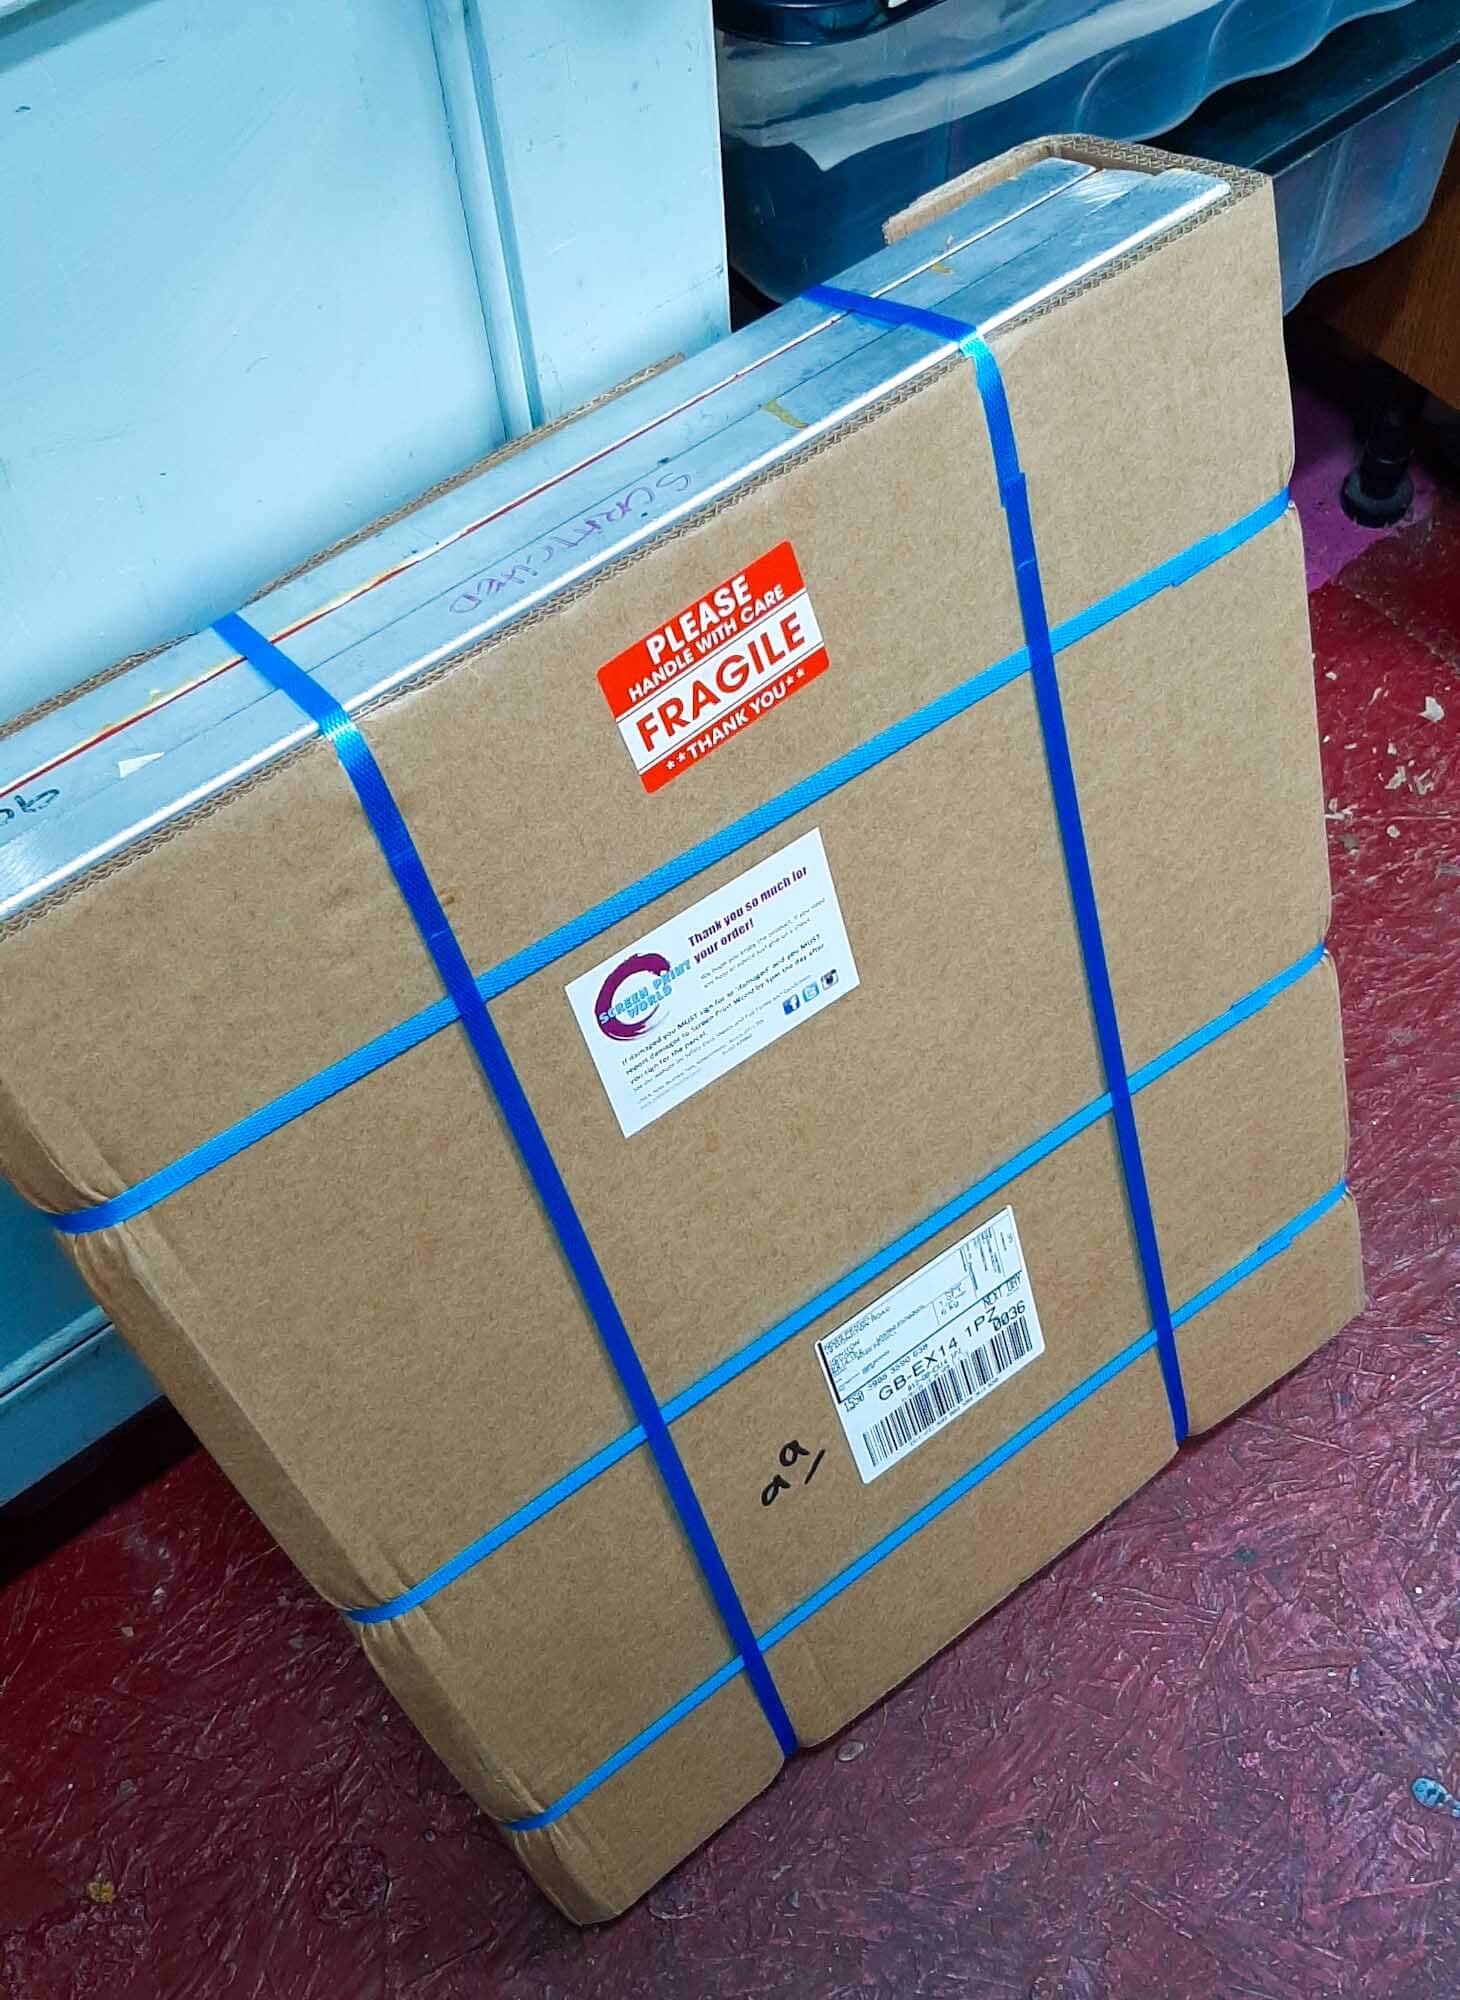
I use a mix of wooden and aluminium screens in my studio, mostly in 90T and 120T mesh counts. In this post, I explain how I choose between them, why finer meshes don’t suit my thick inks, and how I store screens safely in a very small workspace.
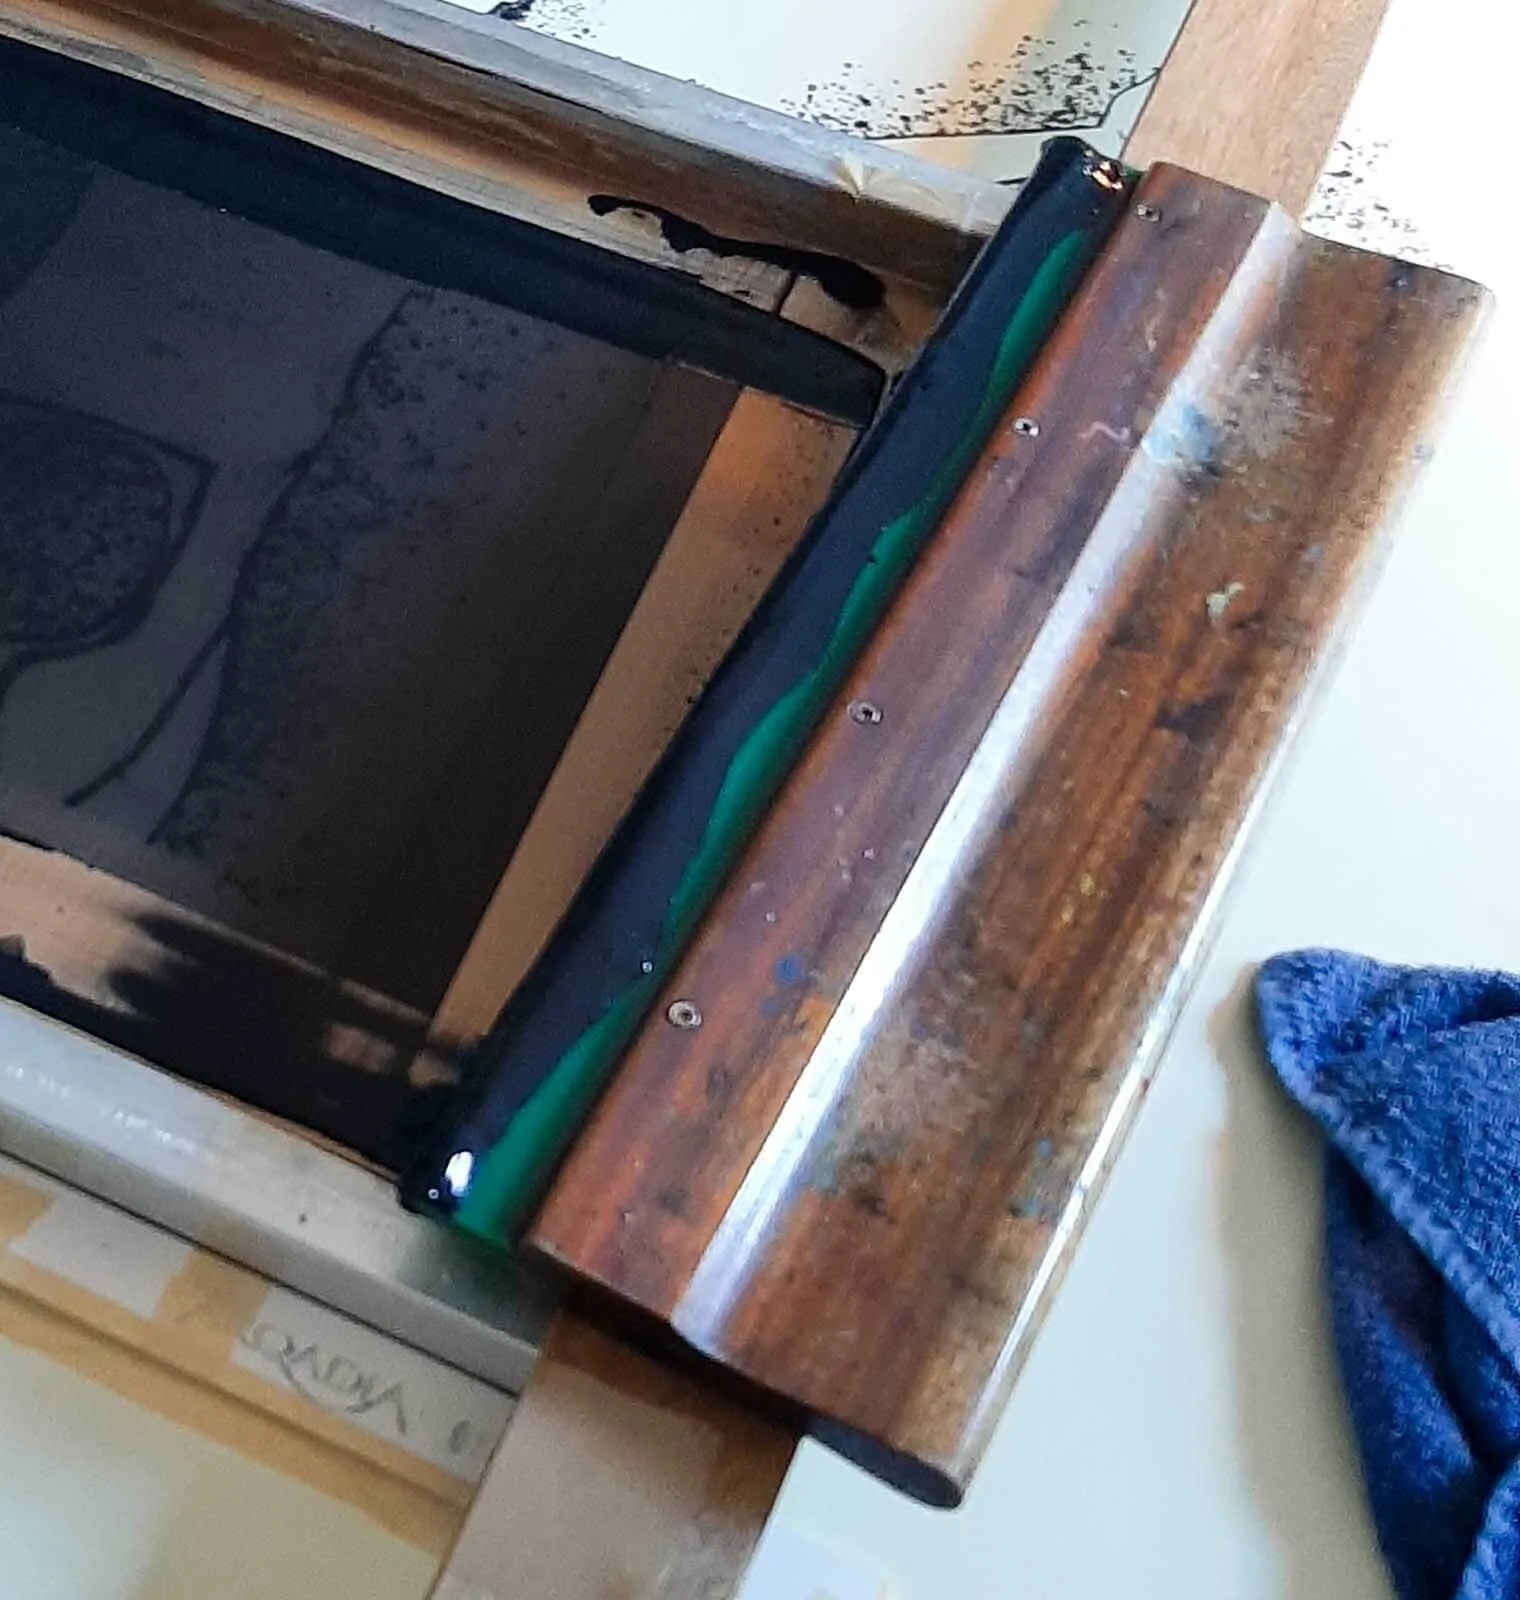
I use a range of squeegees in my studio, from tiny test tools to long pulls for larger screens. In this post, I share the sizes I rely on, how I choose the right width for each print, and why keeping squeegees clean is essential for good results.
Silkscreen printing doesn’t need a huge workshop — just a handful of simple tools. Here are the squeegees, rulers, tapes, and essentials I rely on every day in my shed studio.
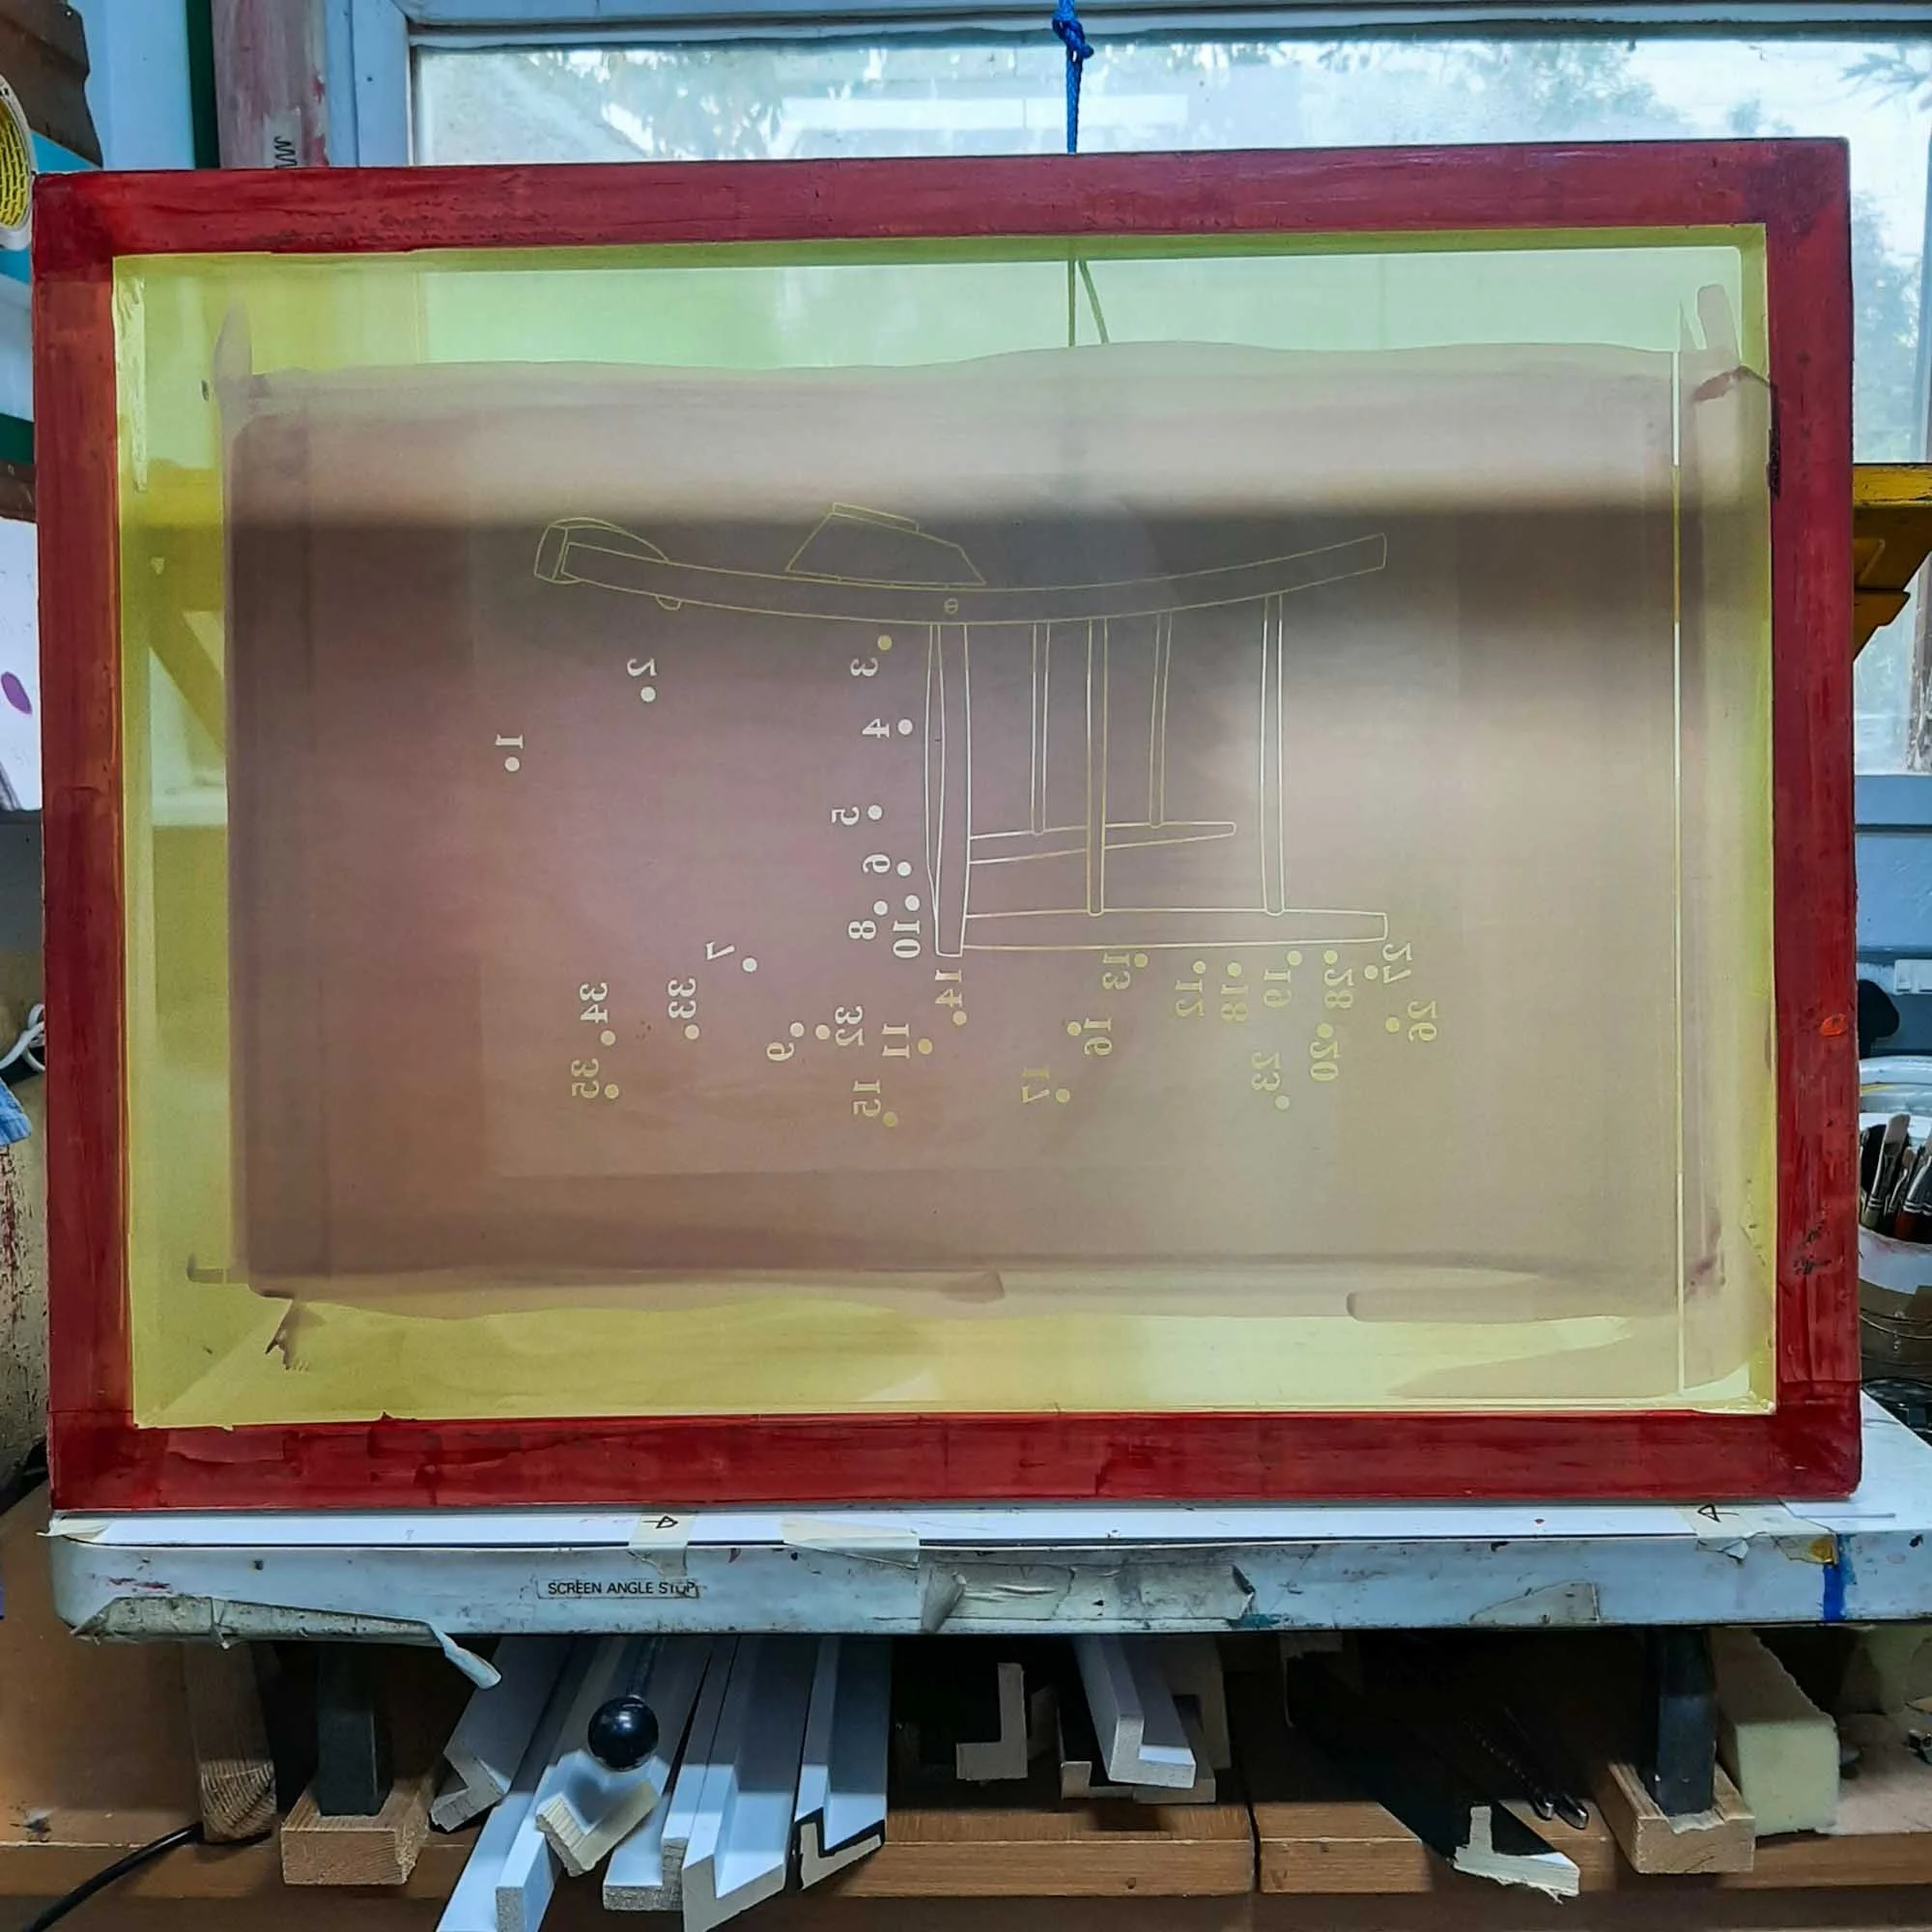
Preparing a screen is where your design becomes a stencil. This step‑by‑step guide walks through cleaning, coating, exposing, taping, and clamping a screen so it’s fully ready for ink.
Screen printing can’t be rushed. From drying layers to letting ideas mature, patience is part of the craft. Here’s what printmaking has taught me about slowing down and trusting the process.
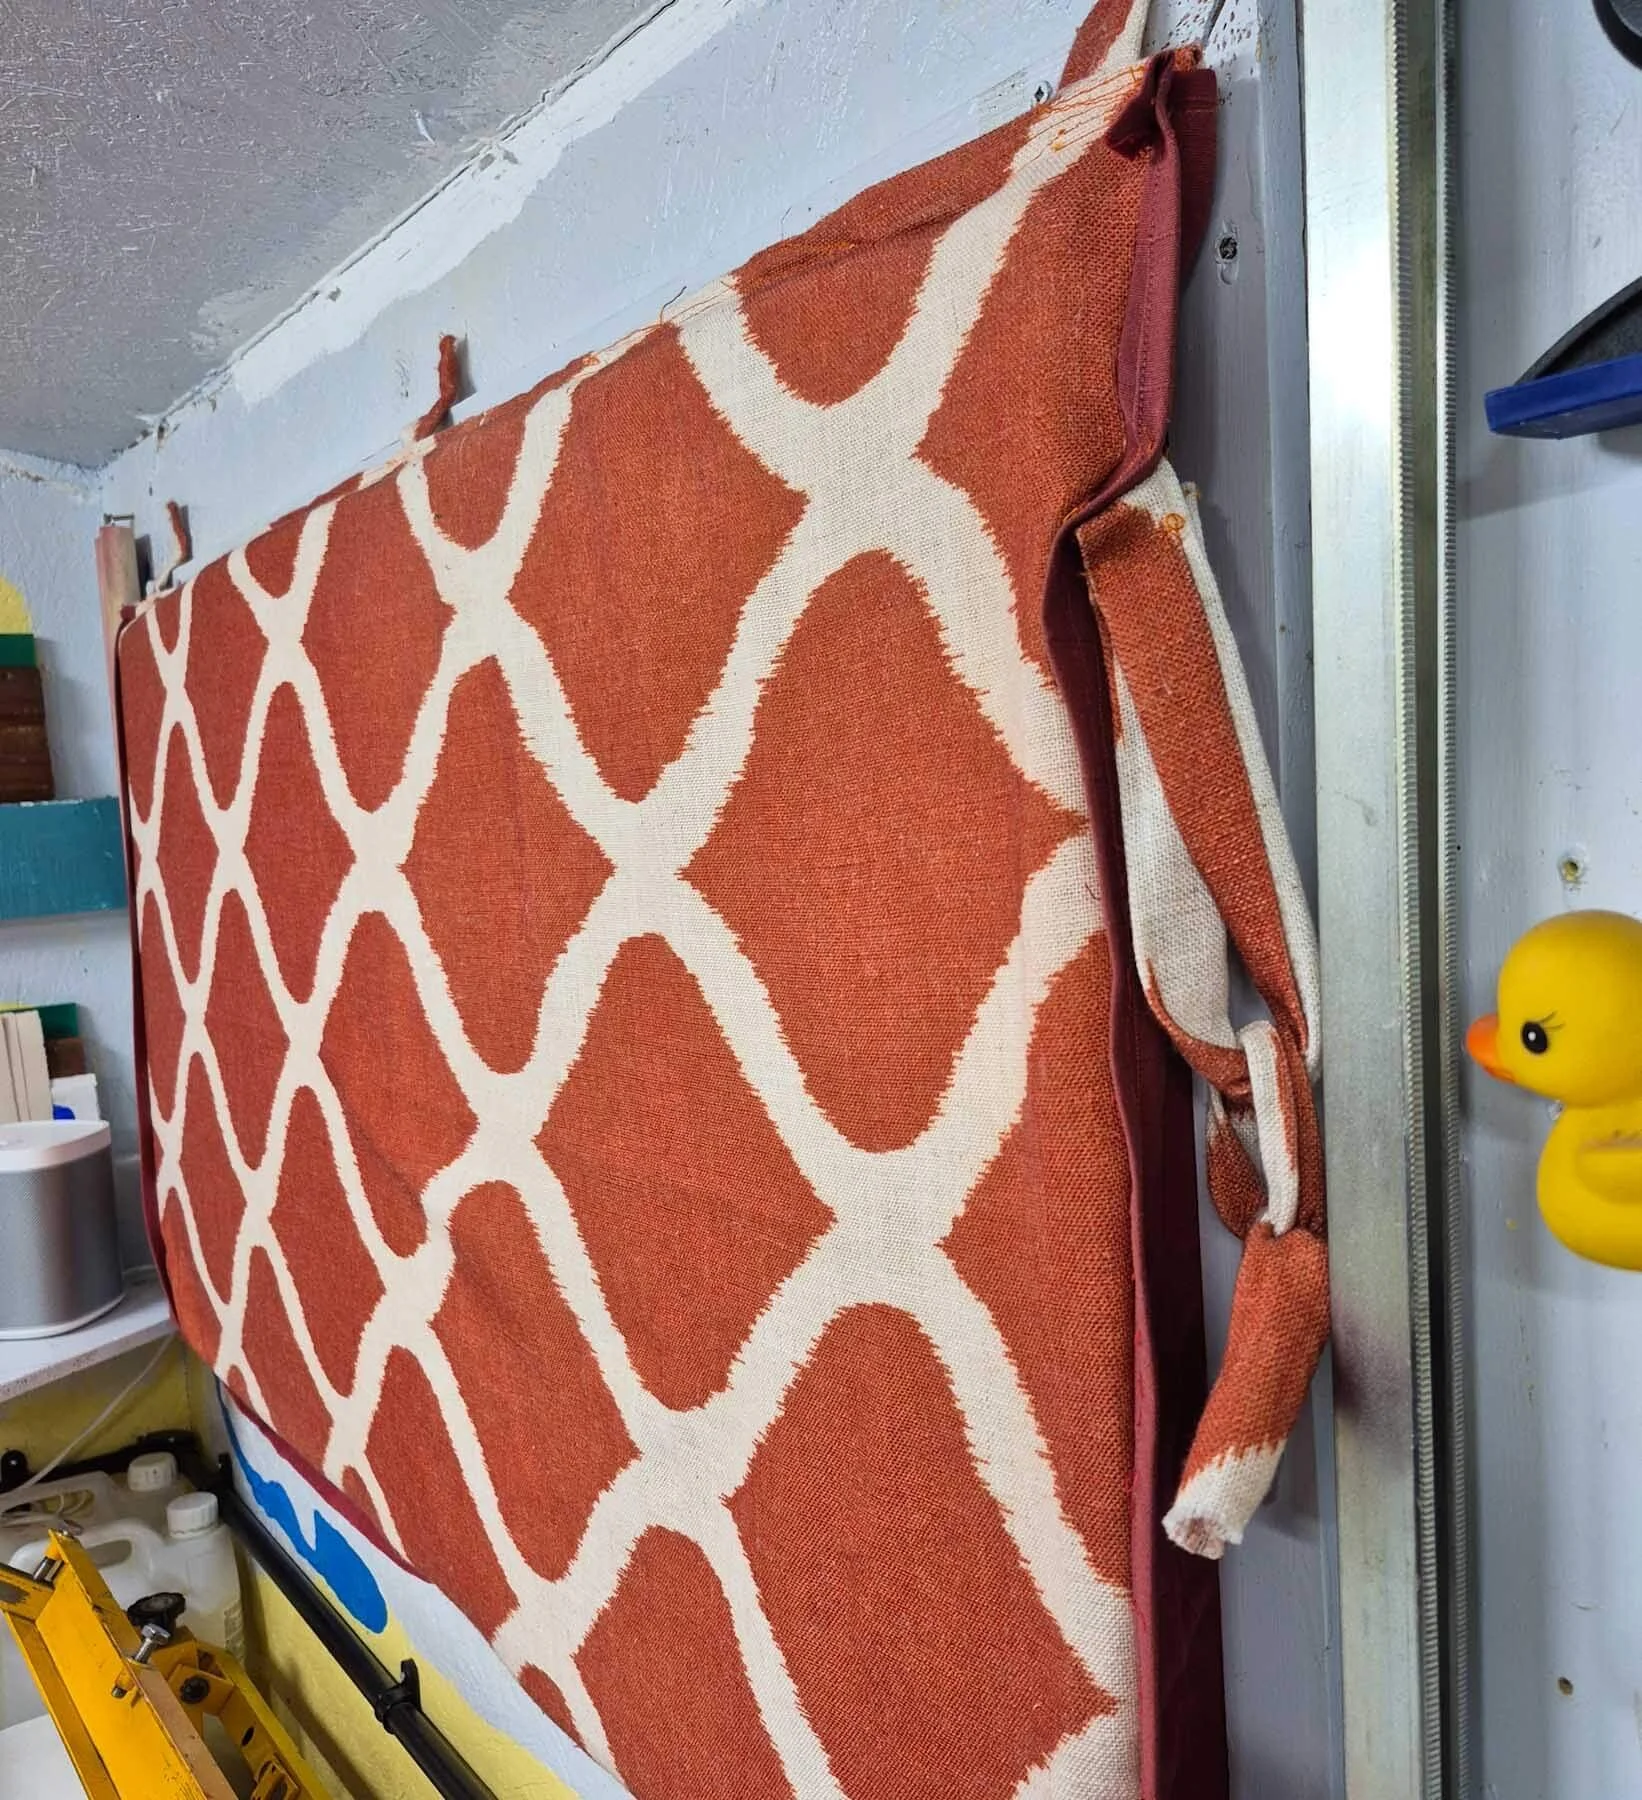
My exposure unit started life as a simple second‑hand frame with halogen lamps, but a few small changes made it far more flexible for my studio. This post explains how I adapted it to handle larger screens, save space and work more efficiently in a small shed workspace.