How to Prepare Screens for screen printing
(Screen printing Techniques series, Part 1)
Preparing a screen is the bridge between design and print. It’s the stage where your stencil comes to life. In this post, I’ll take you through the step‑by‑step process I use in my shed studio to get a screen ready for printing.
By the end, you’ll have a screen that’s coated, exposed, dried, taped, clamped — and ready for ink.
Clean & Degrease the Screen
The first stage is to get your screen properly clean and ready for a fresh coat of photo emulsion. That means removing every last bit of old emulsion from the previous print run, and then degreasing the mesh so it can happily lap up the new coat you’re about to apply. Degreasing also washes away dust, oils, and any other studio debris that might cause problems later.
You’ll need to do this somewhere you can spray water freely — I use a hose and an organic degreaser, diluted in a spray bottle.
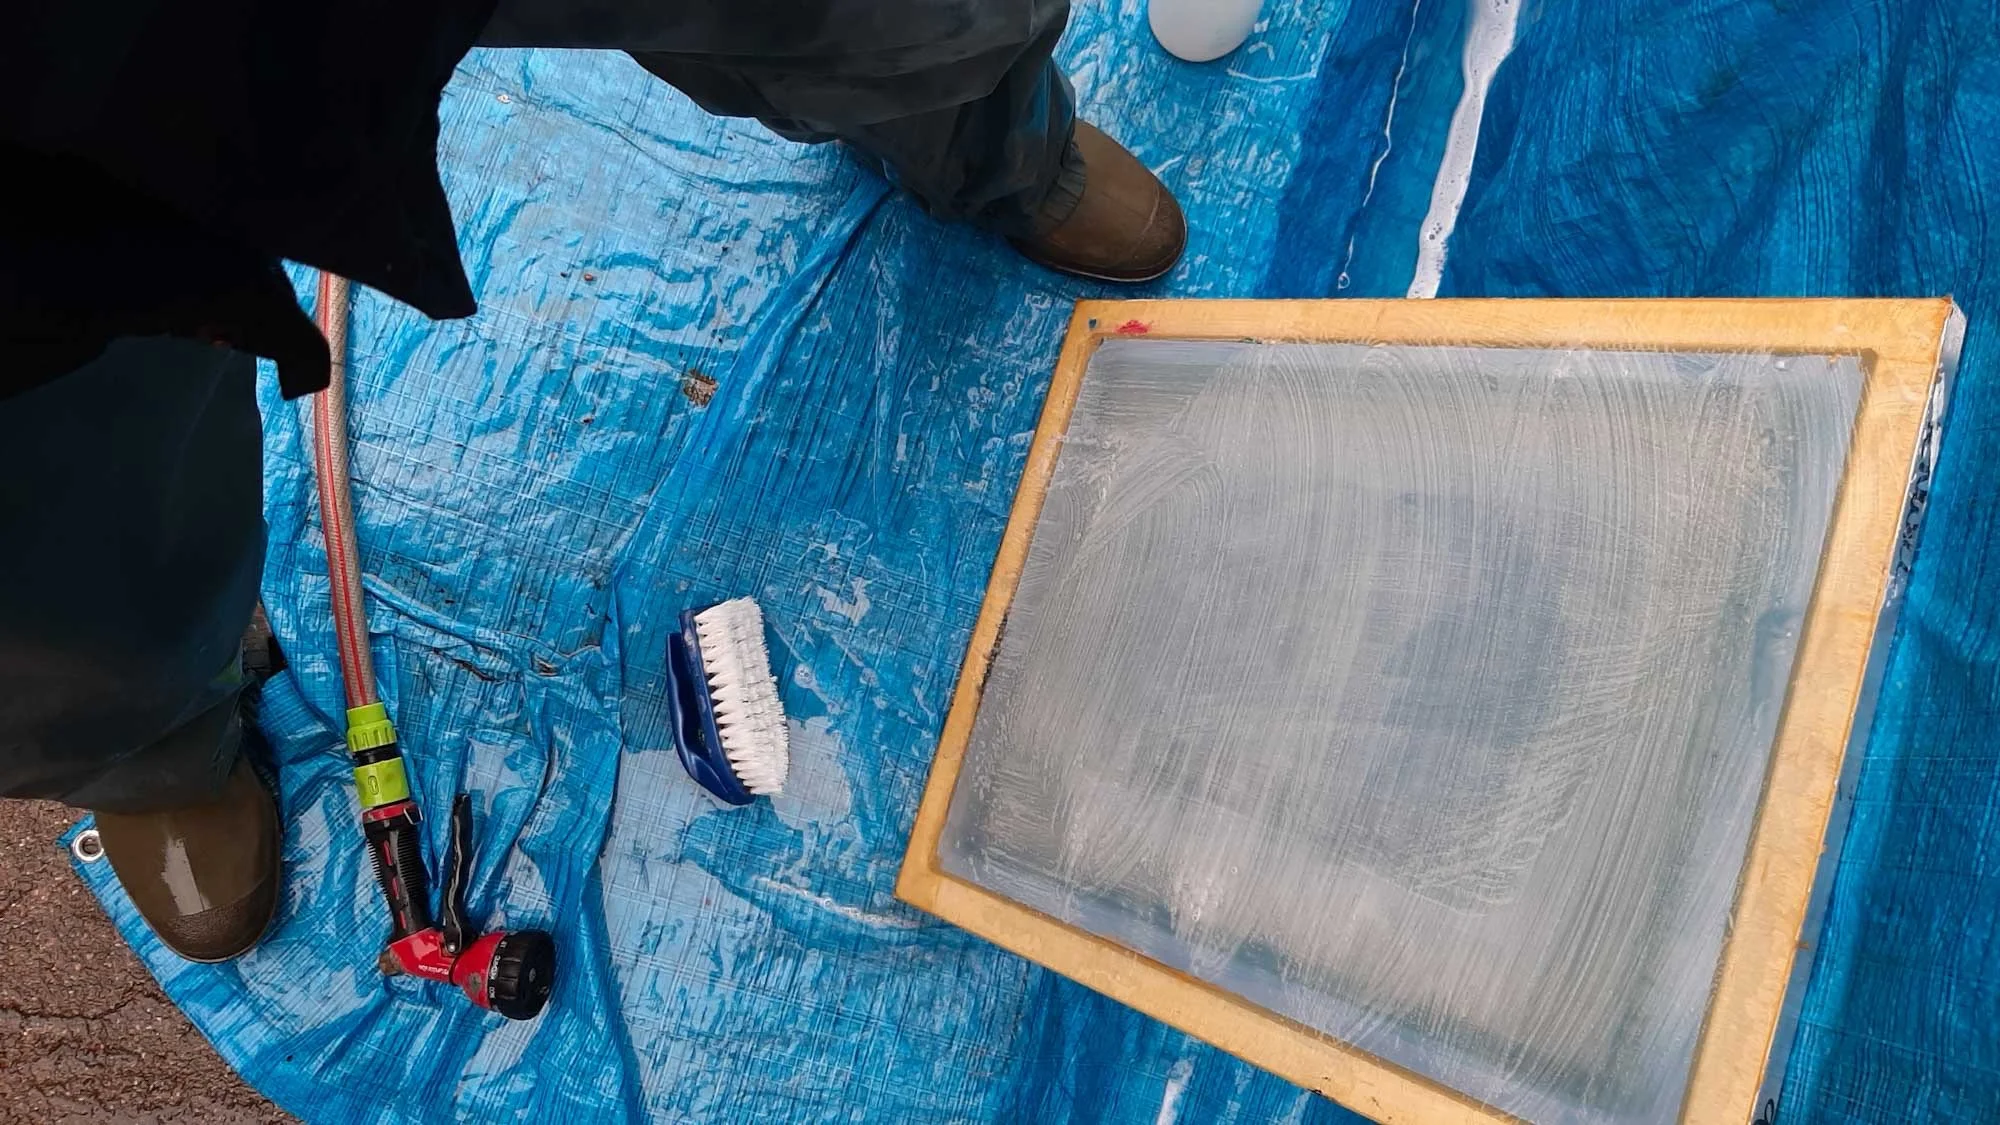
Wet the screen on both sides, then spray the degreaser liberally over the mesh. Using a large scrubbing brush, work the liquid into a lather using circular motions until the whole screen is evenly covered. Do this on both sides. Then rinse thoroughly with the hose until every trace of degreaser is gone.
Let the water drain from a bottom corner, then prop the screen somewhere to dry.
Coat with Emulsion
Next up: applying your photo emulsion. I lean my screen against a secure surface and wedge the top under a strip of wood I’ve fixed to the wall — anything sturdy will do, as long as the screen won’t shift while you’re coating it.
I coat the front first (the side that will touch the printing surface), then the back (the squeegee side).
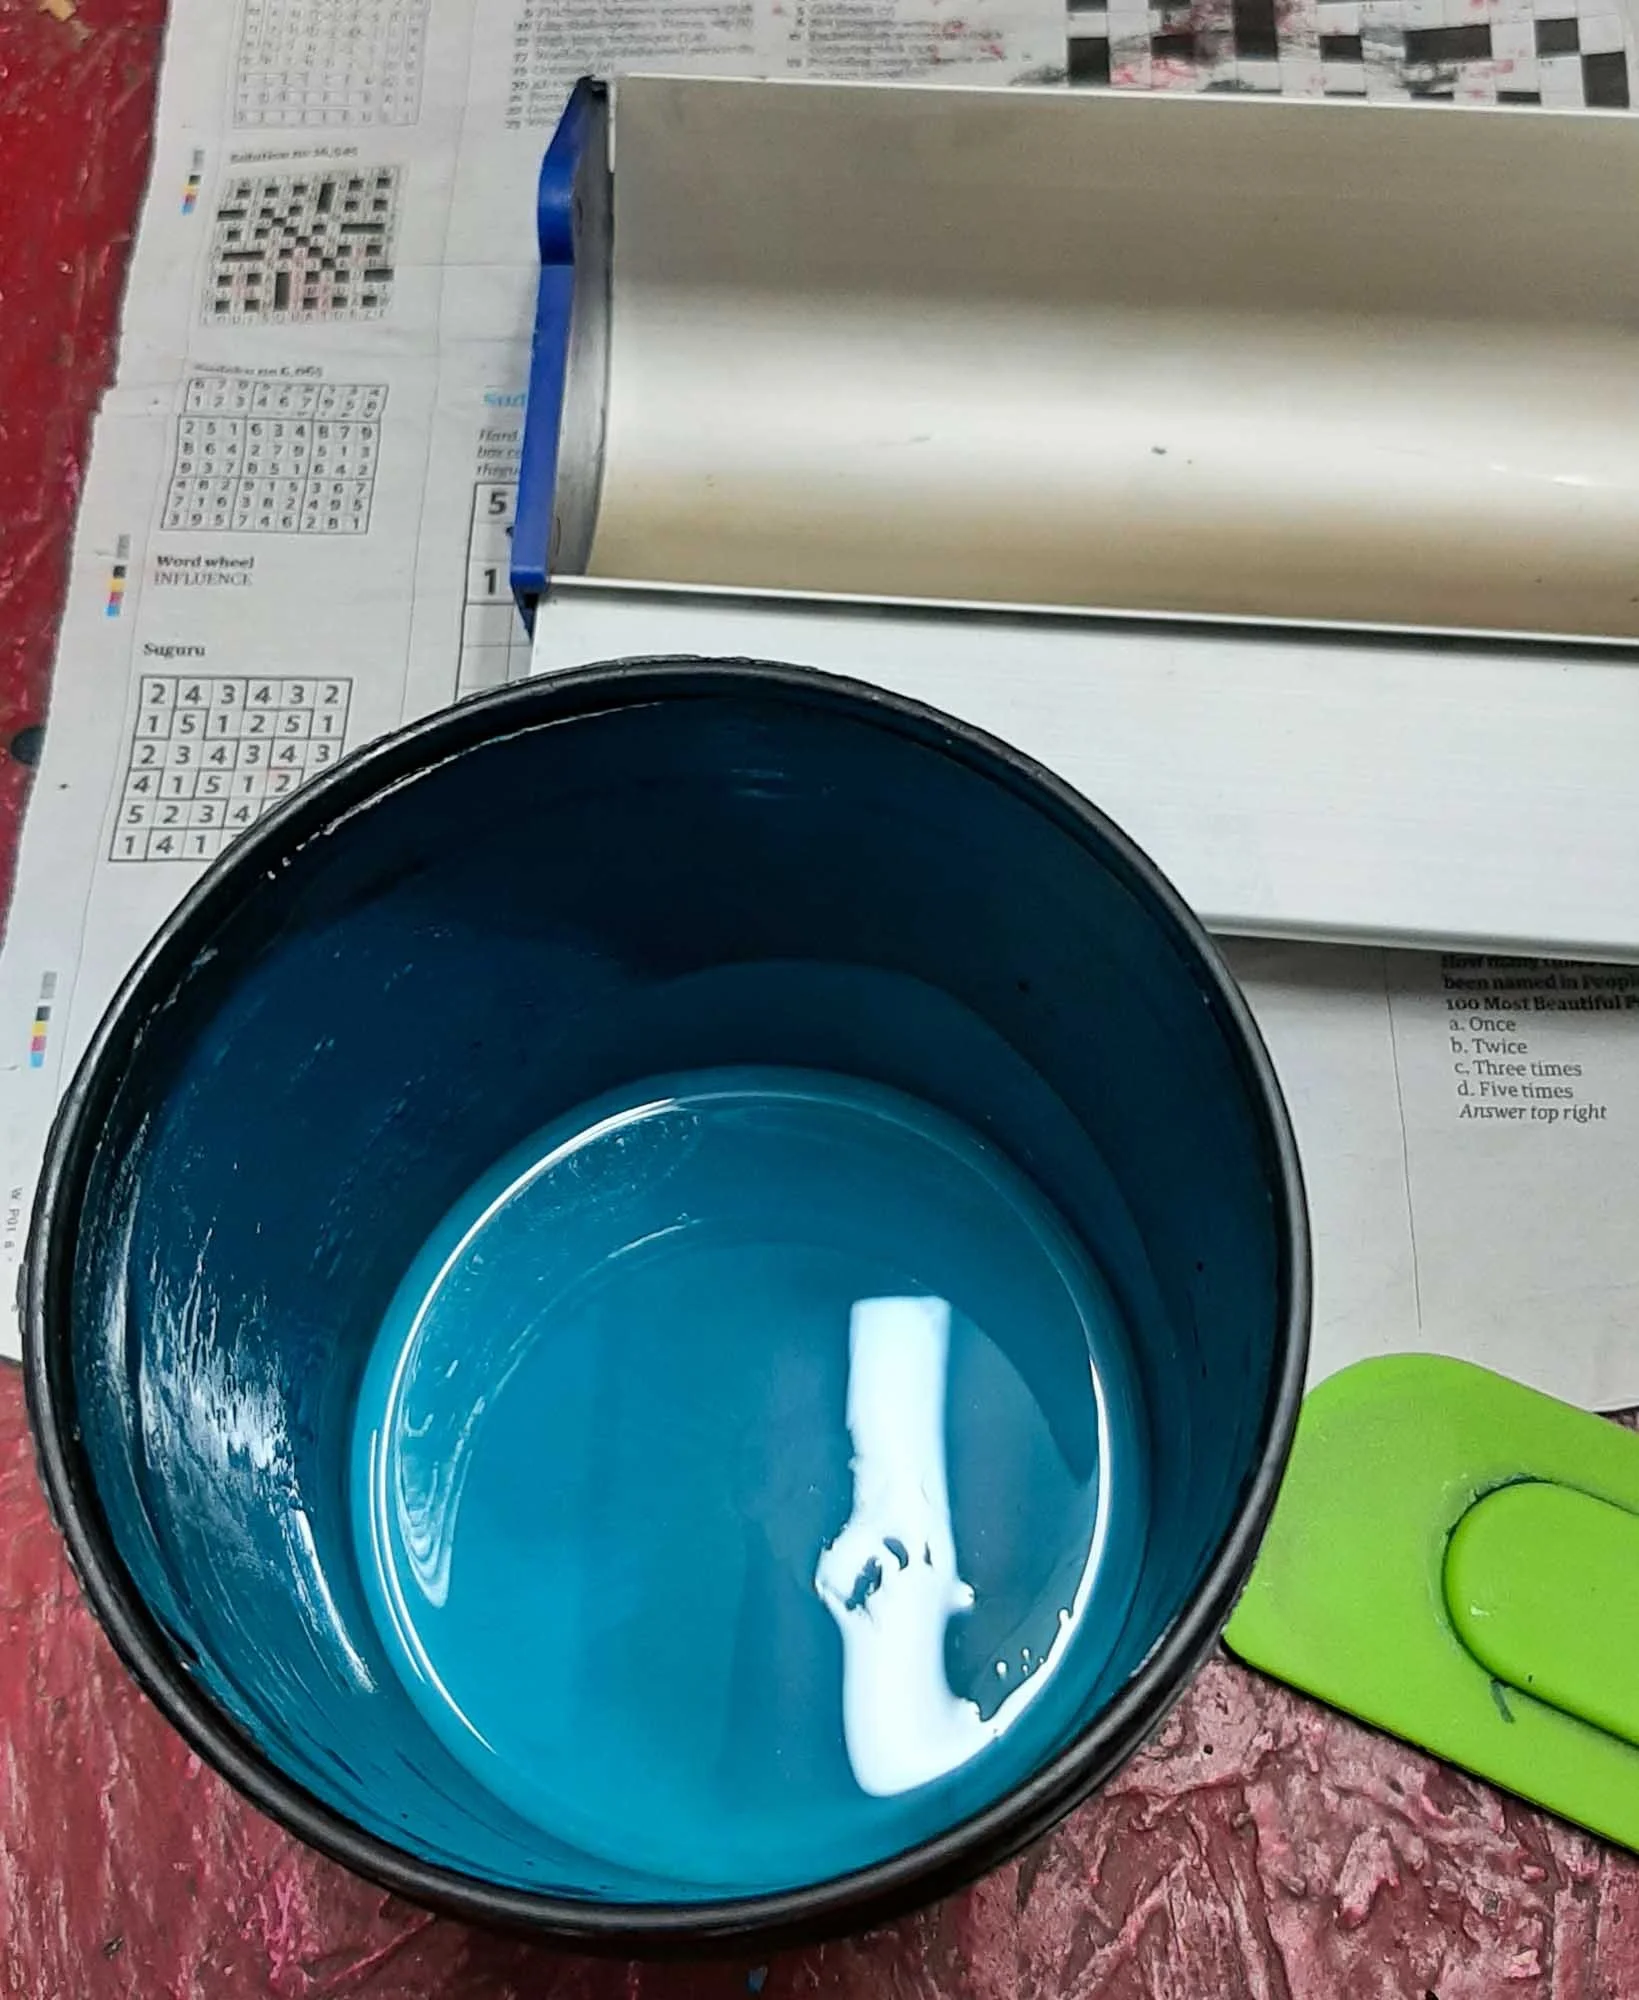
Lay down some newspaper, attach the end caps to your scoop coater, put on gloves, and make sure your emulsion is well mixed — gently, to avoid bubbles. Pour some into the tray and let it settle.
Holding the coater in both hands, offer it up to the bottom of the screen, about an inch from the frame. Tip it so the emulsion flows up to meet the mesh, and once it does, keep the angle steady and pull the coater smoothly up the screen. Stop an inch from the top, tip the coater back towards you, and lift it away cleanly.
Now the screen needs to dry. This is where light becomes the enemy. Once the emulsion is on, keep the screen away from anything but red light. Dry it flat so the emulsion doesn’t run and pool at one end, and make sure the drying area is as dust‑free as possible.
Scoop any leftover emulsion back into the pot (I use a rubber spatula), pop the pot back in the fridge, and wash your coater, end caps, and spatula thoroughly. Any emulsion left in the crevices will dry rock‑hard and stop the caps fitting properly next time.
Expose the Screen
Now for exposure. Your workspace needs to be as light‑tight as you can manage. You can get away with a tiny bit of artificial light (a laptop screen, for example), or you can rig up a red bulb.
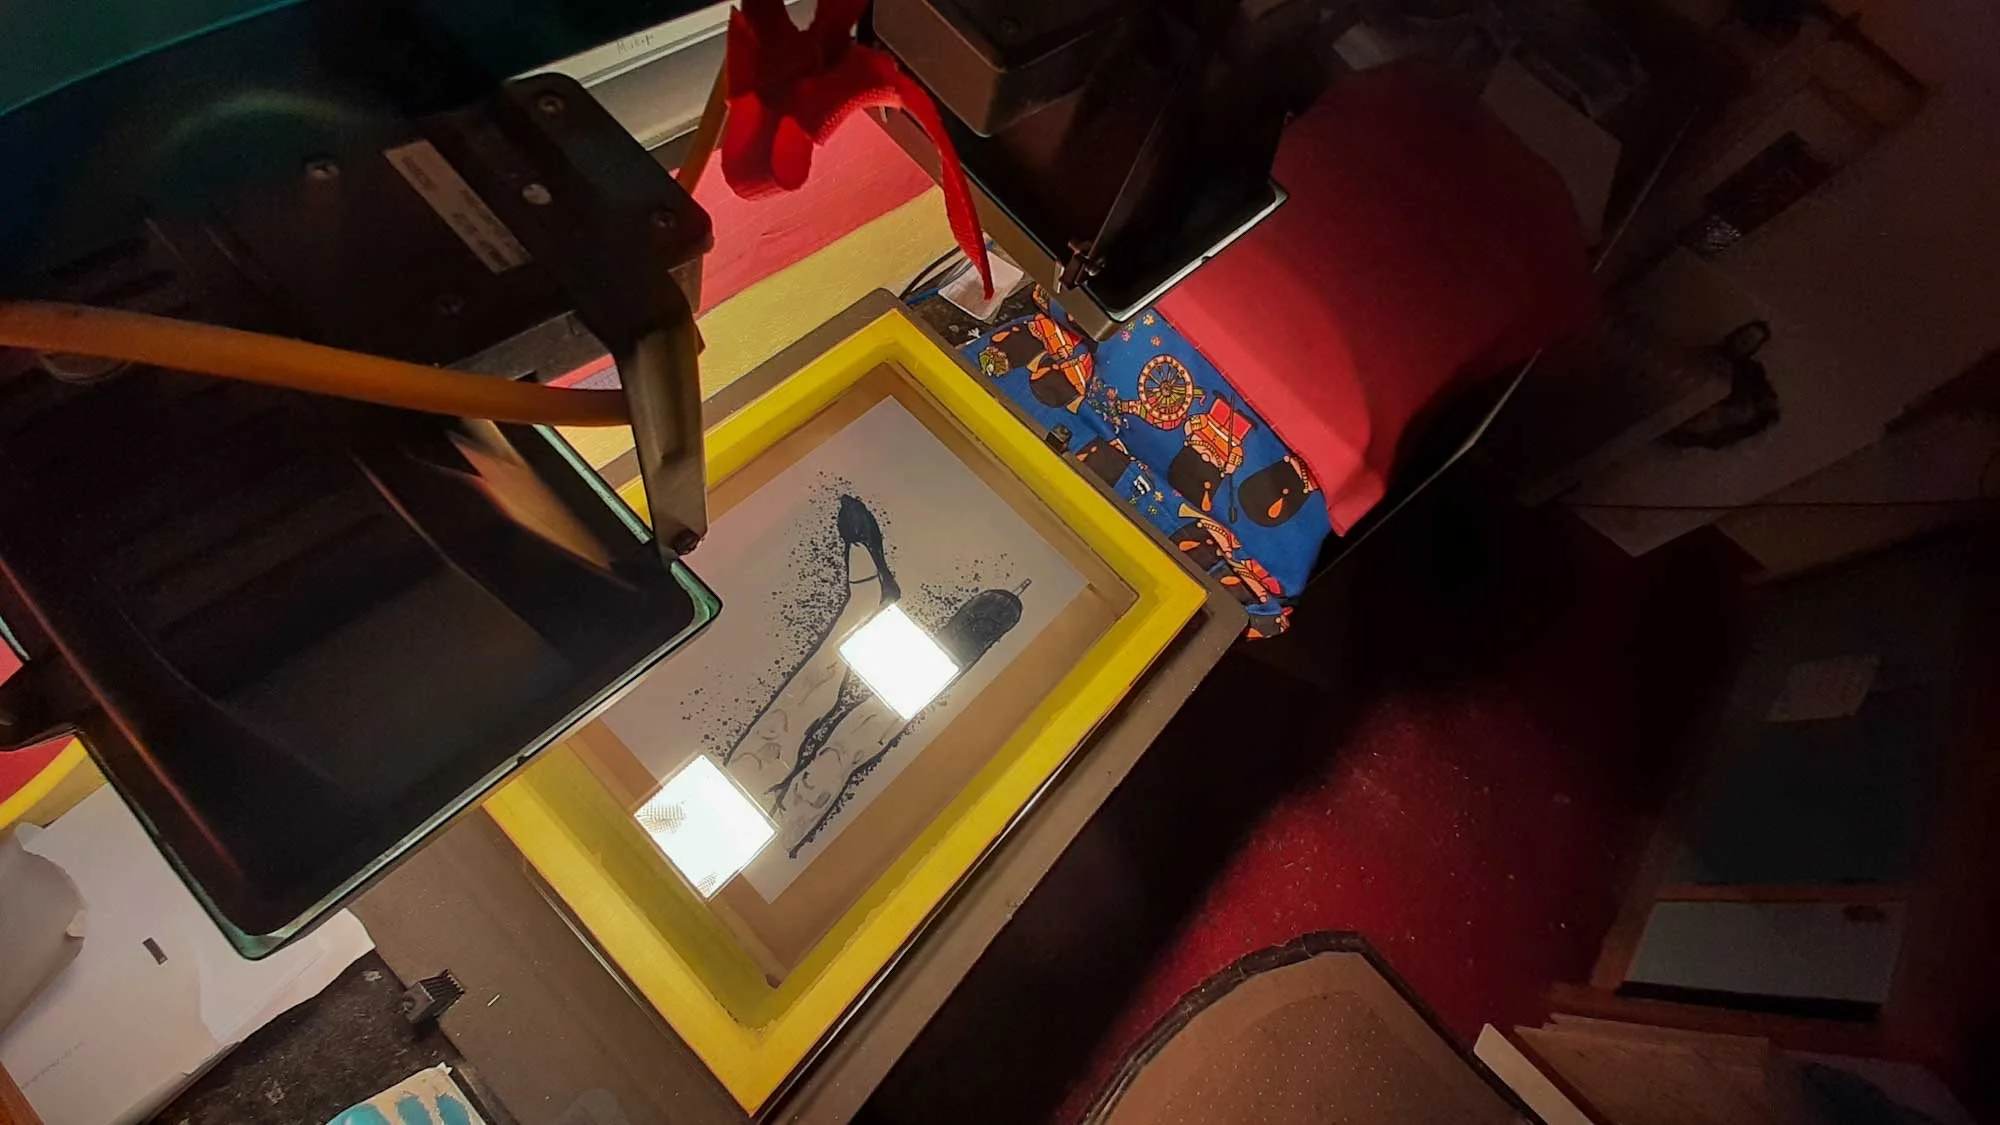
Exposure setups vary wildly. You might have a vacuum unit with UV tubes that exposes a screen in seconds. My setup is two 400w lamps suspended above the screen, and exposure takes a few minutes. I’ll cover exposure timings properly in a separate post.
Once the screen is exposed, you need to get water onto it before it sees too much light. I tend to burst out of my shed with the exposed screen and a watering can, and pour water over both sides immediately. Douse the whole thing.
After a couple of minutes, spray the screen with a steady stream of water. If your exposure time was right, your image should start to reveal itself. Wipe gently with a gloved hand to encourage the loose emulsion to clear. Do this on both sides.
You may need to blast stubborn areas with a stronger jet — either from a hose attachment or the classic thumb‑over‑the‑end trick. Hold the screen up to the light to check you’ve washed out everything you need to.
Once you’re happy, let the water drain.
Dry & Inspect
Lately I’ve been blotting both sides with cartridge paper (proper blotting paper would be even better) to remove leftover water that can carry tiny bits of emulsion — these can dry in place and partially block the mesh.
Dry the screen flat if you can, to discourage blocking. I put mine in my drying cupboard with a fan heater blowing across it.
Once dry, inspect the screen for pinholes — tiny gaps in the emulsion that will let ink through. Prop the screen against a light source and look carefully.
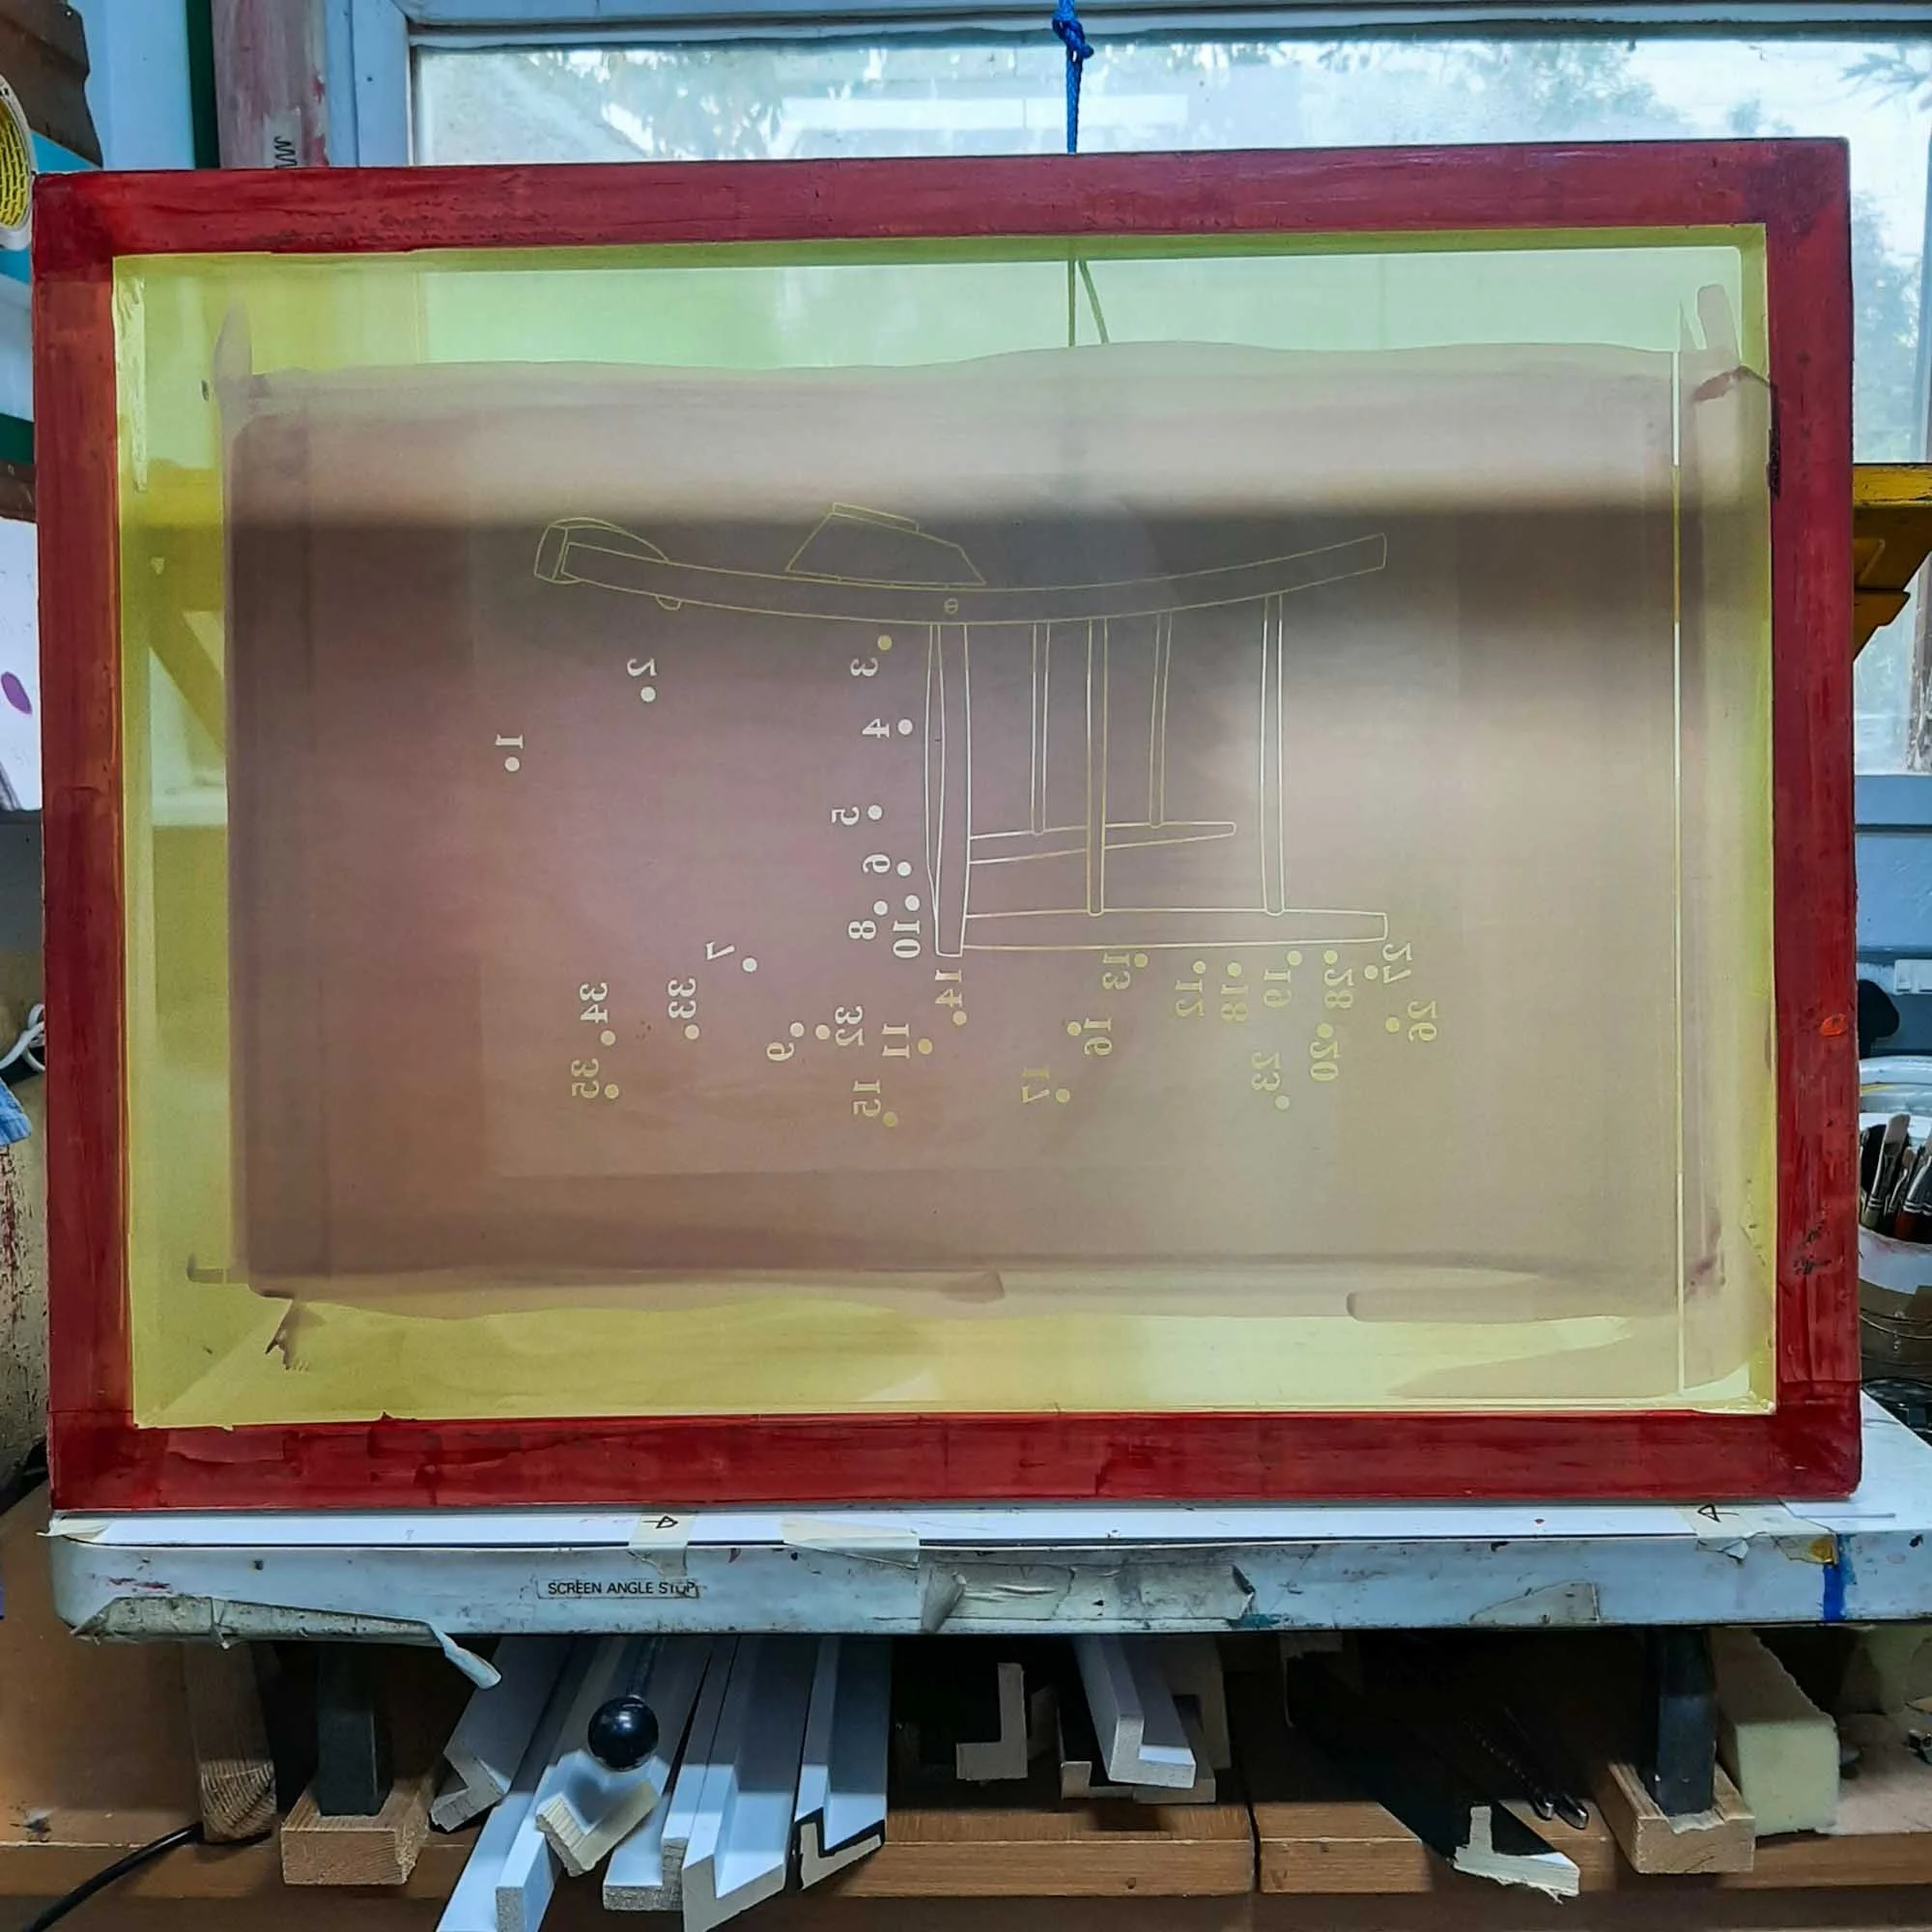
You can cover pinholes with stop‑out fluid or small pieces of parcel tape. Do this on the printing side of the screen.
Clamp & Tape
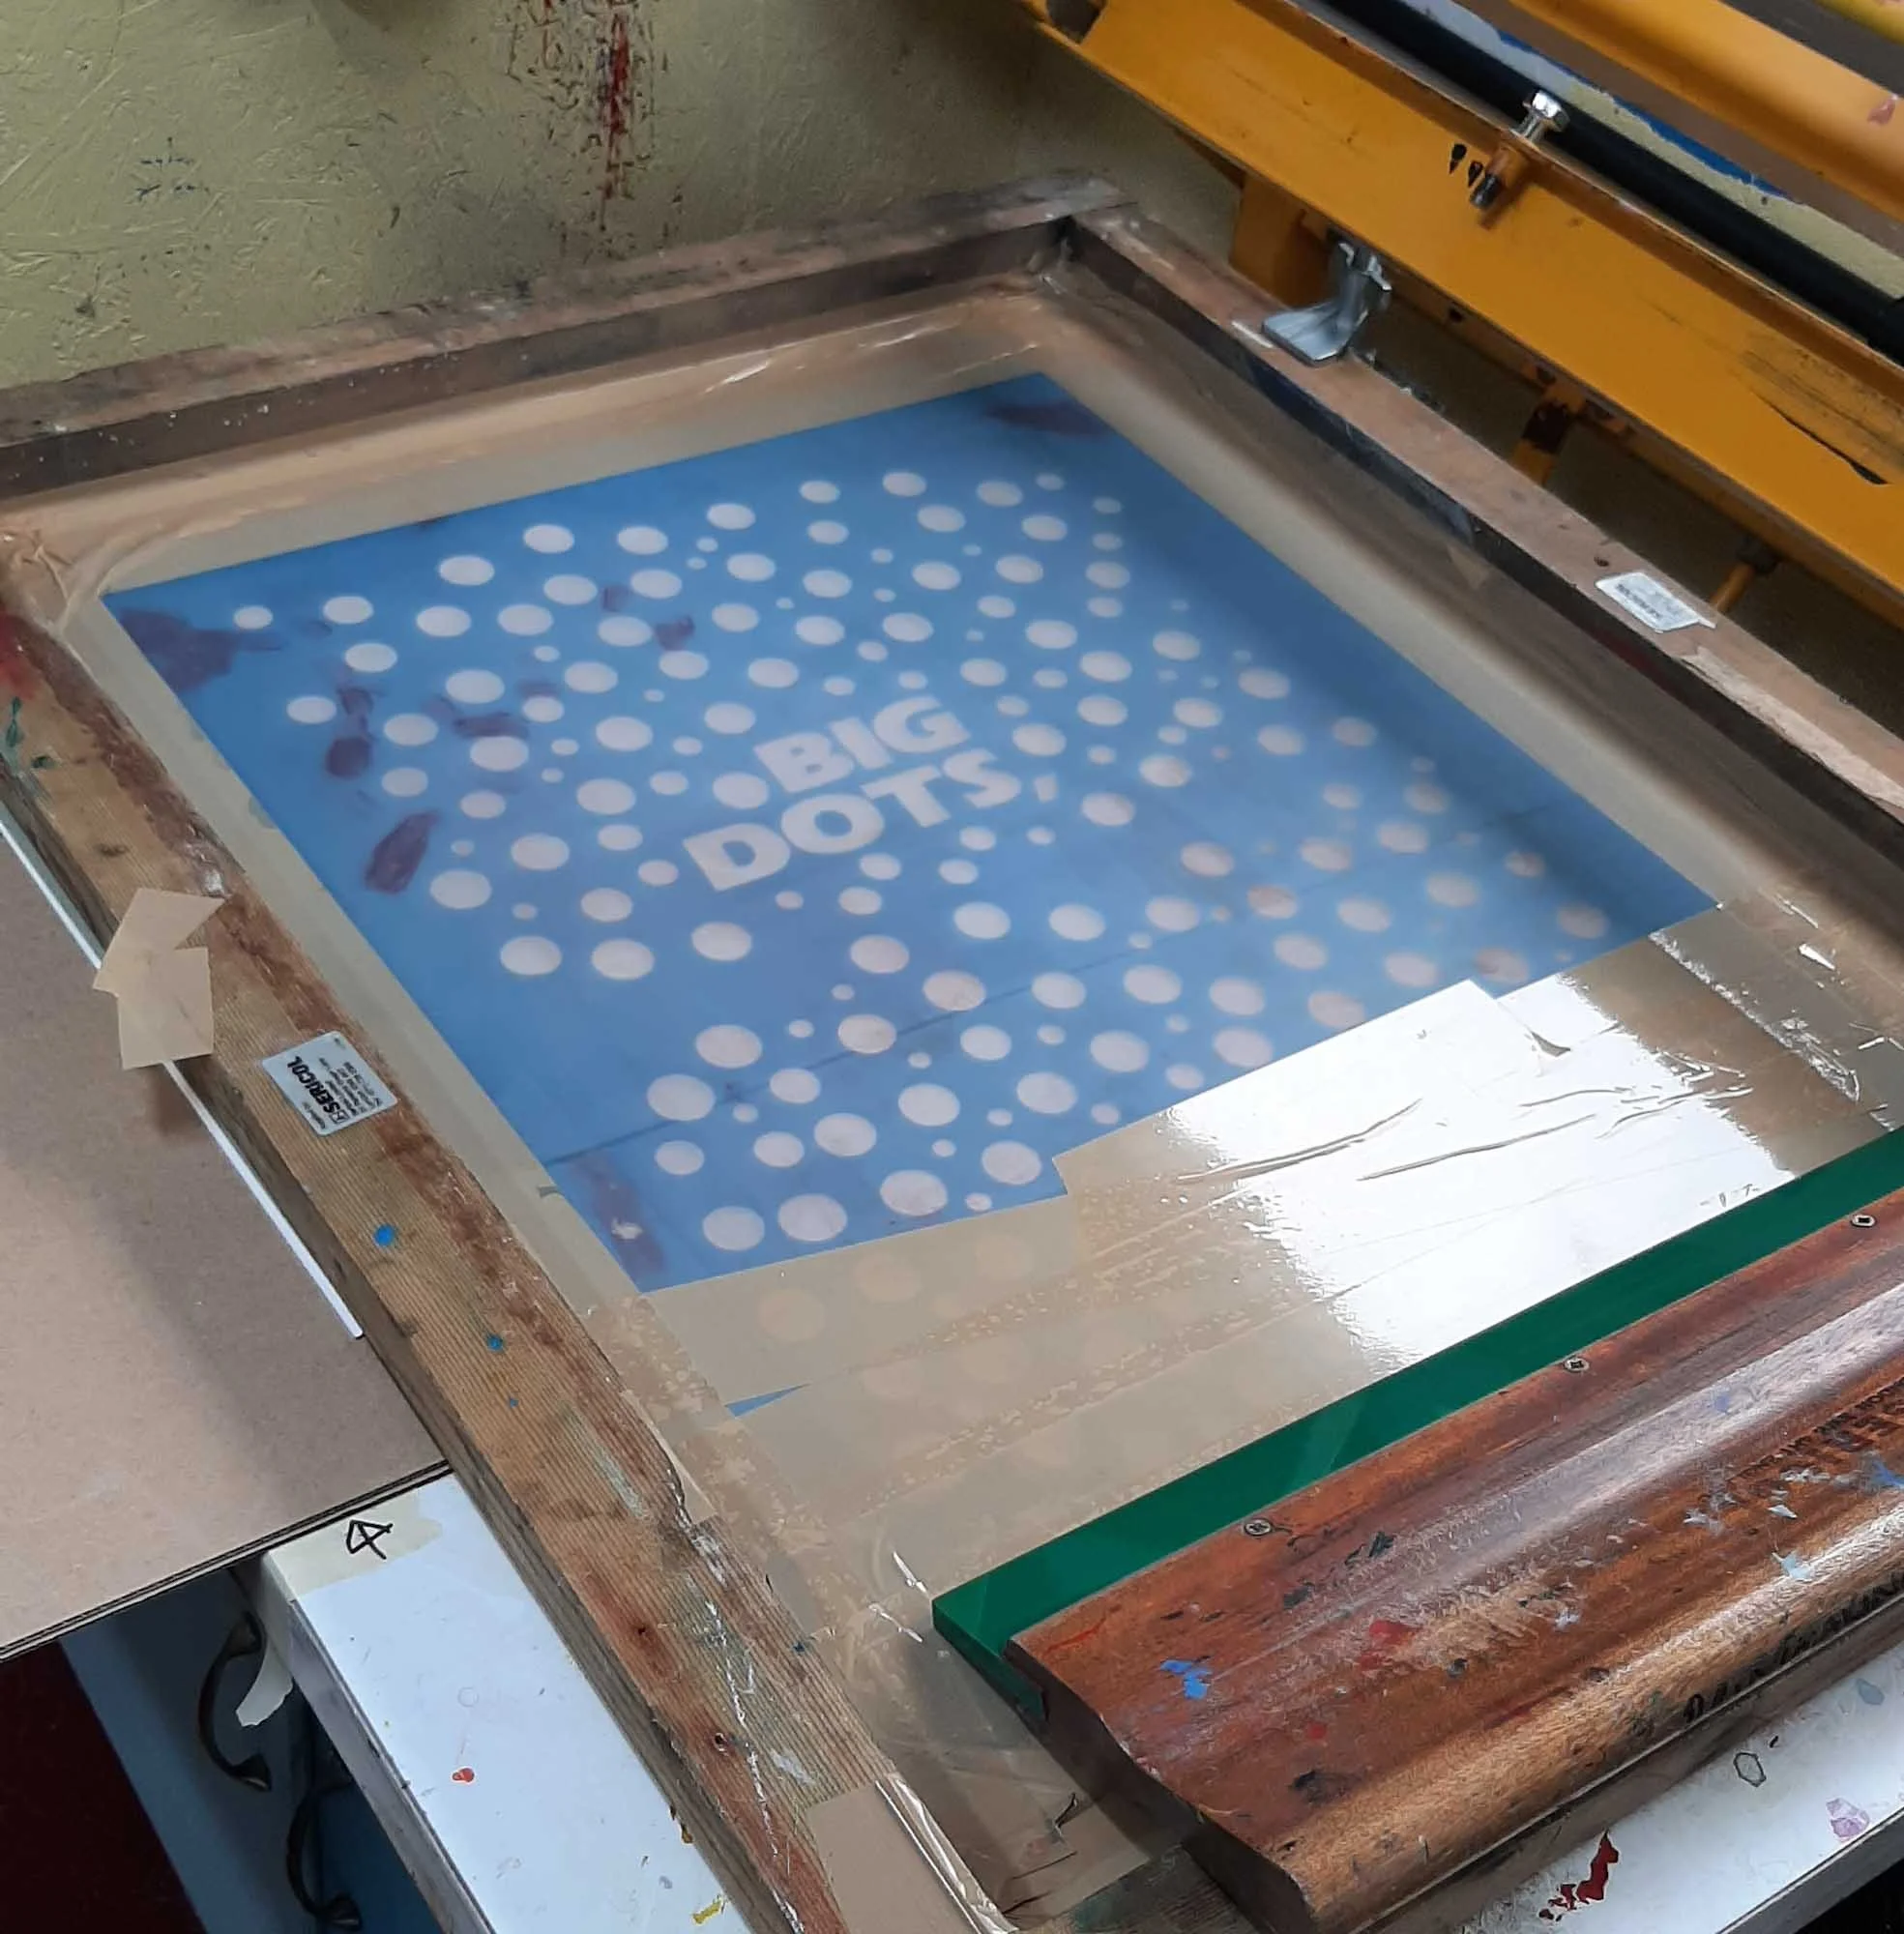
Clamp your screen into your printing frame and use parcel tape to seal the edges and any areas you don’t want to print. Make sure the tape overlaps the mesh by at least a quarter of an inch — this prevents ink from bleeding between layers and onto your printing surface.
Adjust for the Right ‘Snap’
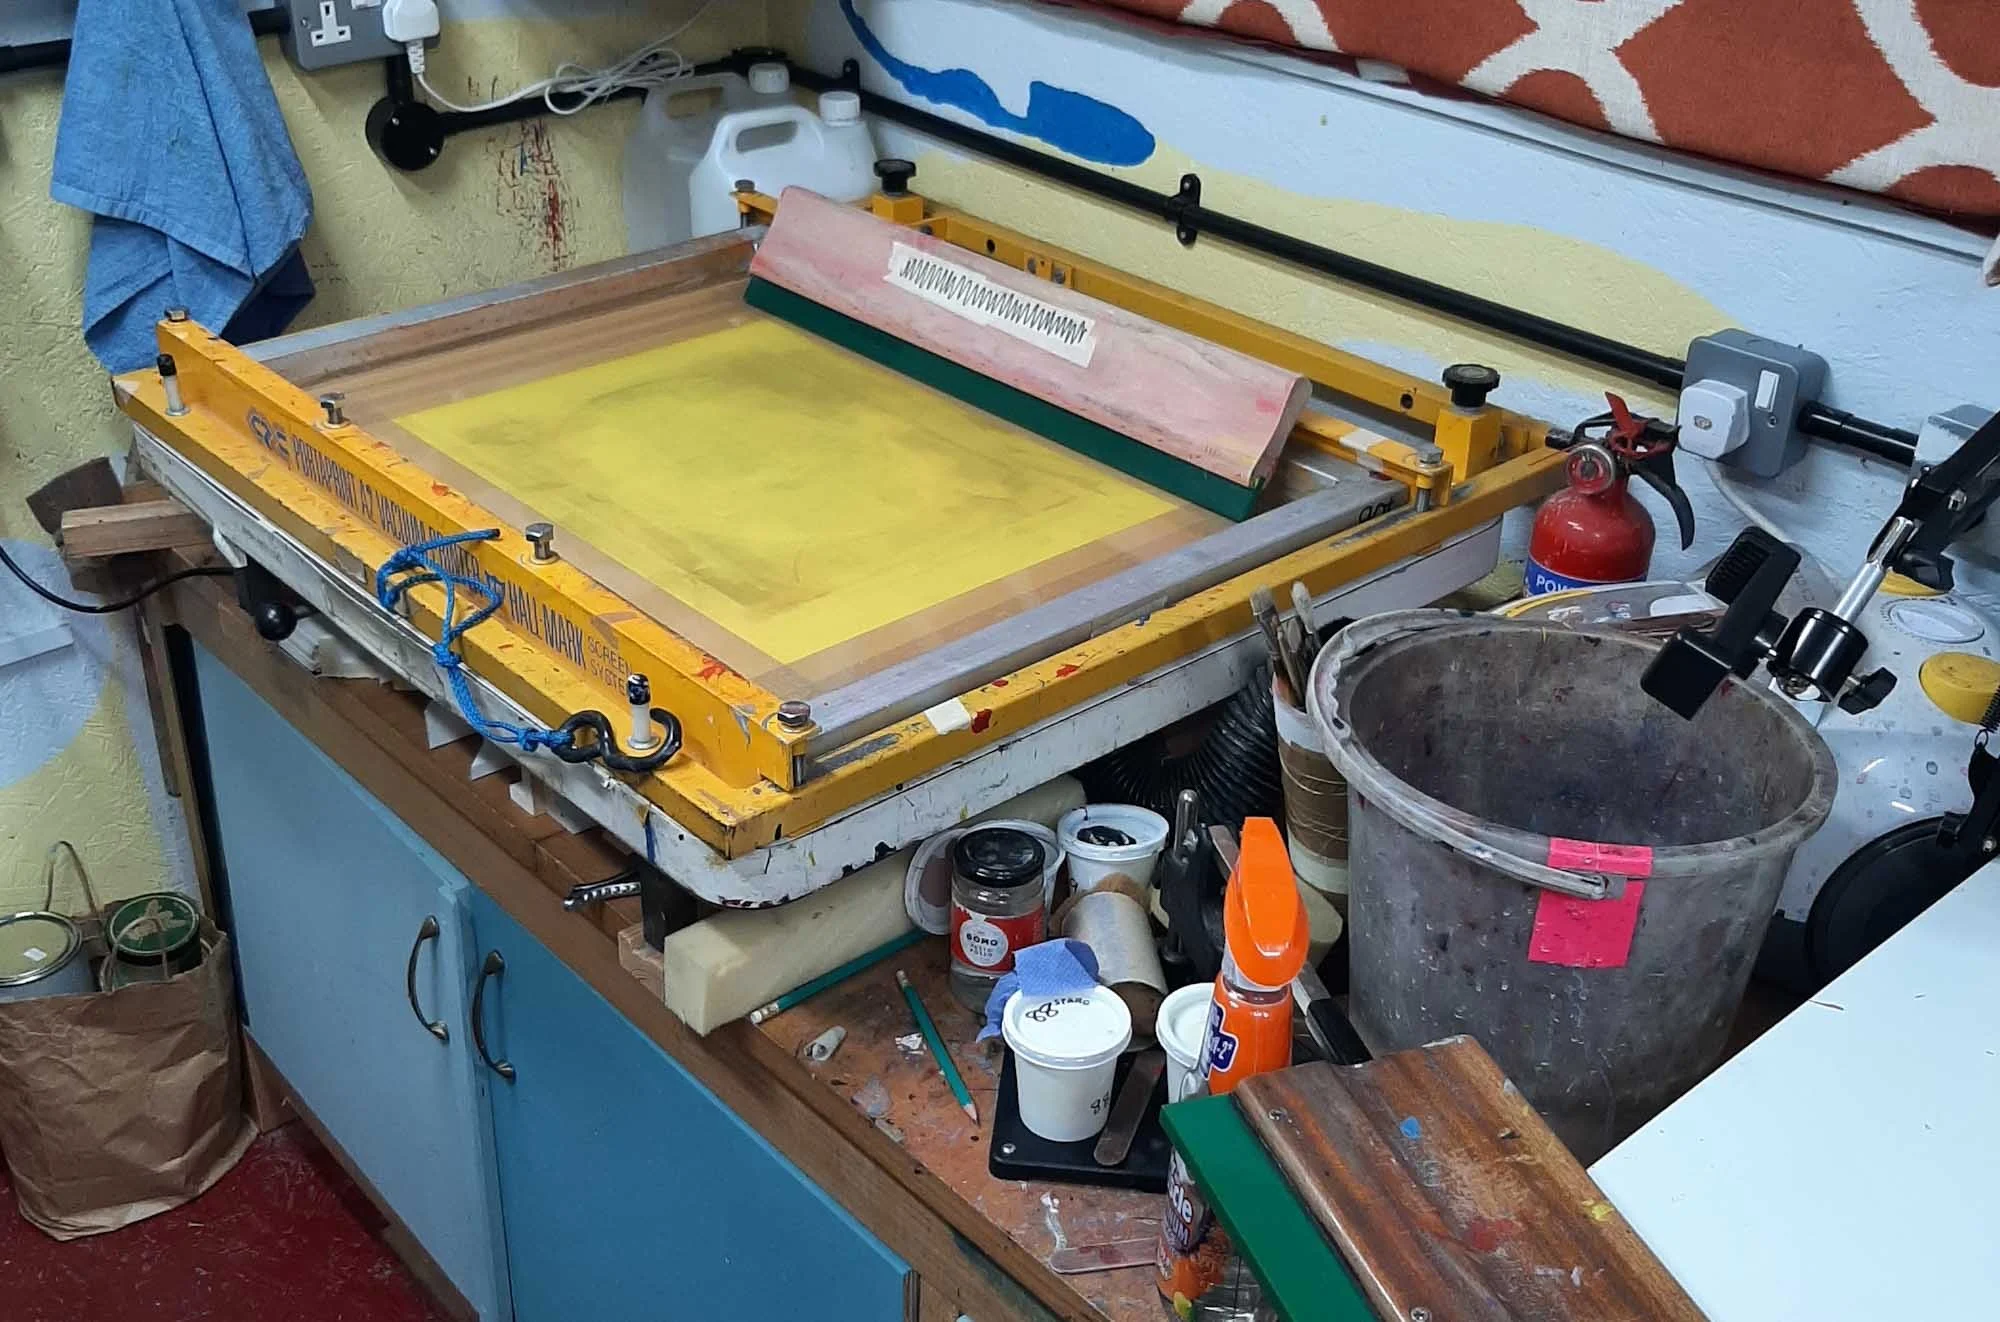
Finally, adjust your printing frame so that all corners of the screen sit at an even height above the printing surface. You want just enough off‑contact so the squeegee can push the mesh down during the print stroke, and the screen will ‘snap’ back up cleanly when you lift the squeegee.
Conclusion
Your screen is now fully prepared — coated, exposed, taped, and clamped. The next step is the fun part: adding ink and pulling your first print.
What’s your favourite part of screen prep — coating, exposing, or the first reveal?
———
This post is part of the Screen Printing Techniques Series: