Temperature Control Through the Seasons
(Print Studio Setup Series, Part 5)
Temperature control isn’t the most glamorous part of running a studio, but it has a huge impact on how comfortable, safe and workable the space feels throughout the year. My shed studio has its quirks — from ageing insulation to single‑pane windows — so over time I’ve had to improvise, upgrade and occasionally learn things the hard way.
In this post, I’ll take you through the heating, insulation and seasonal adjustments that keep the studio usable, from DIY window panels and frost‑proof settings to the small changes that make winter mornings bearable.
---
Temperature Control Through the Seasons
This one’s a funny topic for me to write about, because although I’ve had my fair share of adventures with heating and cooling, I can’t pretend I’ve fully mastered the climate inside my studio. Still, I’ve learned a few things along the way — mostly through trial, error and the occasional brush with disaster.
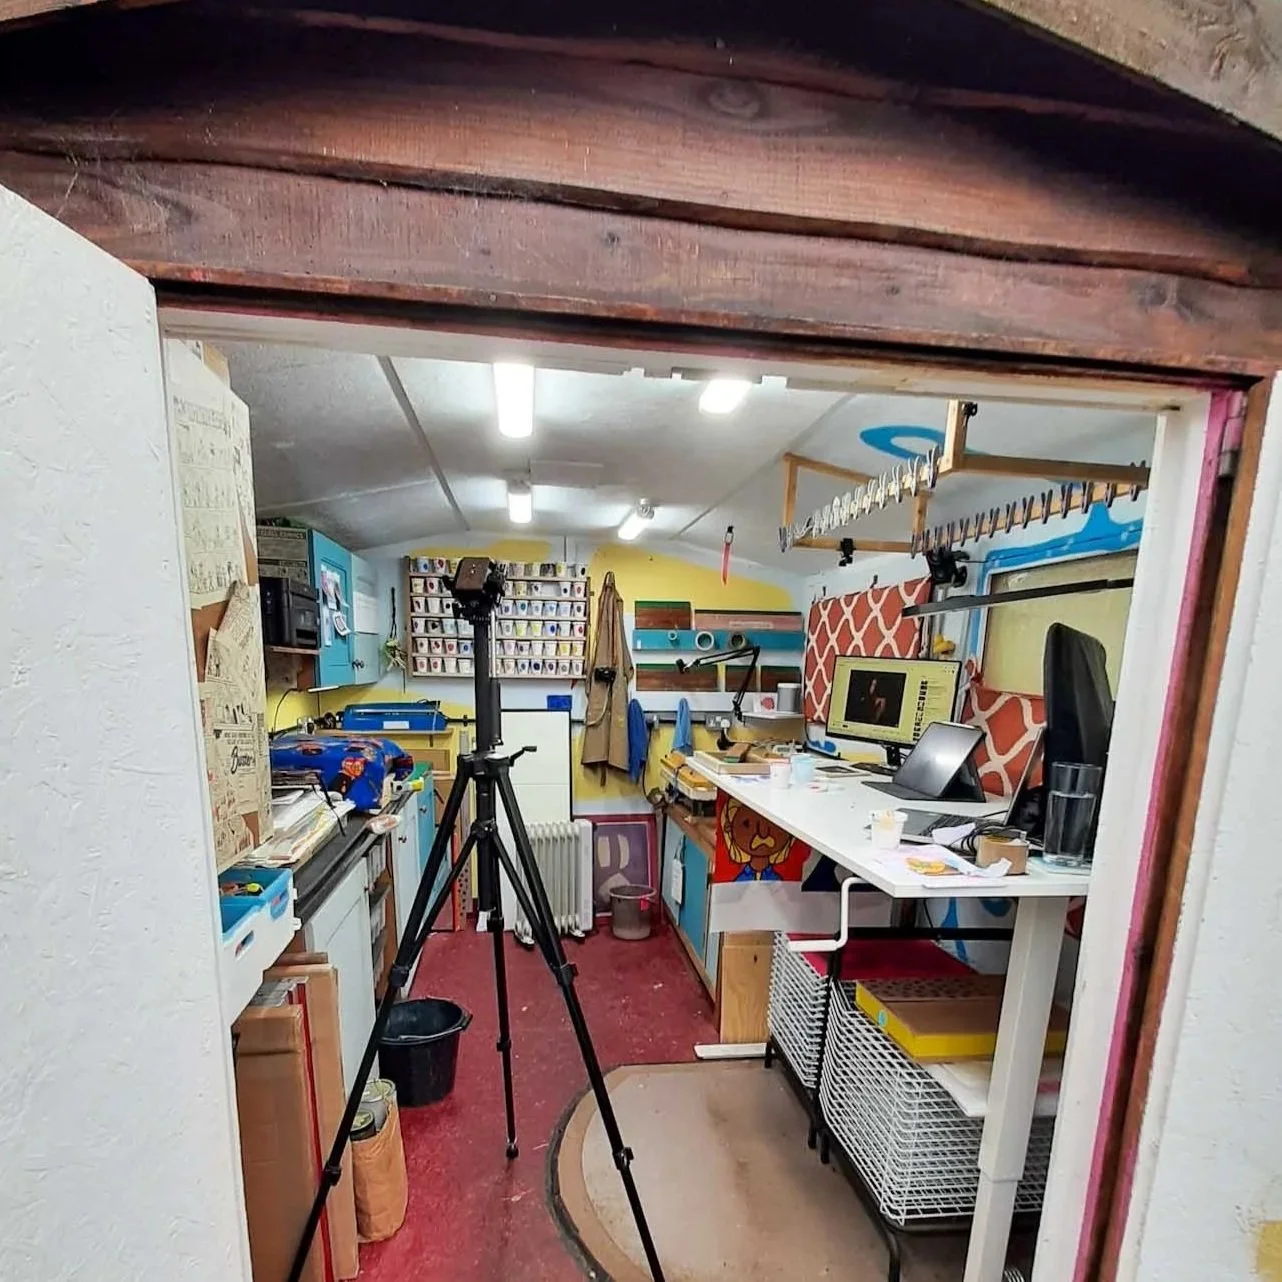
My studio sits inside a wooden shed of unknown age, and several years ago, when parts of the floor, walls and roof began disintegrating, I carried out a fairly major renovation. That was when I discovered the state of the insulation. Between the outer cladding and the inner walls sat three to four inches of fibrous insulation; the ceiling had two inches of polystyrene; the floor had none at all — though at least it’s raised above the earth. The wall insulation was in a terrible state, chewed and fouled by generations of rodents, so replacing it was a relief and, I imagine, made a noticeable difference to heat retention.

The shed renovation that revealed the state of the old insulation — and the moment I realised just how much heat the studio had been losing.
Windows: The Great Heat Escape
The studio has three large windows, each made from a single pane of glass and a single pane of Perspex with an inch‑wide air gap. Better than nothing, but not by much. The rear window isn’t used, so I’ve covered it with a couple of blankets. One day I’ll replace it with wood and insulate properly, but for now the blankets do the job.
The front two windows, however, I rely on for light — which meant finding a way to reduce heat loss, especially at night. For years I did nothing, but eventually a solution popped into my head. I like a fix that costs little or nothing, and this one used materials I’d originally bought to make a headboard for a king‑size bed.
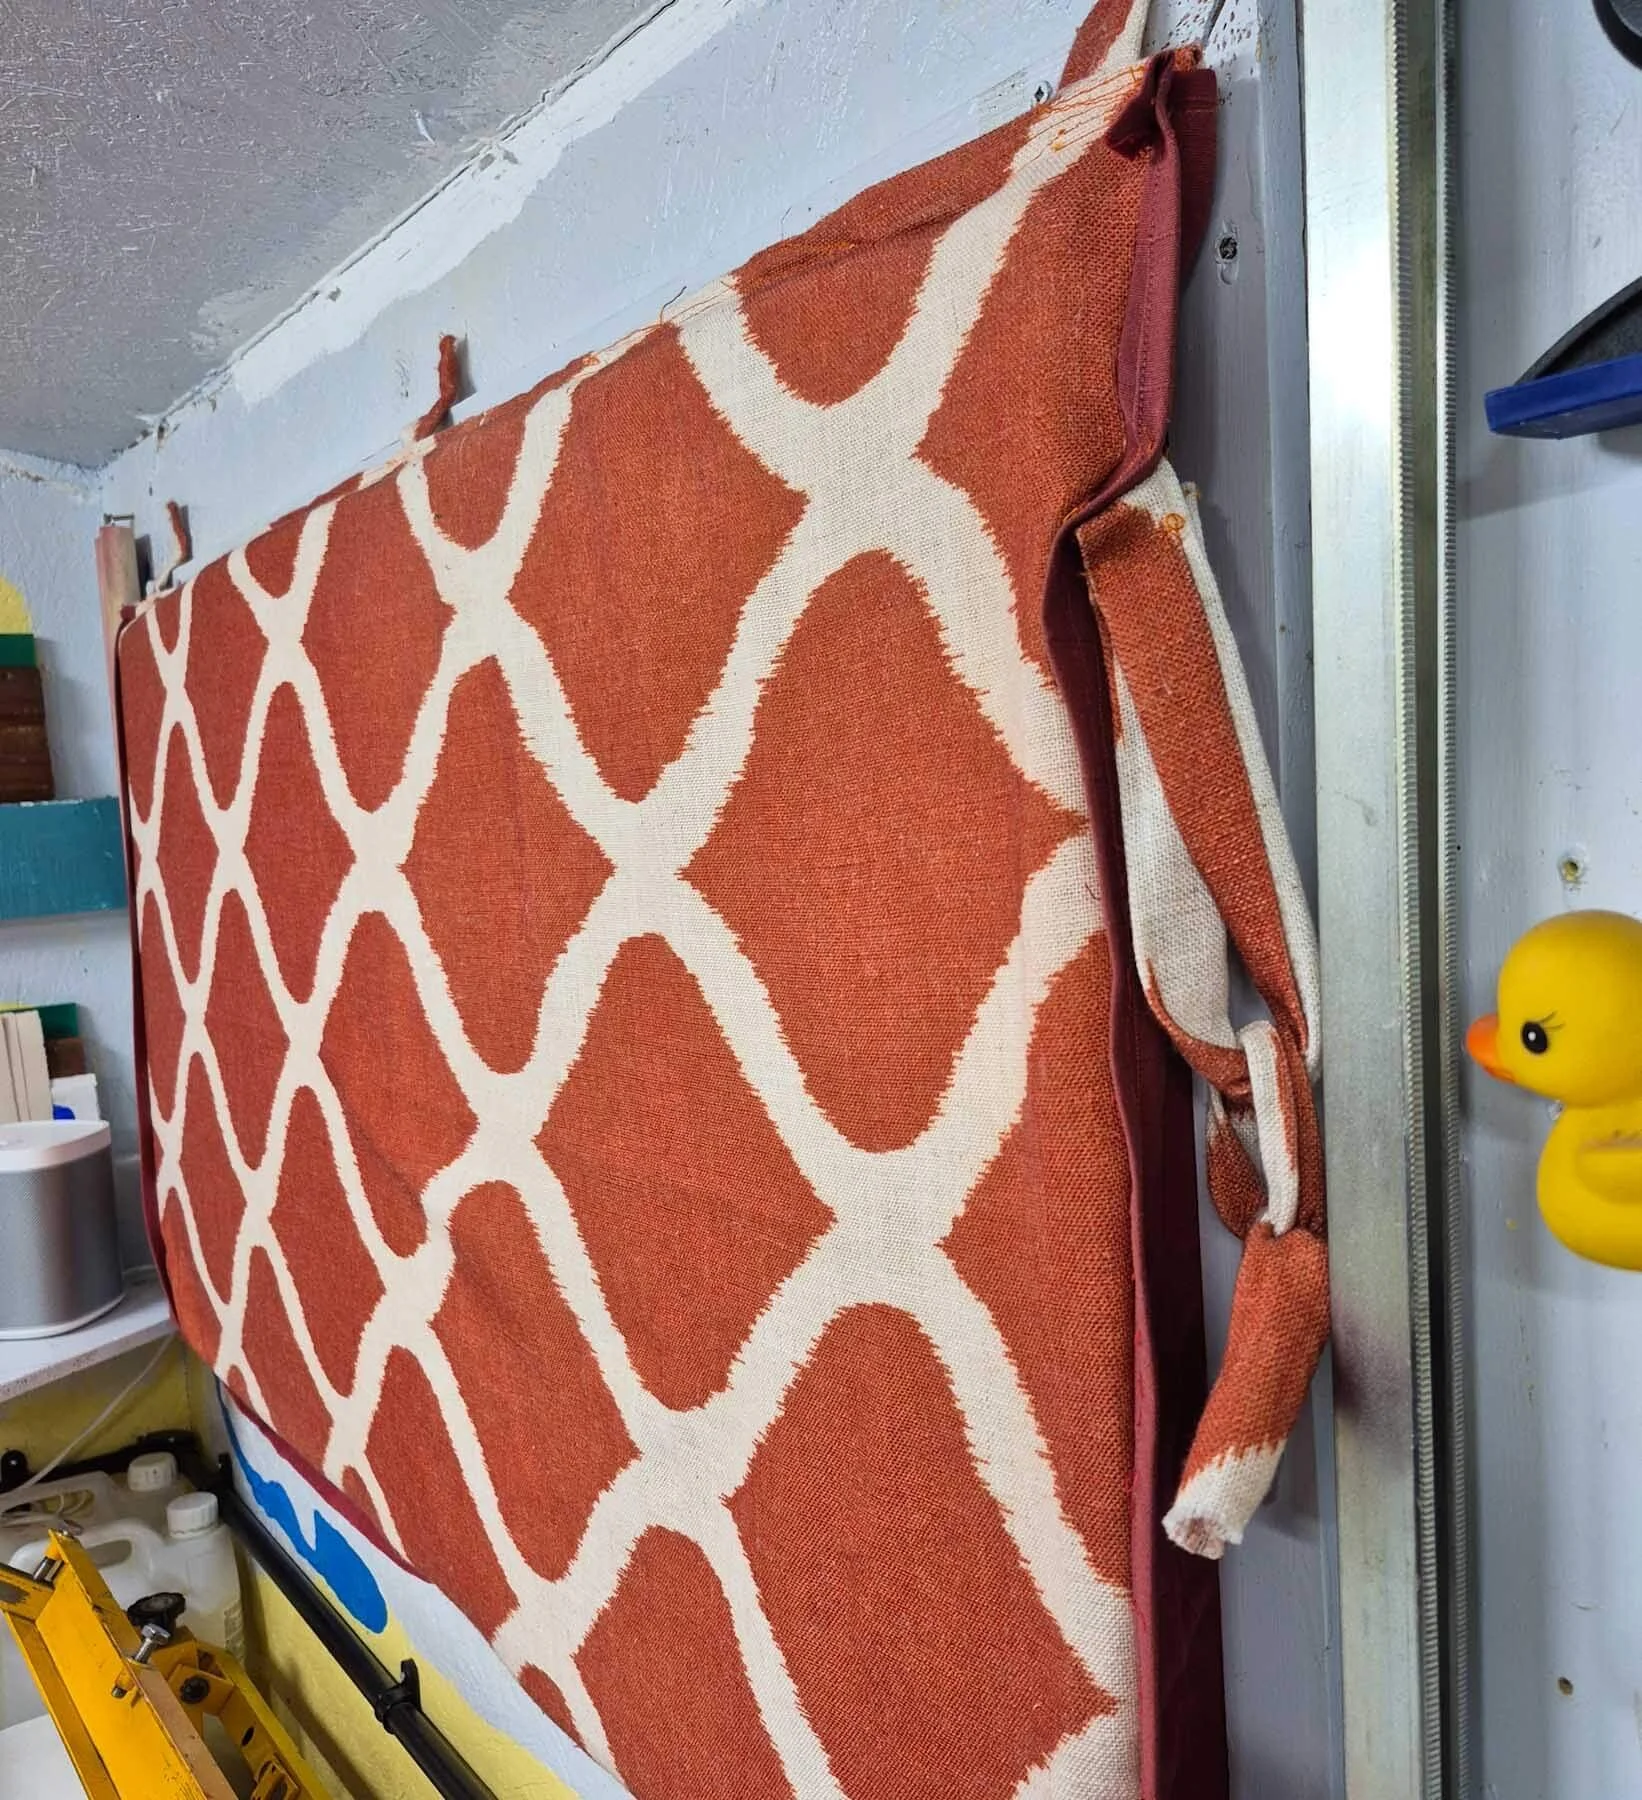
I had some funkily patterned cotton fabric and two large rectangles of dense foam. I sewed the patterned fabric to some red sheets I’d been using as studio curtains, slipped the foam inside, added tabs and Velcro, and created two large padded panels. These sit snugly within the window frames and stick in place with Velcro. They provide a surprising amount of insulation and double as blackout panels for light exposure — a rare double win. In winter, if I’m working at one end of the studio, I keep the other window covered to hold onto as much heat as possible.
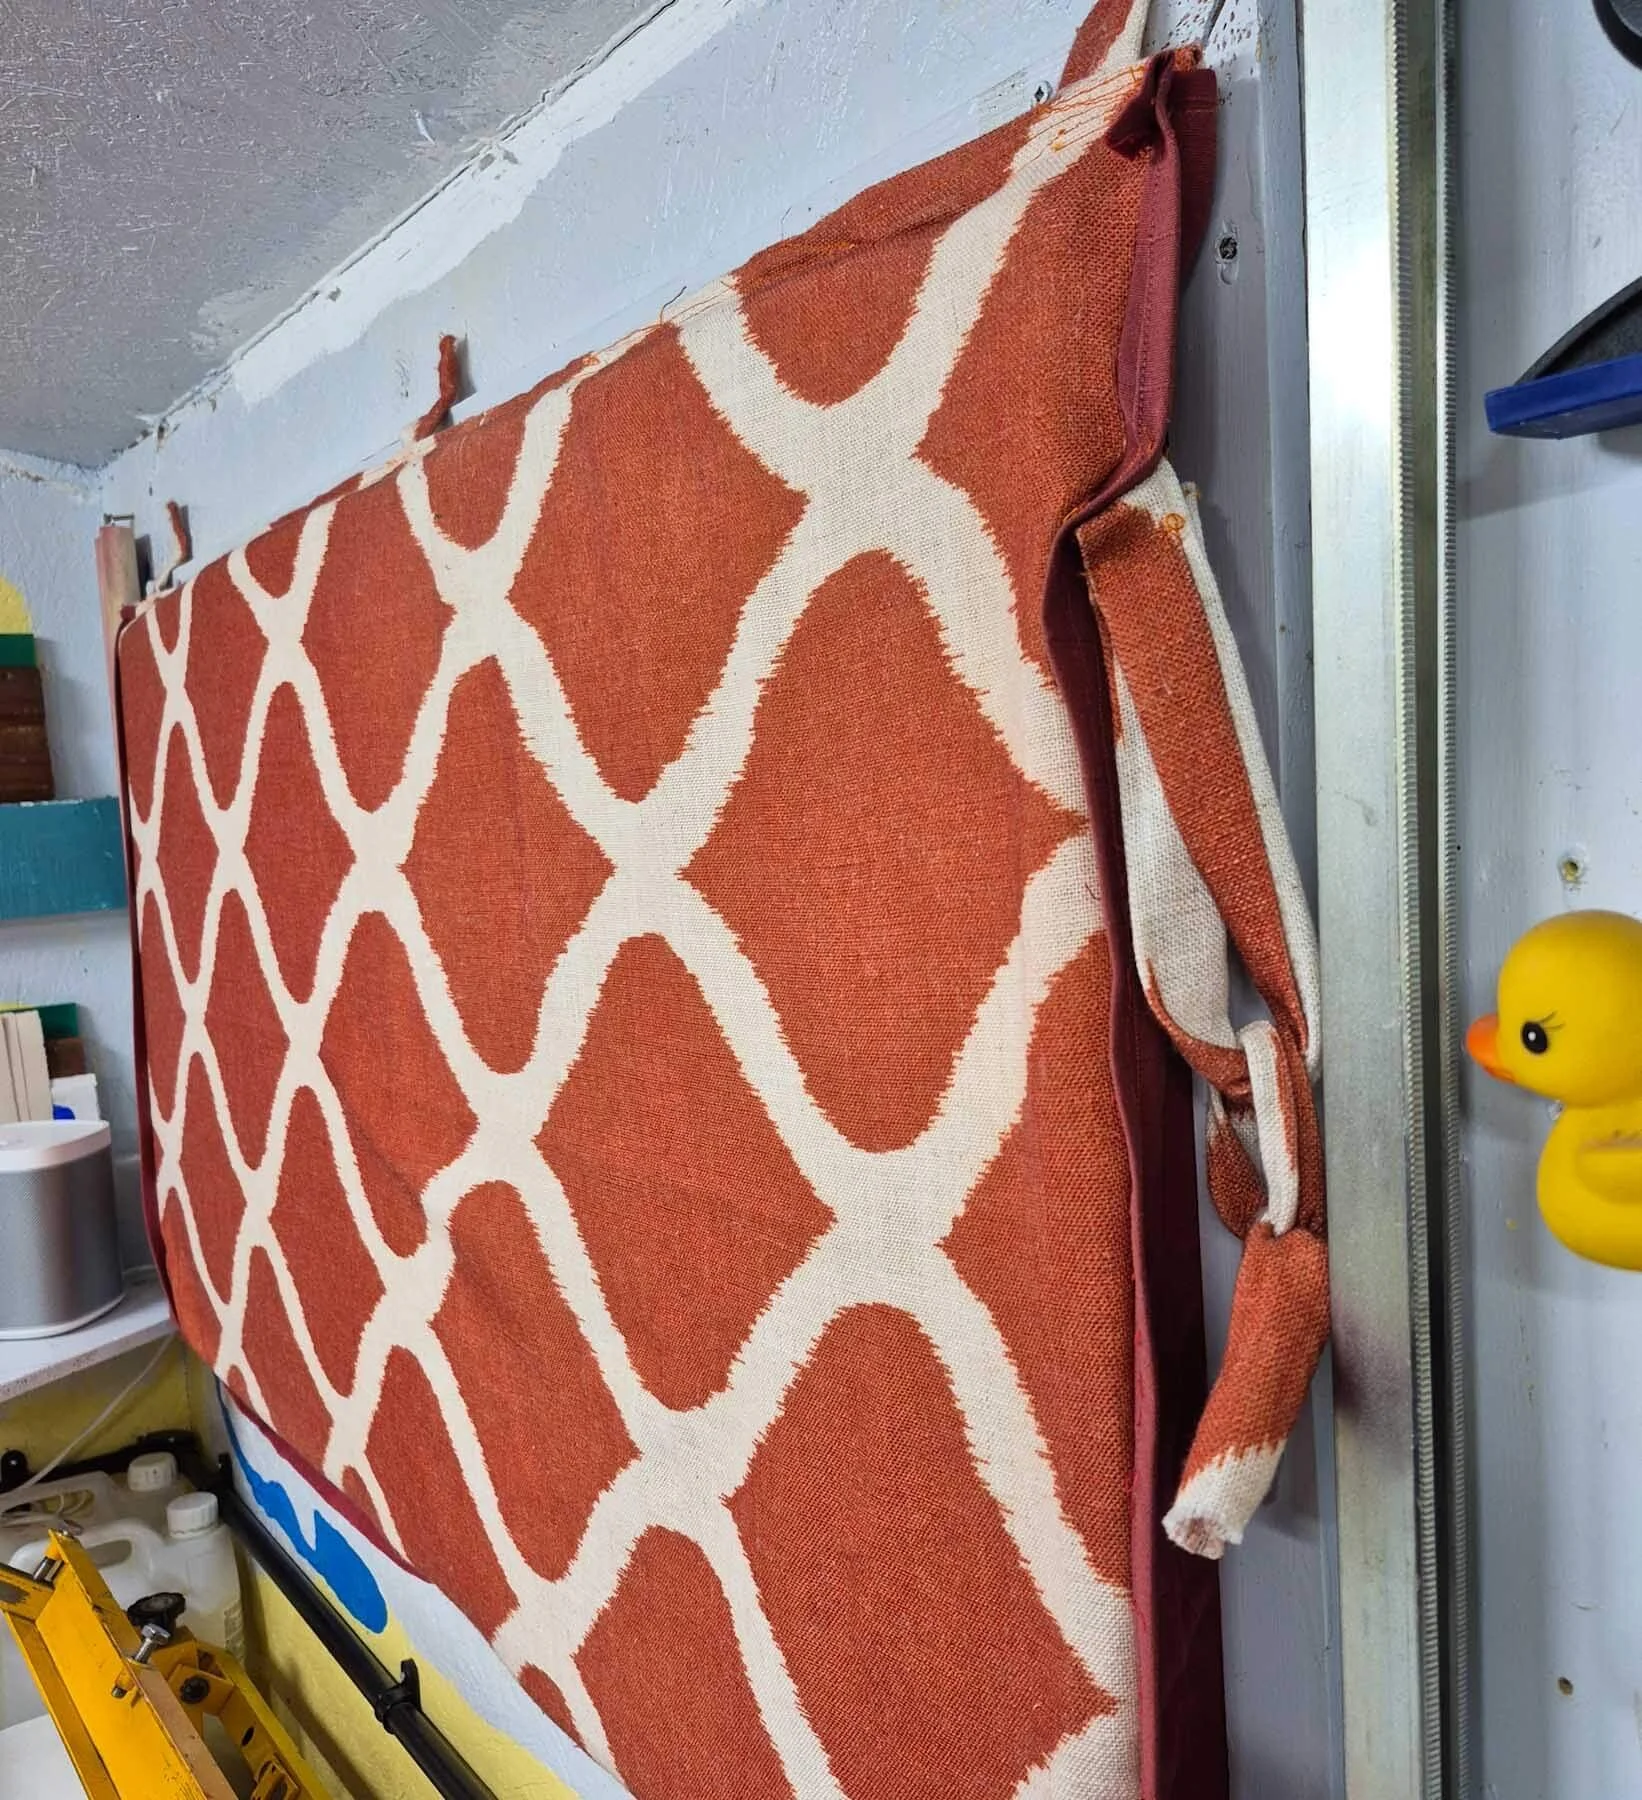
A DIY solution that cost nothing — foam‑filled fabric panels that insulate the windows and double as blackout covers for exposure work.
Heating: Functional, Not Fancy
My main heat source is an oil‑filled radiator. Nothing glamorous. It’s on wheels so I can position it where the warmth is actually useful. I briefly considered wall‑mounting it, but the loss of flexibility wasn’t worth the visual tidiness.
A few years ago, I realised that letting the studio drop to freezing overnight was a terrible idea — for both the electronics and my morning comfort. Now I use the frost‑proof setting, which seems to keep the temperature above 5°C on the coldest nights and around 10°C on milder ones. I’m not sure what it costs to run, but whatever it is, it’s worth it.
My secondary heat source is the fan heater, which normally lives in the drying cupboard but can be pulled out to warm my feet when necessary. A small luxury, but a welcome one.
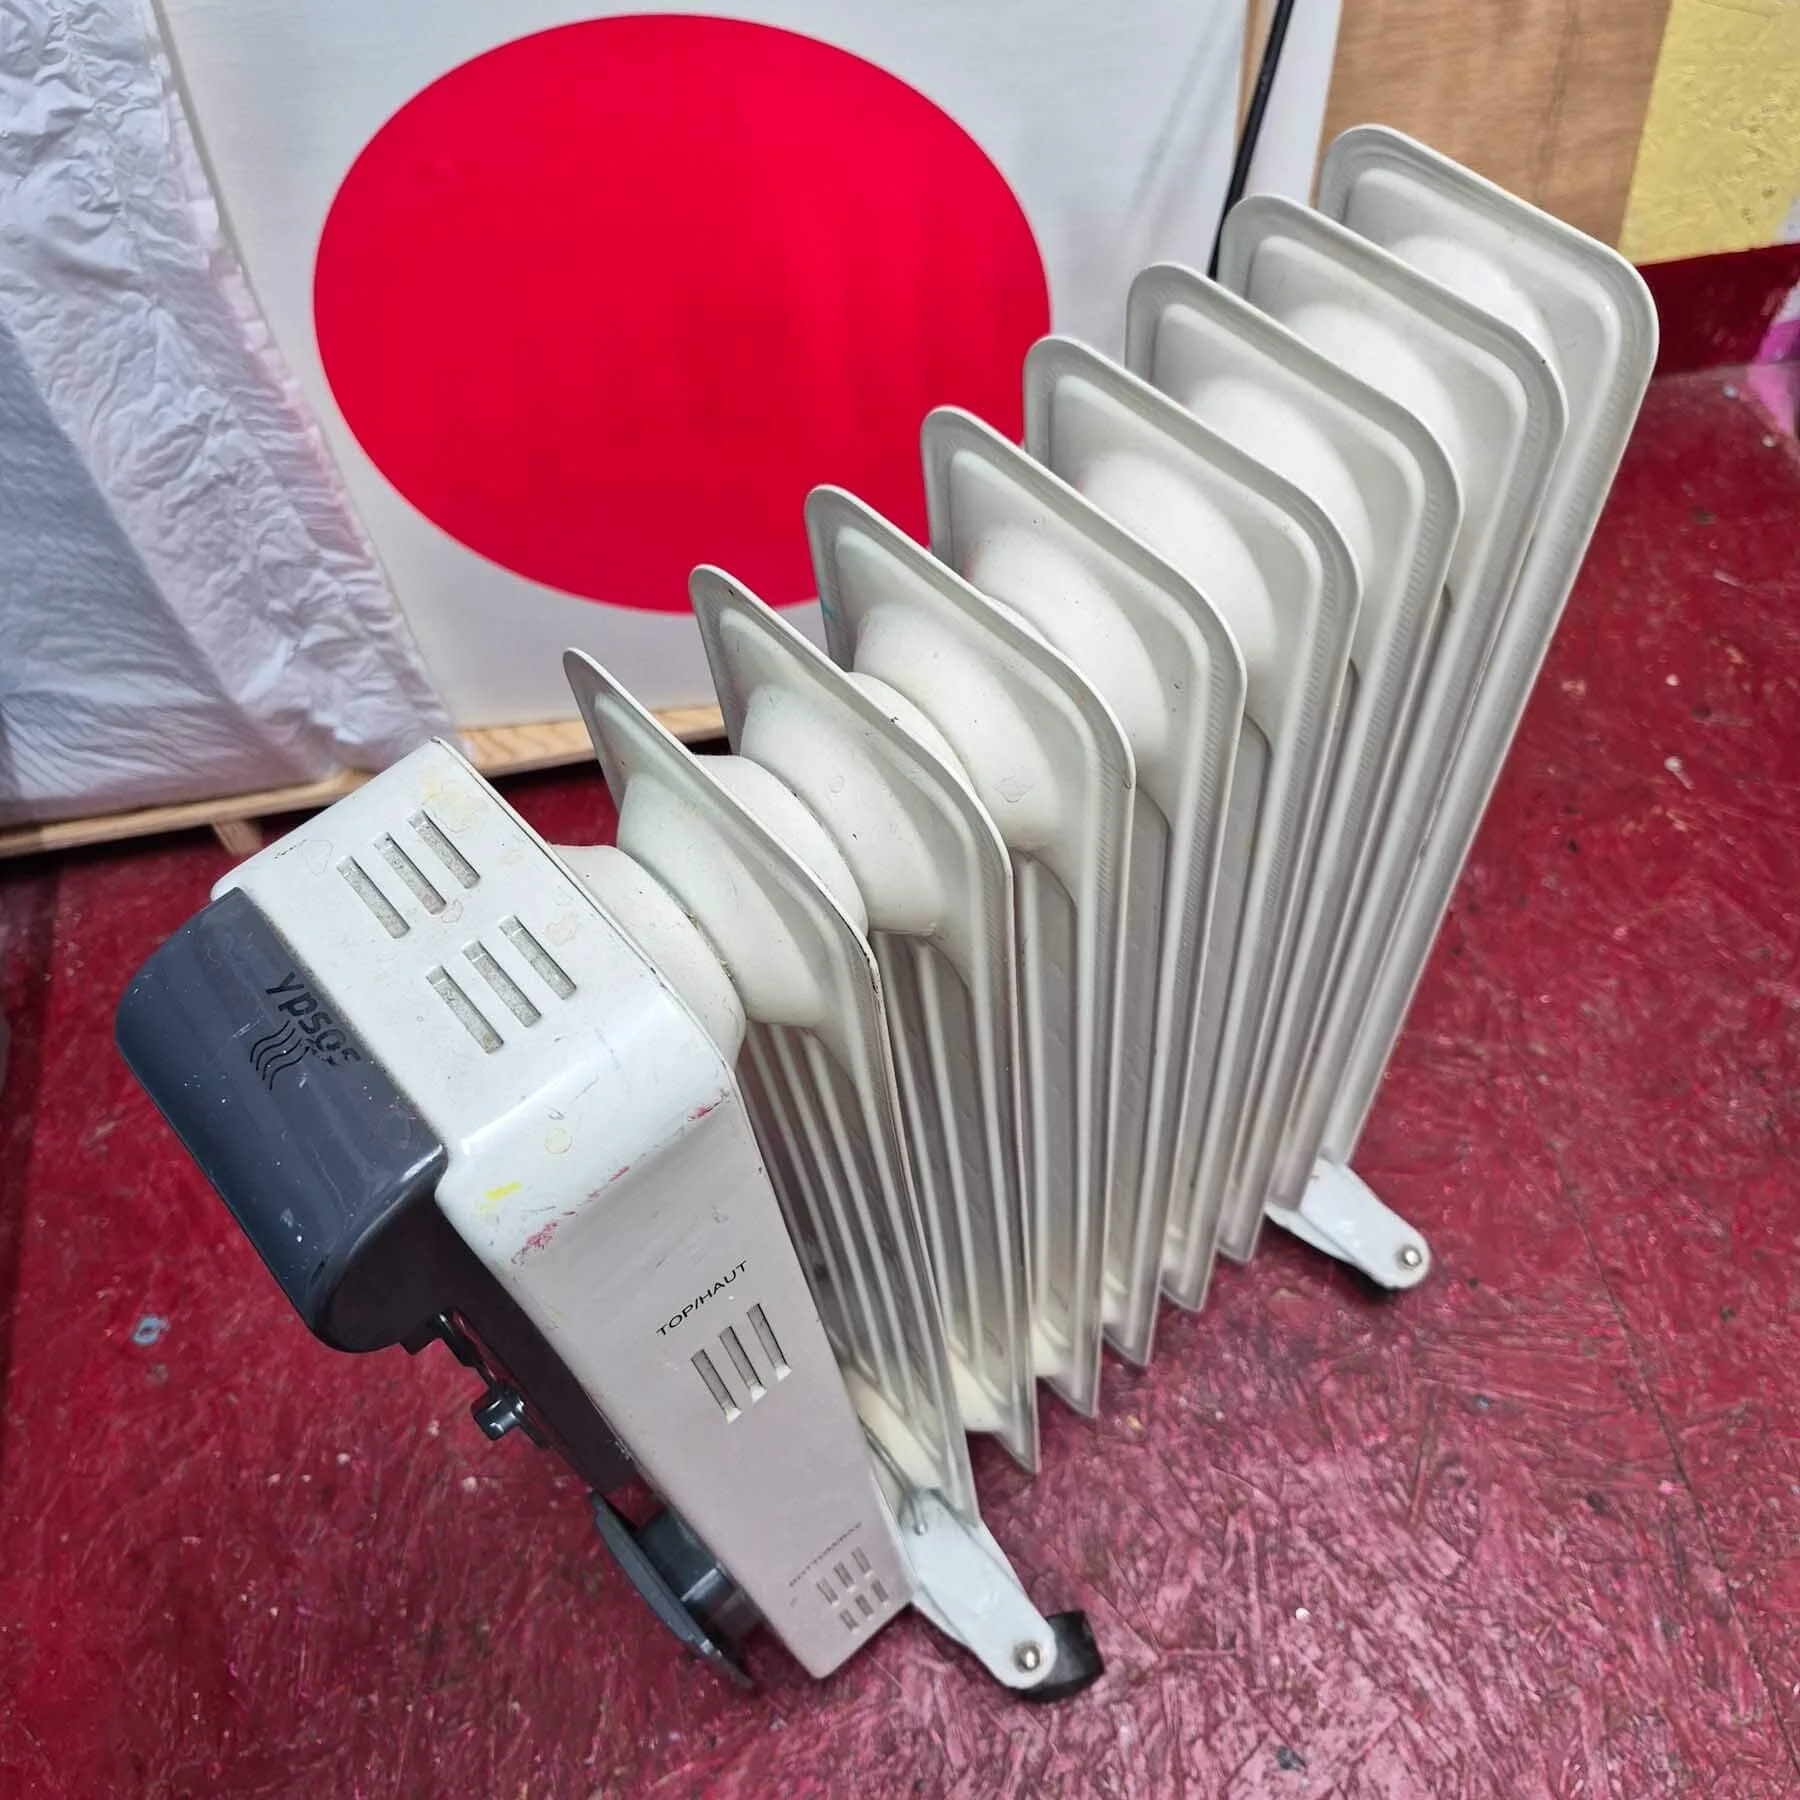
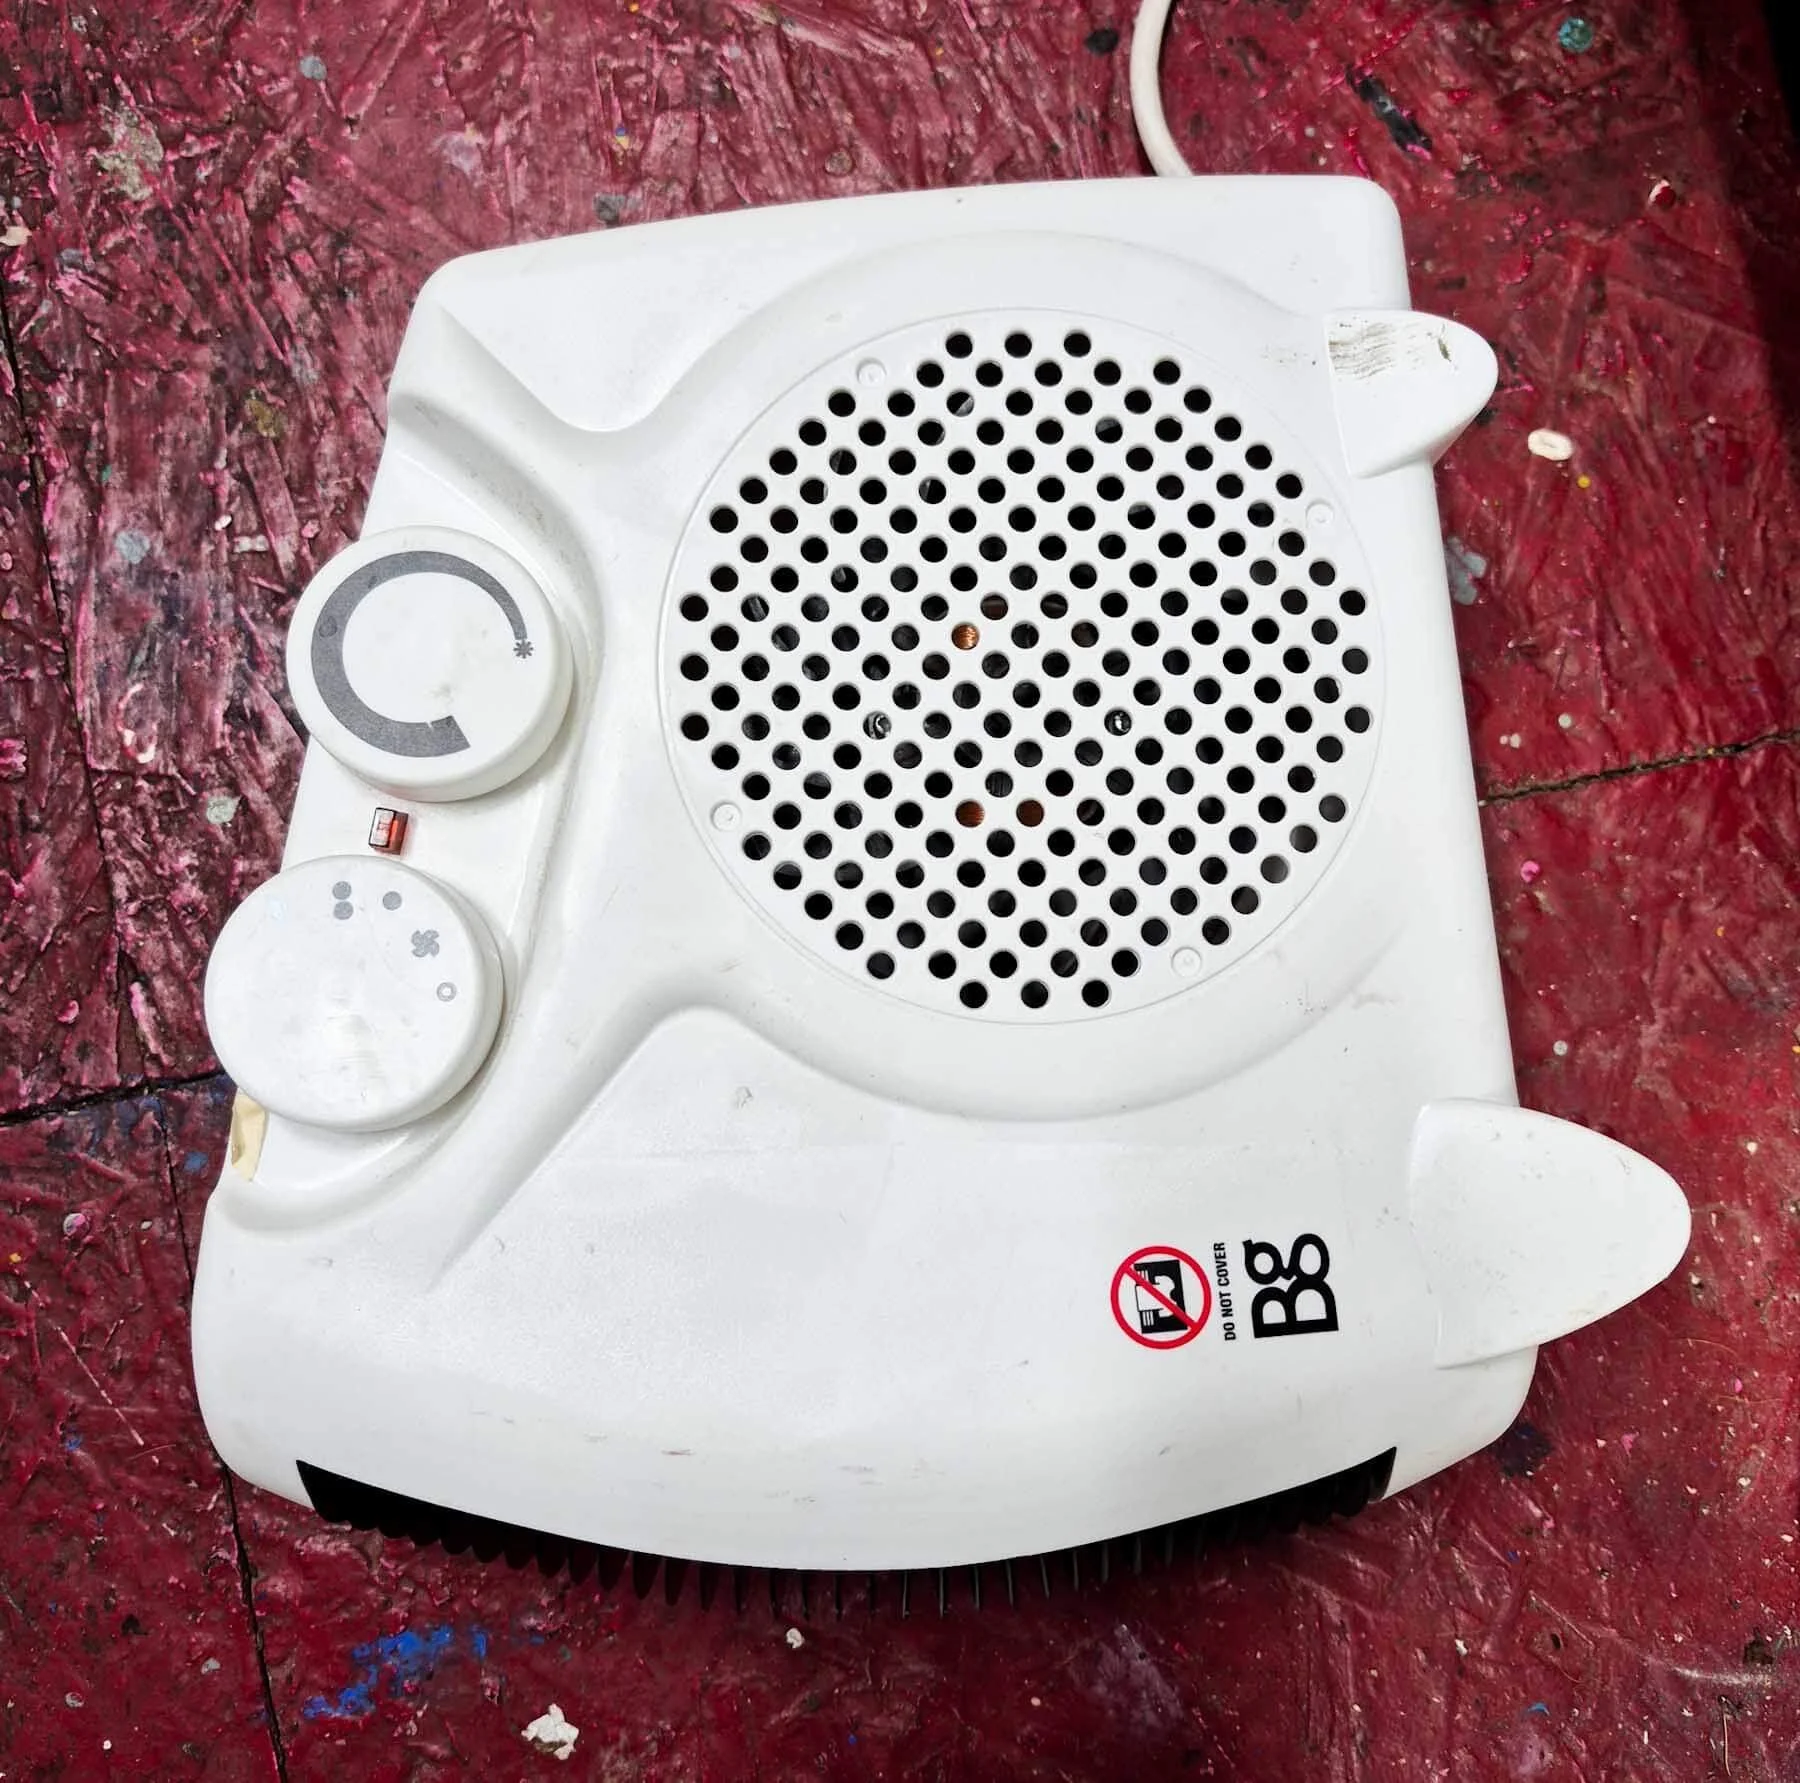
A Brief Encounter With Death (or at Least Headaches)
When I first moved into the studio, I used a small but ferocious kerosene heater I’d brought back from an old farmhouse in southwest France. It had a digital display, but all the technical language was in French — well beyond my vocabulary. I enjoyed the heat it produced, but not the headaches I kept getting in what is essentially a sealed box when the door is closed.
The heater kept flashing a “code 2” warning and beeping occasionally. I ignored it for far too long. Eventually I looked it up.
Carbon monoxide warning.
I sold it on eBay immediately and bought the far less powerful — but crucially, far less deadly — oil‑filled heater I use today.
Good Enough for Now
So that’s my approach to temperature control. It’s not perfect, but it works well enough to keep me comfortable and the equipment safe. It could be better, but it could also be a lot worse. A lot worse.
---
This post is part of the Print Studio Setup Series:
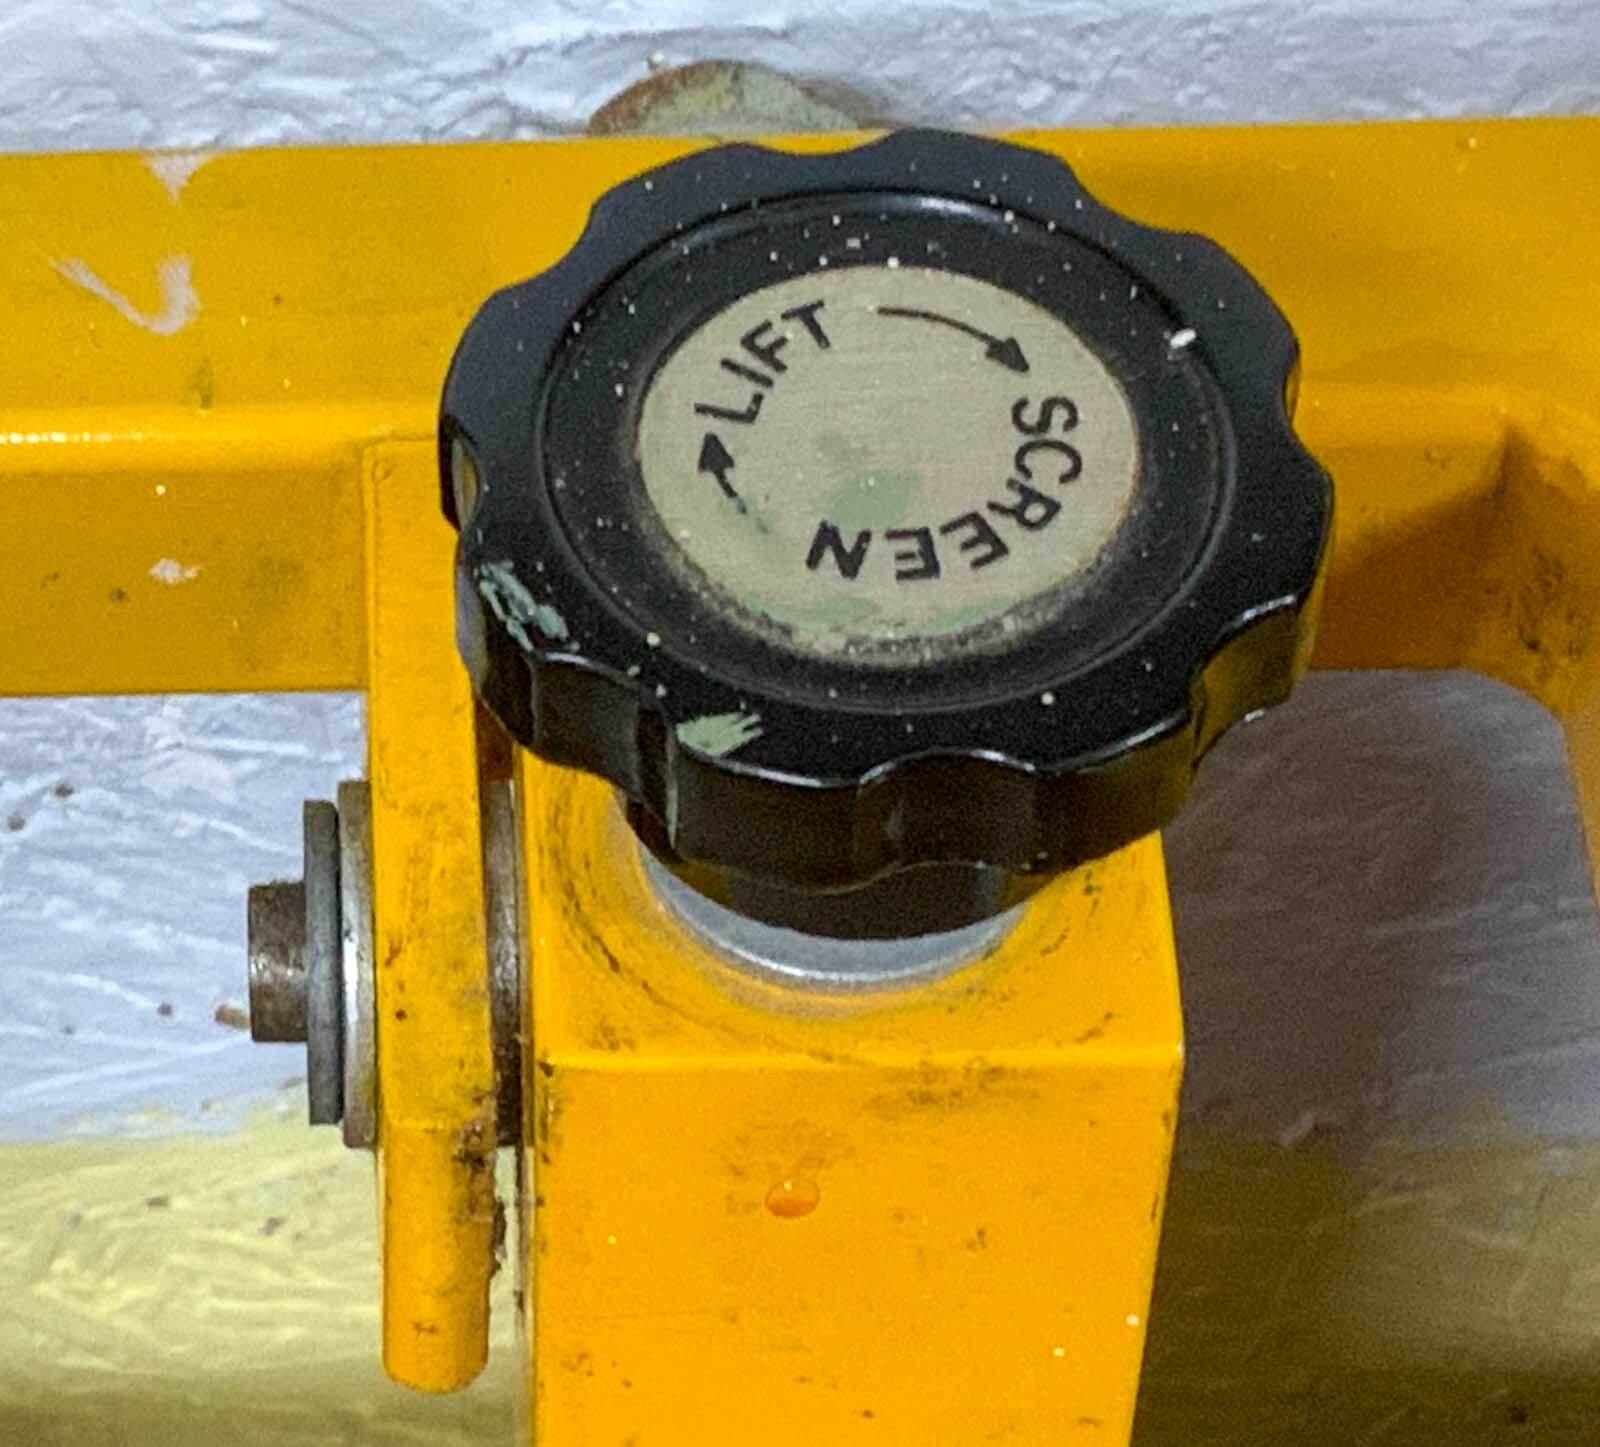

My exposure unit started life as a simple second‑hand frame with halogen lamps, but a few small changes made it far more flexible for my studio. This post explains how I adapted it to handle larger screens, save space and work more efficiently in a small shed workspace.