Setting Up a Silkscreen Studio in a Small Space
(Print Studio setup series, Part 1)
This post kicks off my Print Studio Setup Series, where I share how I built and run a tiny silkscreen studio at the bottom of my garden.
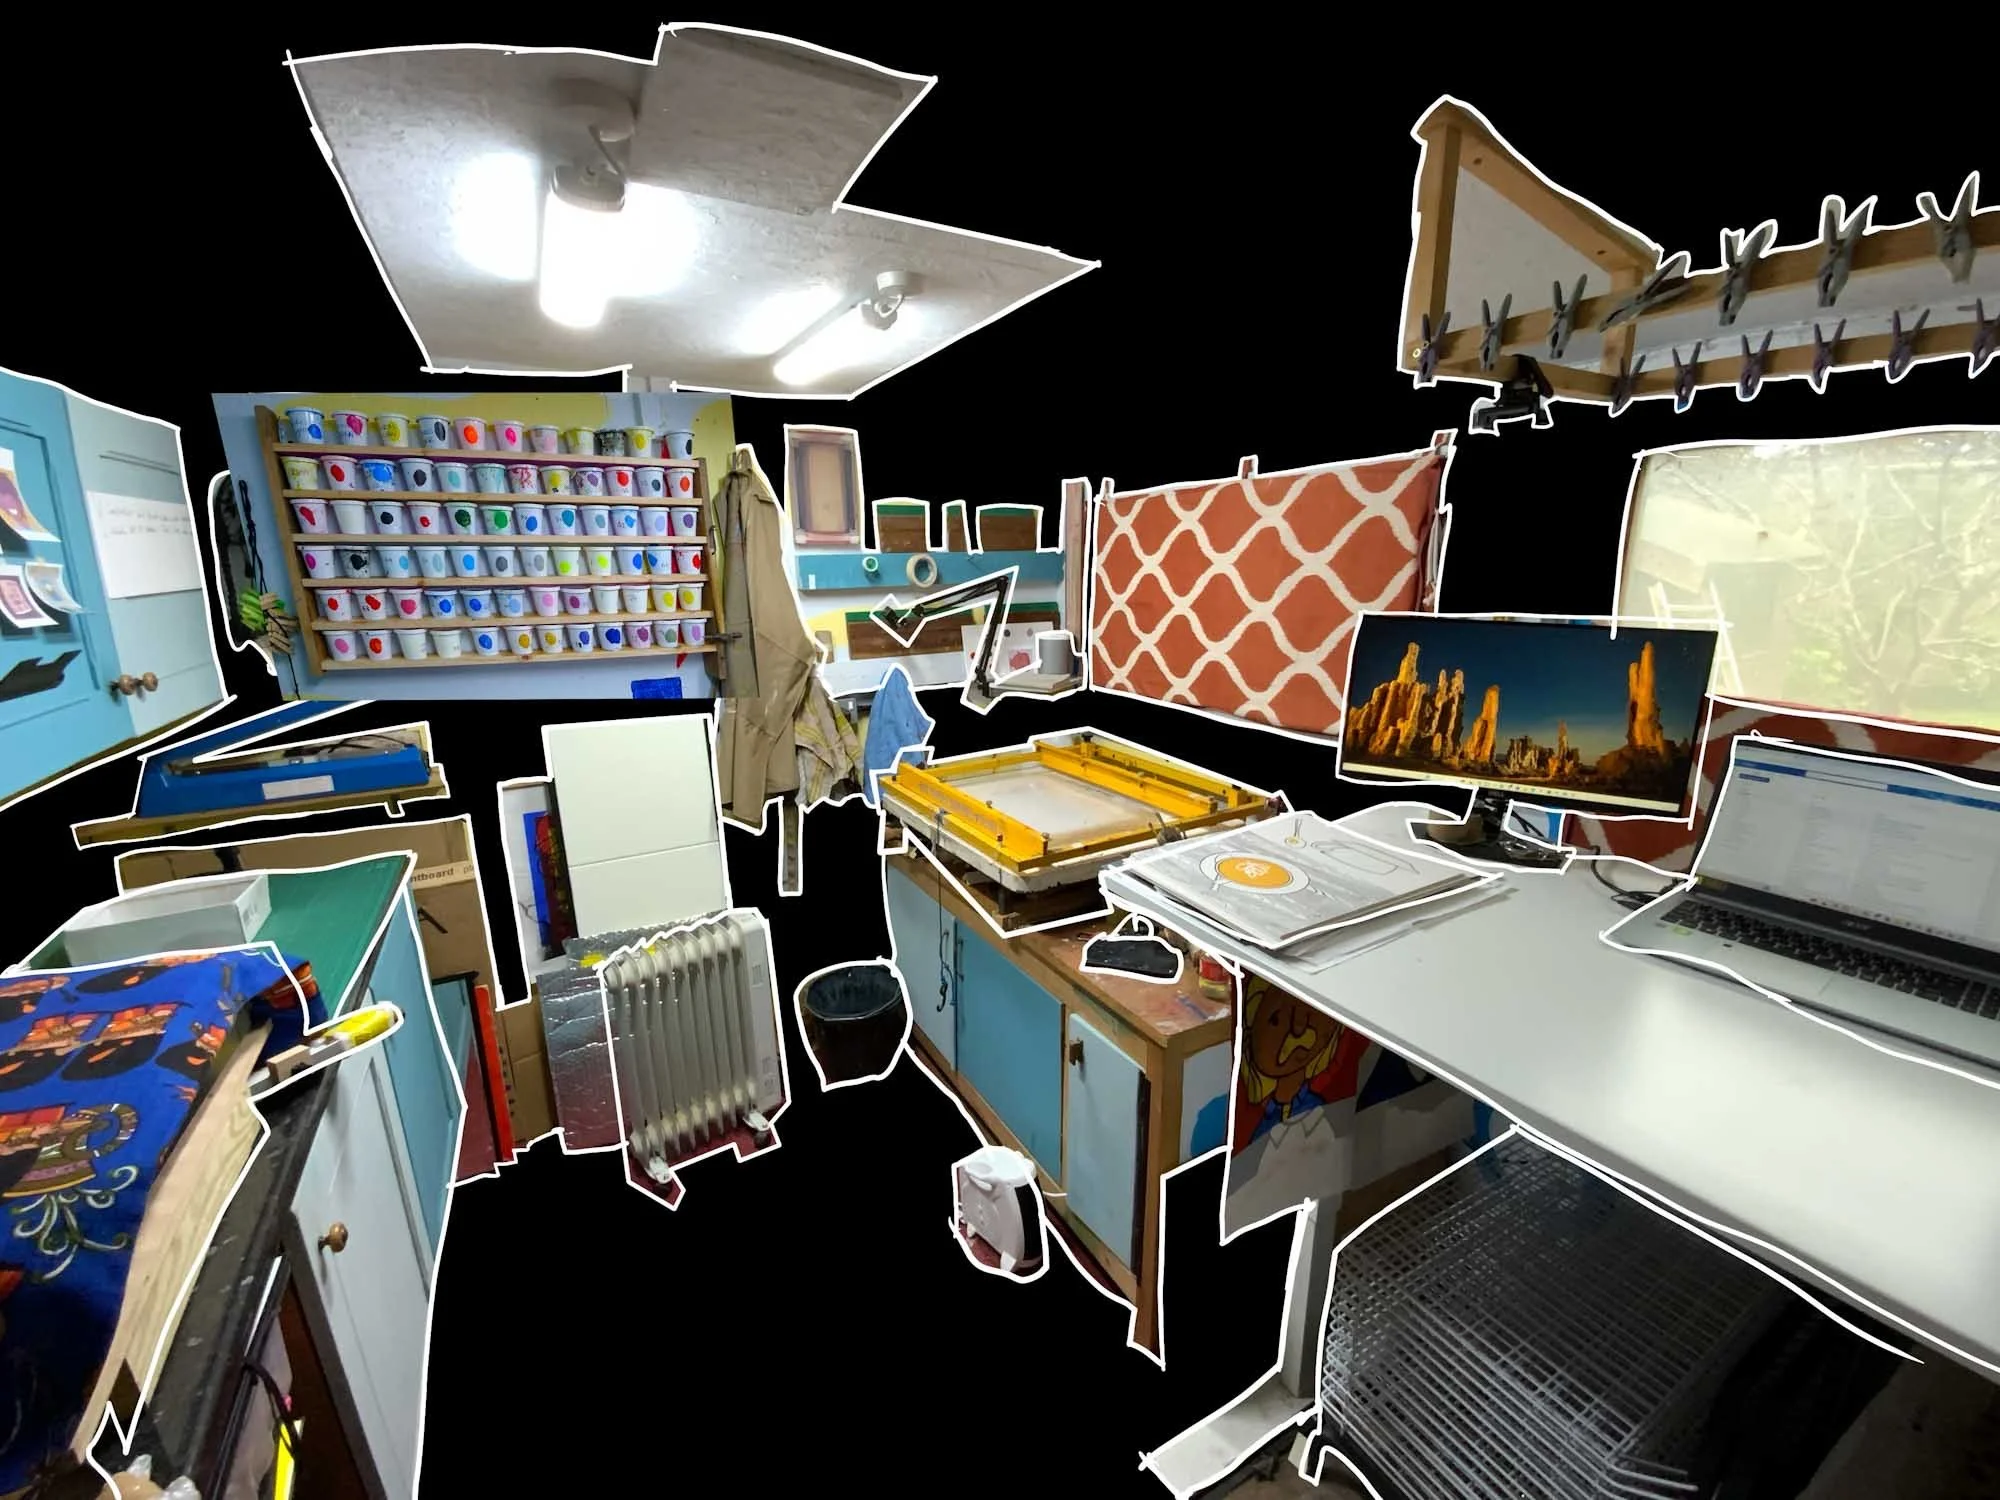
It’s small, really small
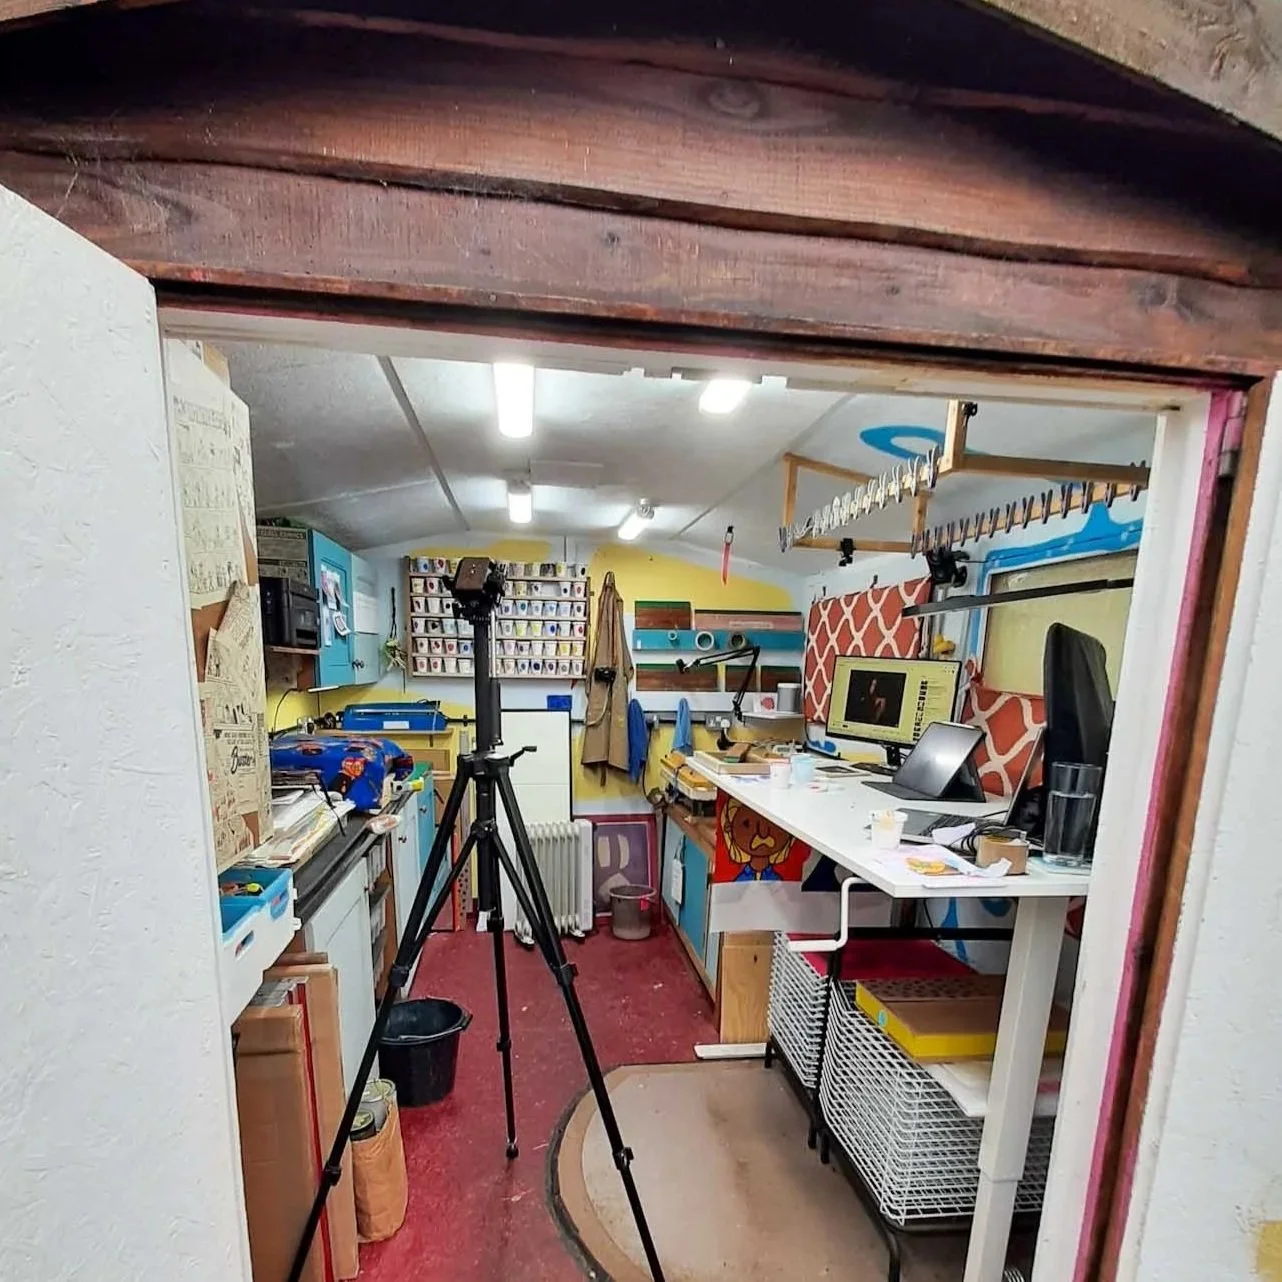
My print studio is small — really small. The kind of small where nothing can be left out without being in the way, and where things are constantly shuffled from one surface to another to make room to GO BIG. (One day I’ll tell you about the time I commandeered the dining room to print an ambitiously large piece).
But honestly? I wouldn’t have it any other way.
Despite its size, my studio lets me work completely autonomously. I can design and print my own positives, expose and print my own screens, and keep the whole process contained — except for the wash‑out and screen reclaiming, which happens outside in the garden. The studio sits at the bottom of the home I share with my partner and our two children in East Devon, UK. It’s an unglamorous wooden shed with a pitched roof, measuring roughly 3.2 by 2.6 metres. A little plaque on the door proudly declares it was built by David Marshall of Powderham Sawmills, Kenton. Before I claimed it, it had been a workshop for crafting wooden boxes, then a gym, and when I first stepped inside the walls were painted electric pink.
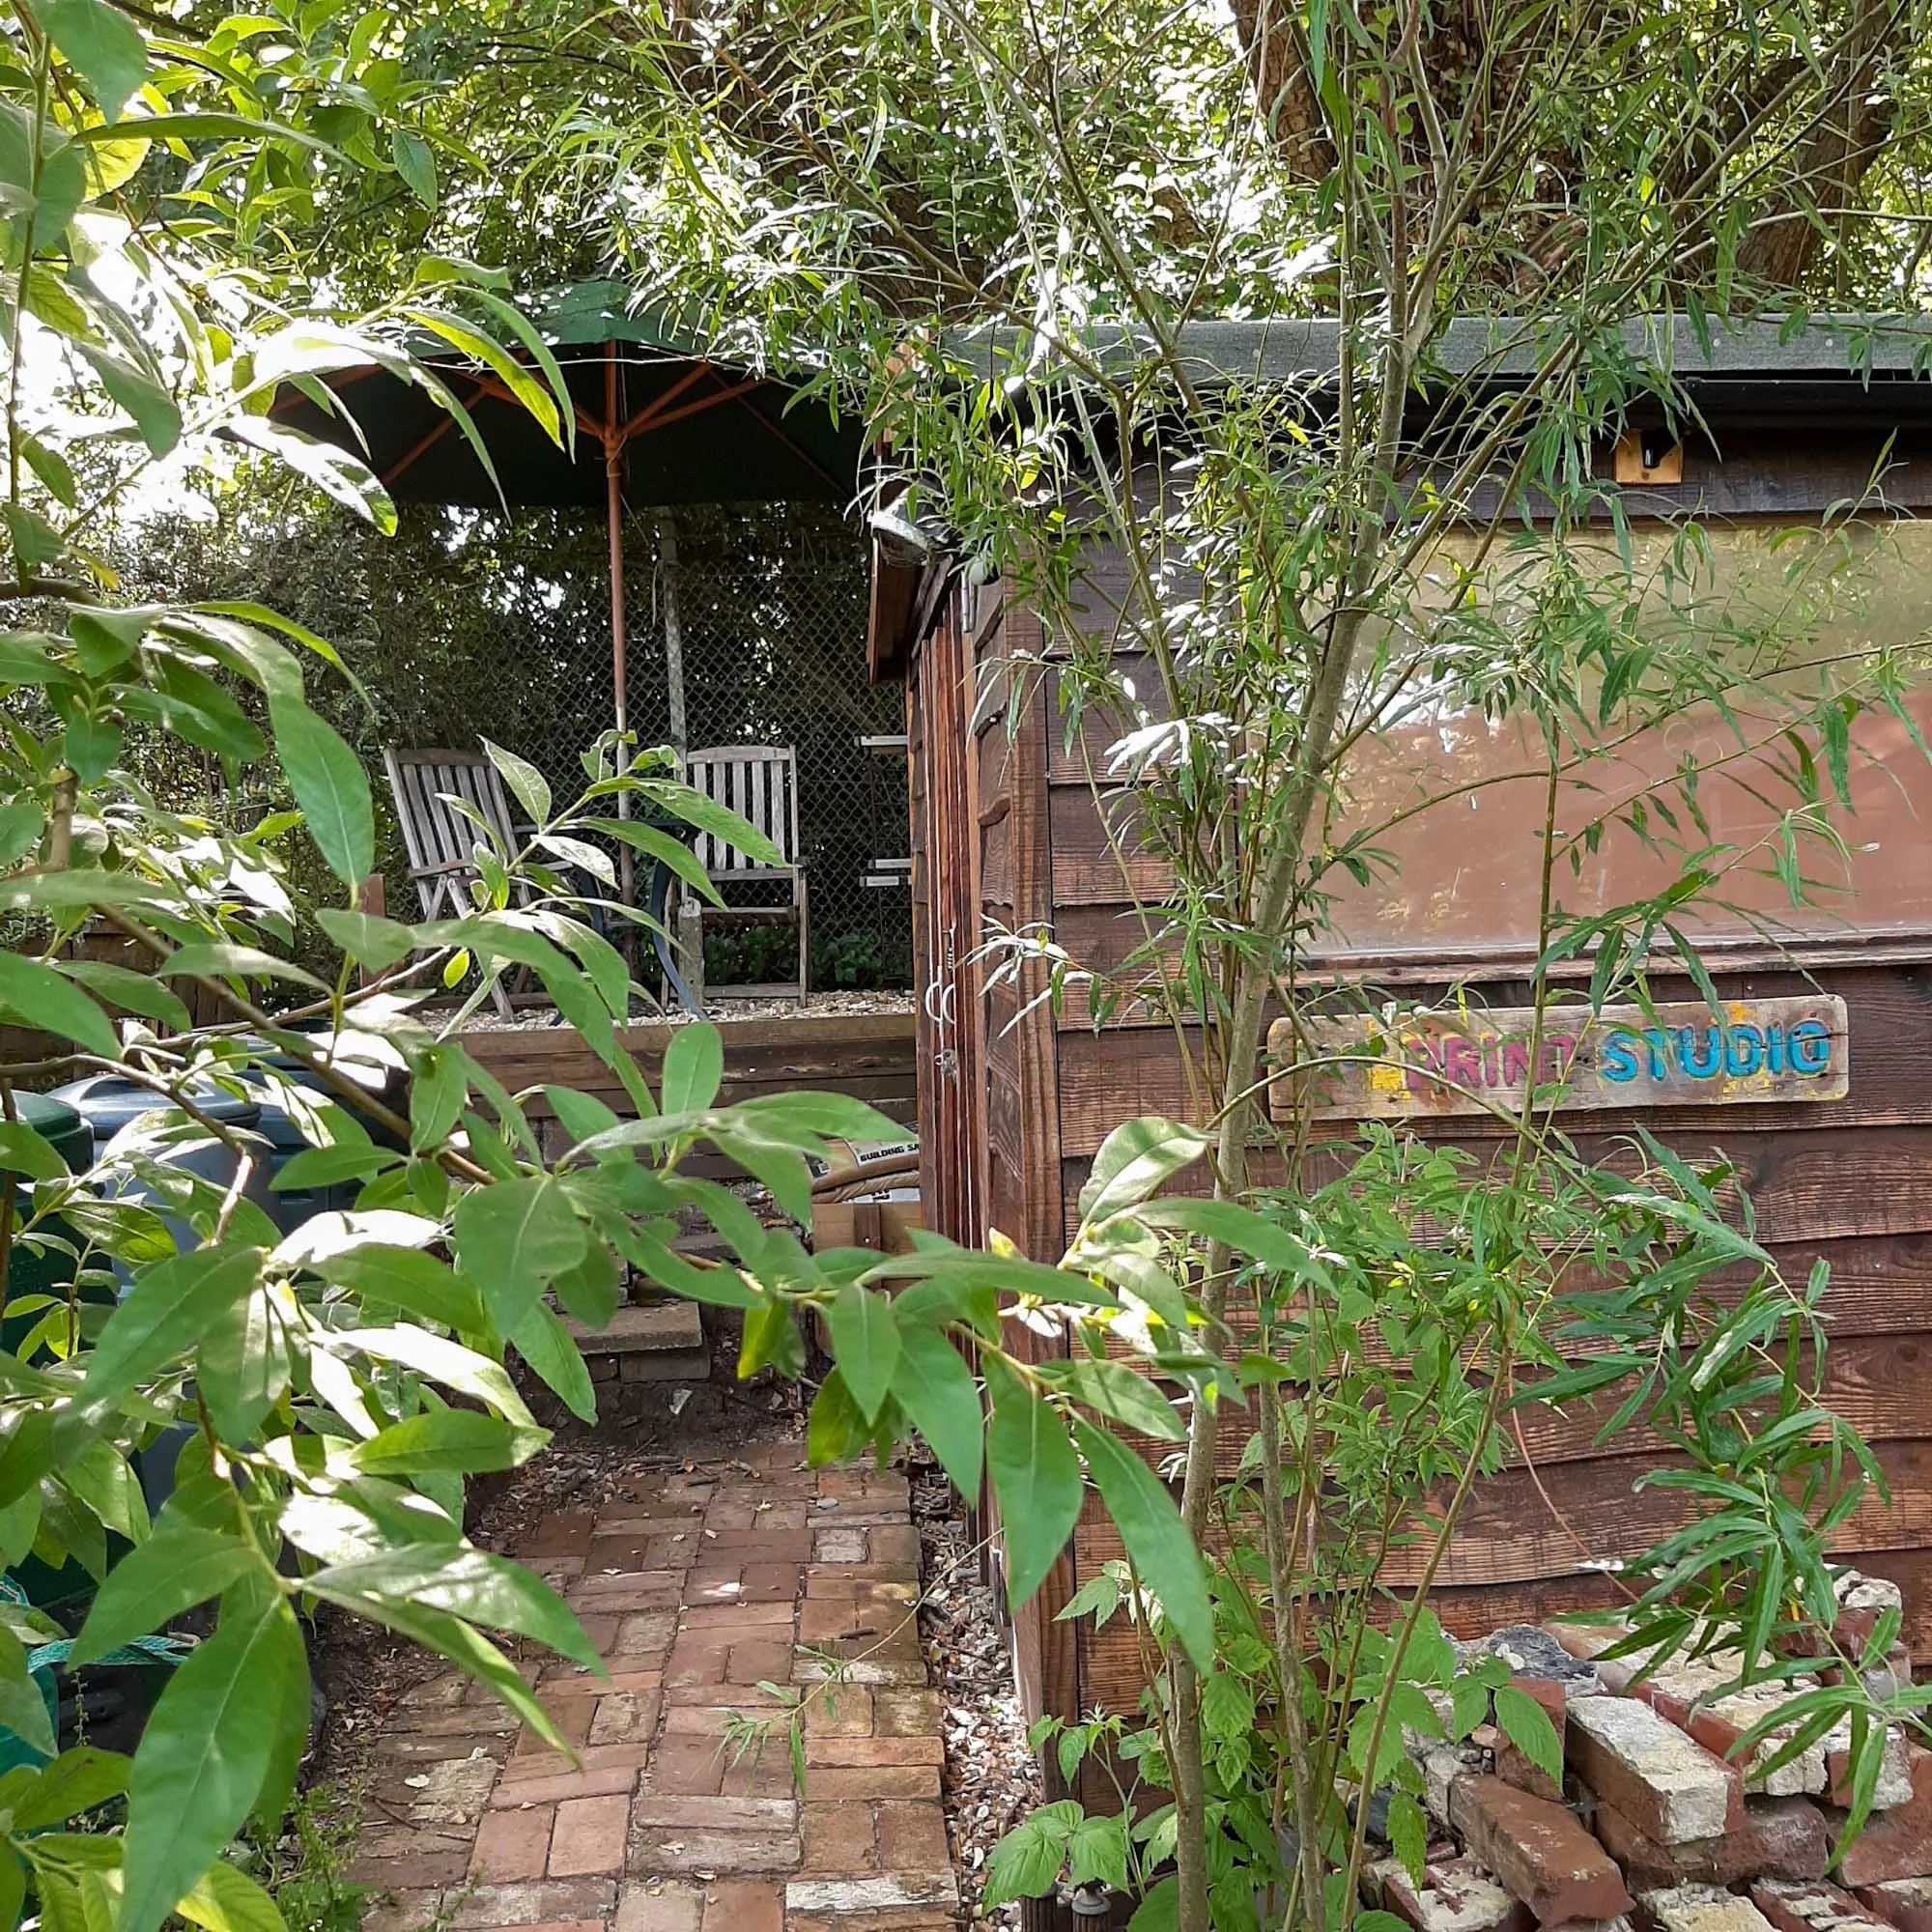
Space: Making an Empty Shed Work
The studio has three simple windows — two facing the garden, one facing the railway — each made of a glass outer pane and an ageing plastic inner pane. (I’ll save the adventures of temperature control for a future post). The rest of the interior is chipboard, which turns out to be perfect for attaching hooks, shelves, and all sorts of improvised solutions.
When I moved in, the space was completely empty. Luckily, I was offered some second‑hand oak kitchen cabinets at just the right moment, and I found an end‑of‑line countertop at a local hardware store. Storage: sorted. I also acquired two second‑hand dining tables — one became my desk, the other the base for my vacuum printing table.
Speaking of which: the vacuum table is a thing of wonder. I can’t remember exactly where I found it (possibly Gumtree), but it’s rare, brilliant, and absolutely central to everything I do. I’ll share more about it — and the adventures we’ve had together — in a later post.
Tools: The Essentials (and the Eccentricities)
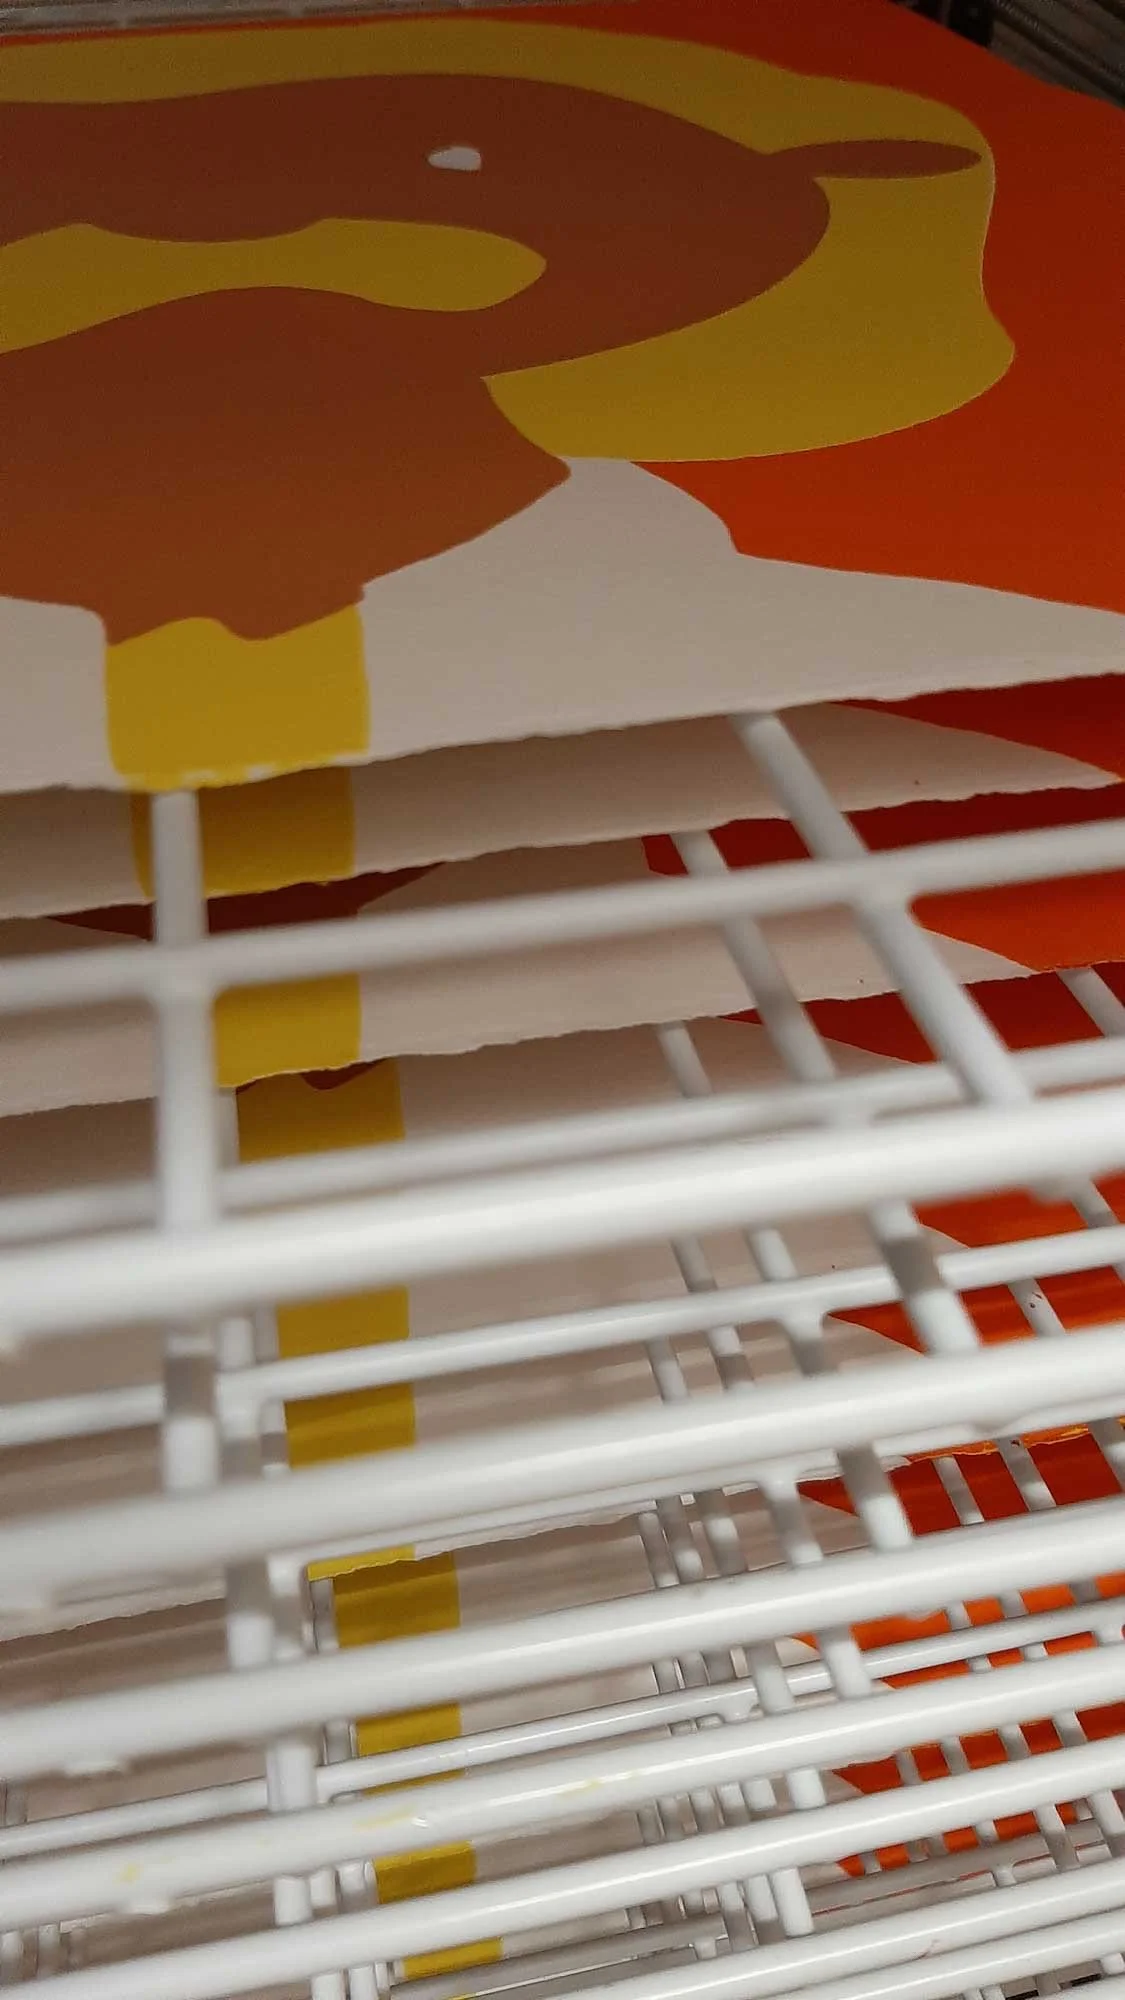
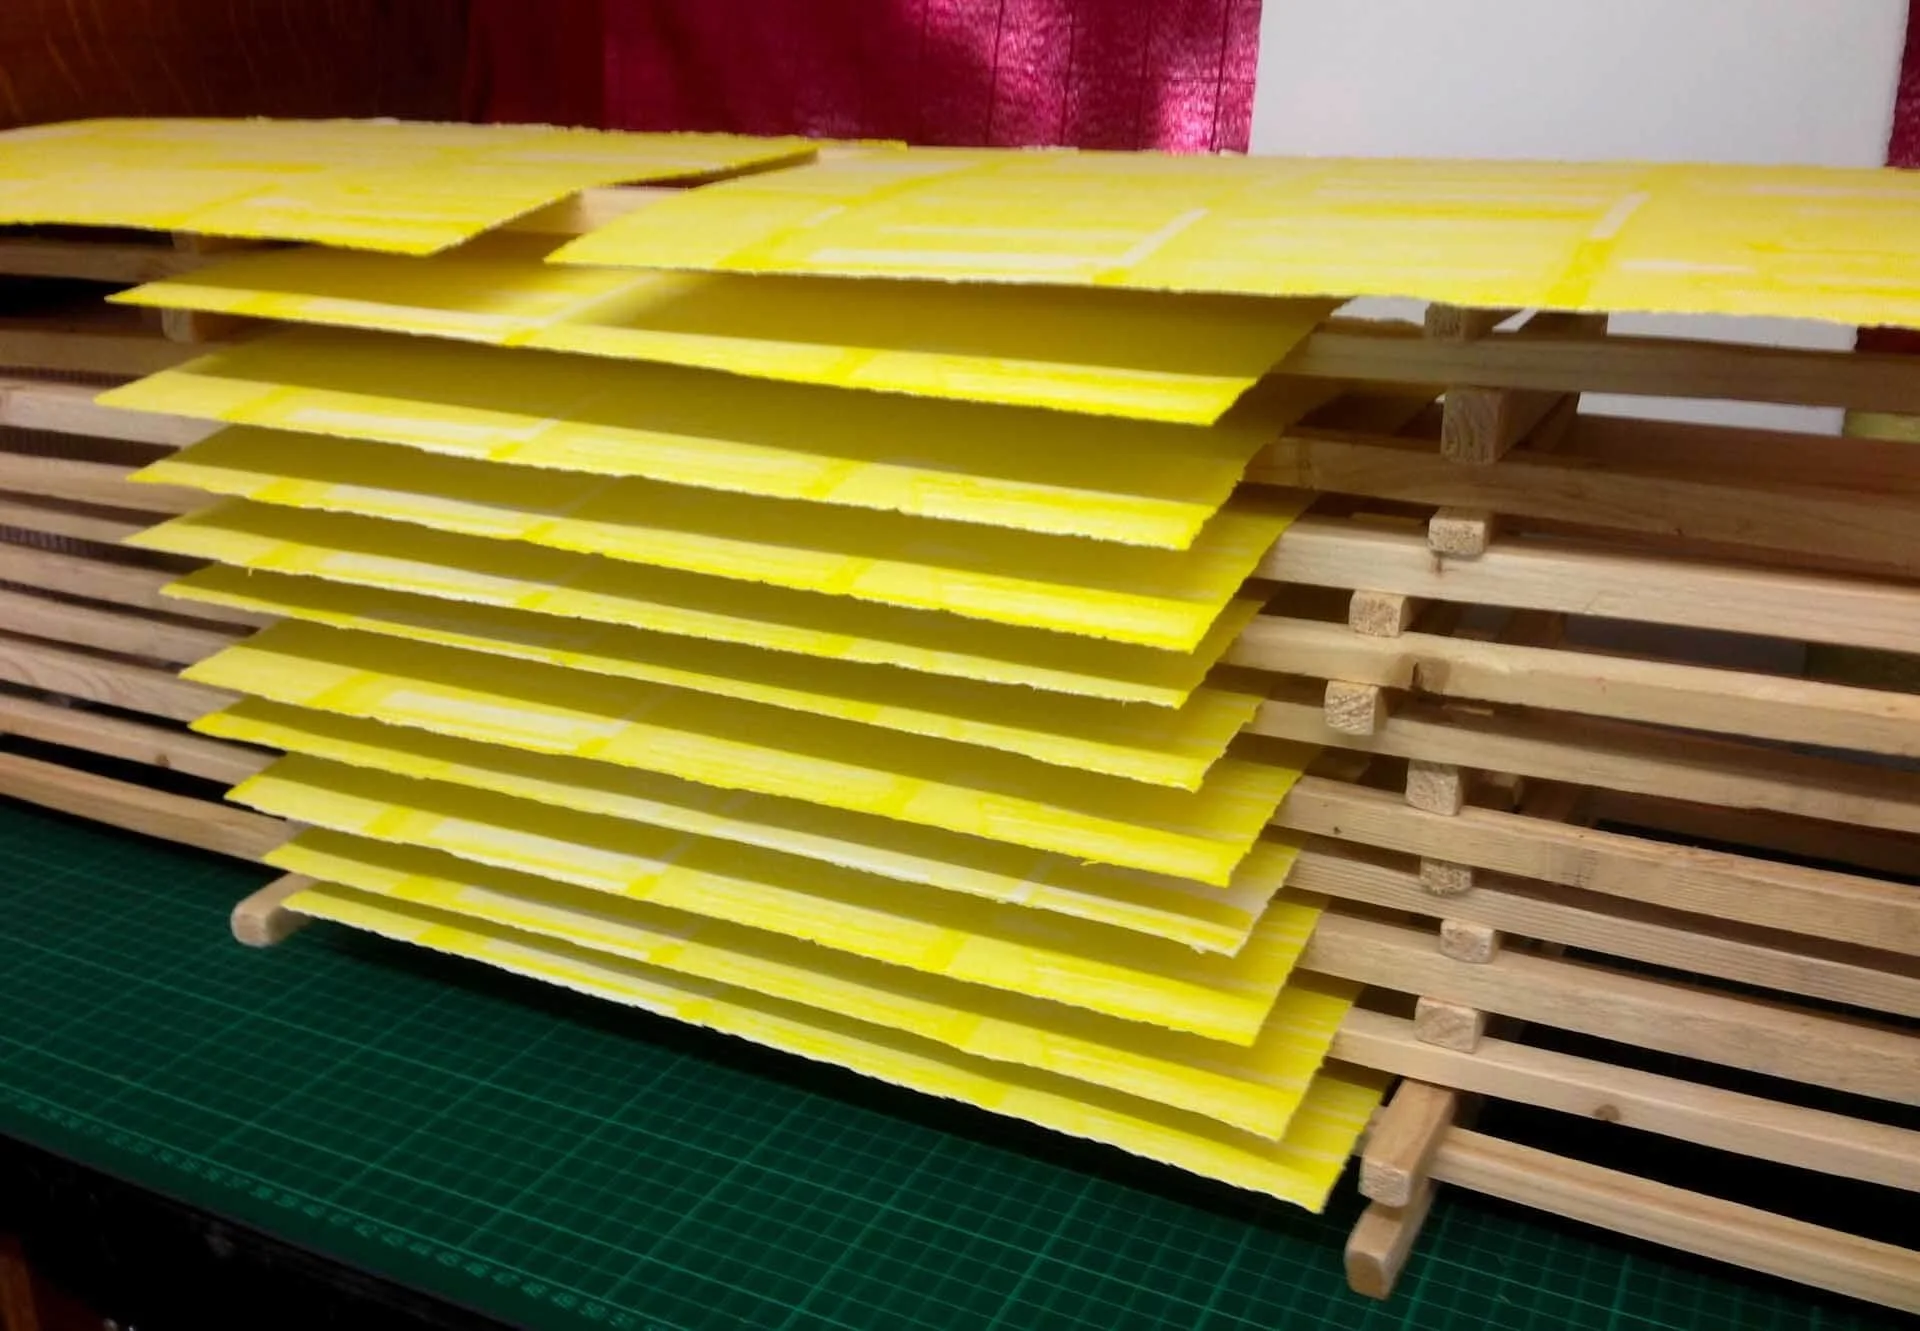
Over the years, the furniture has shifted, adapted, and occasionally been replaced. One of the original desks eventually made way for a manually operated sit/stand desk from Ikea. I no longer sit down in the studio, which means there’s room beneath it for a sprung drying rack — one of the few things I bought new. Overhead is another drying rack I built myself. Drying is a constant necessity in screen printing, and I’ve tried many solutions over the years. I’ll write a dedicated post about that soon.
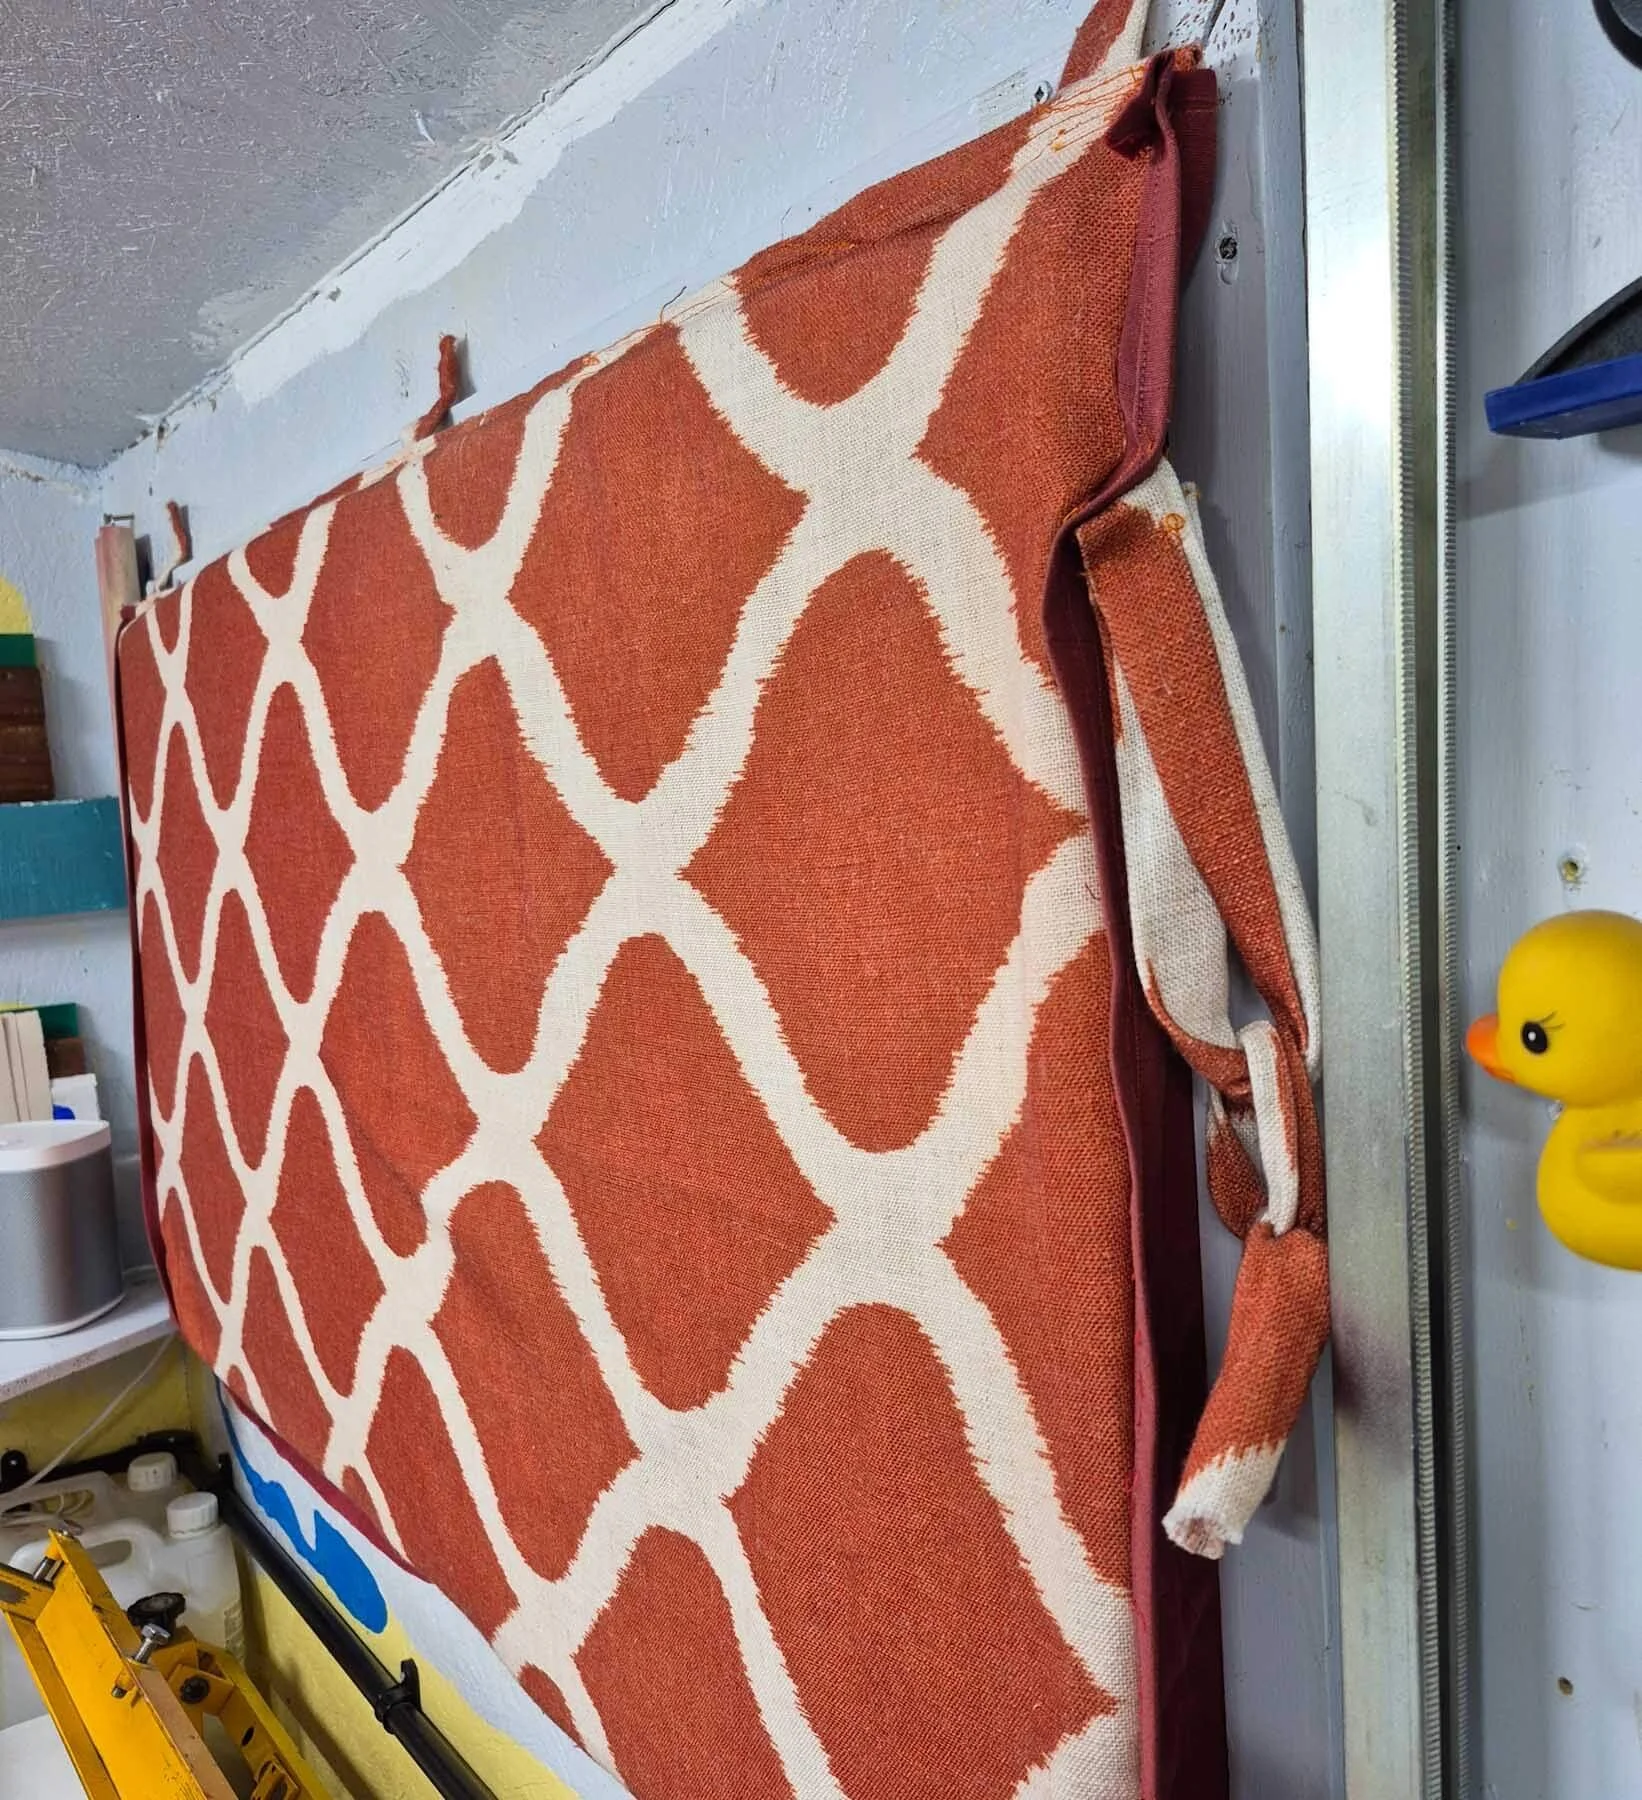
The other desk, the one holding the vacuum table, has been transformed into a light‑tight drying cupboard with plywood doors, wooden struts, and some flexible sheet material left by the previous owners.
My exposure unit started life as two overhead 400‑watt halogen lamps attached to a metal frame. I’ve since deconstructed it to make room for larger screens. The lamps now hang from the ceiling above the disassembled base, foam blocks, and thick shatterproof glass — all of which currently support a stack of large cartridge paper.
Around the room you’ll also find inkjet printers for creating positives, a large cutting mat for tearing and trimming paper, a row of squeegees above the printing table, trays for coating screens with emulsion, and countless little tools and bits I’ve come to rely on. And of course, the screens themselves — about a dozen — stored like books at one end of the studio.
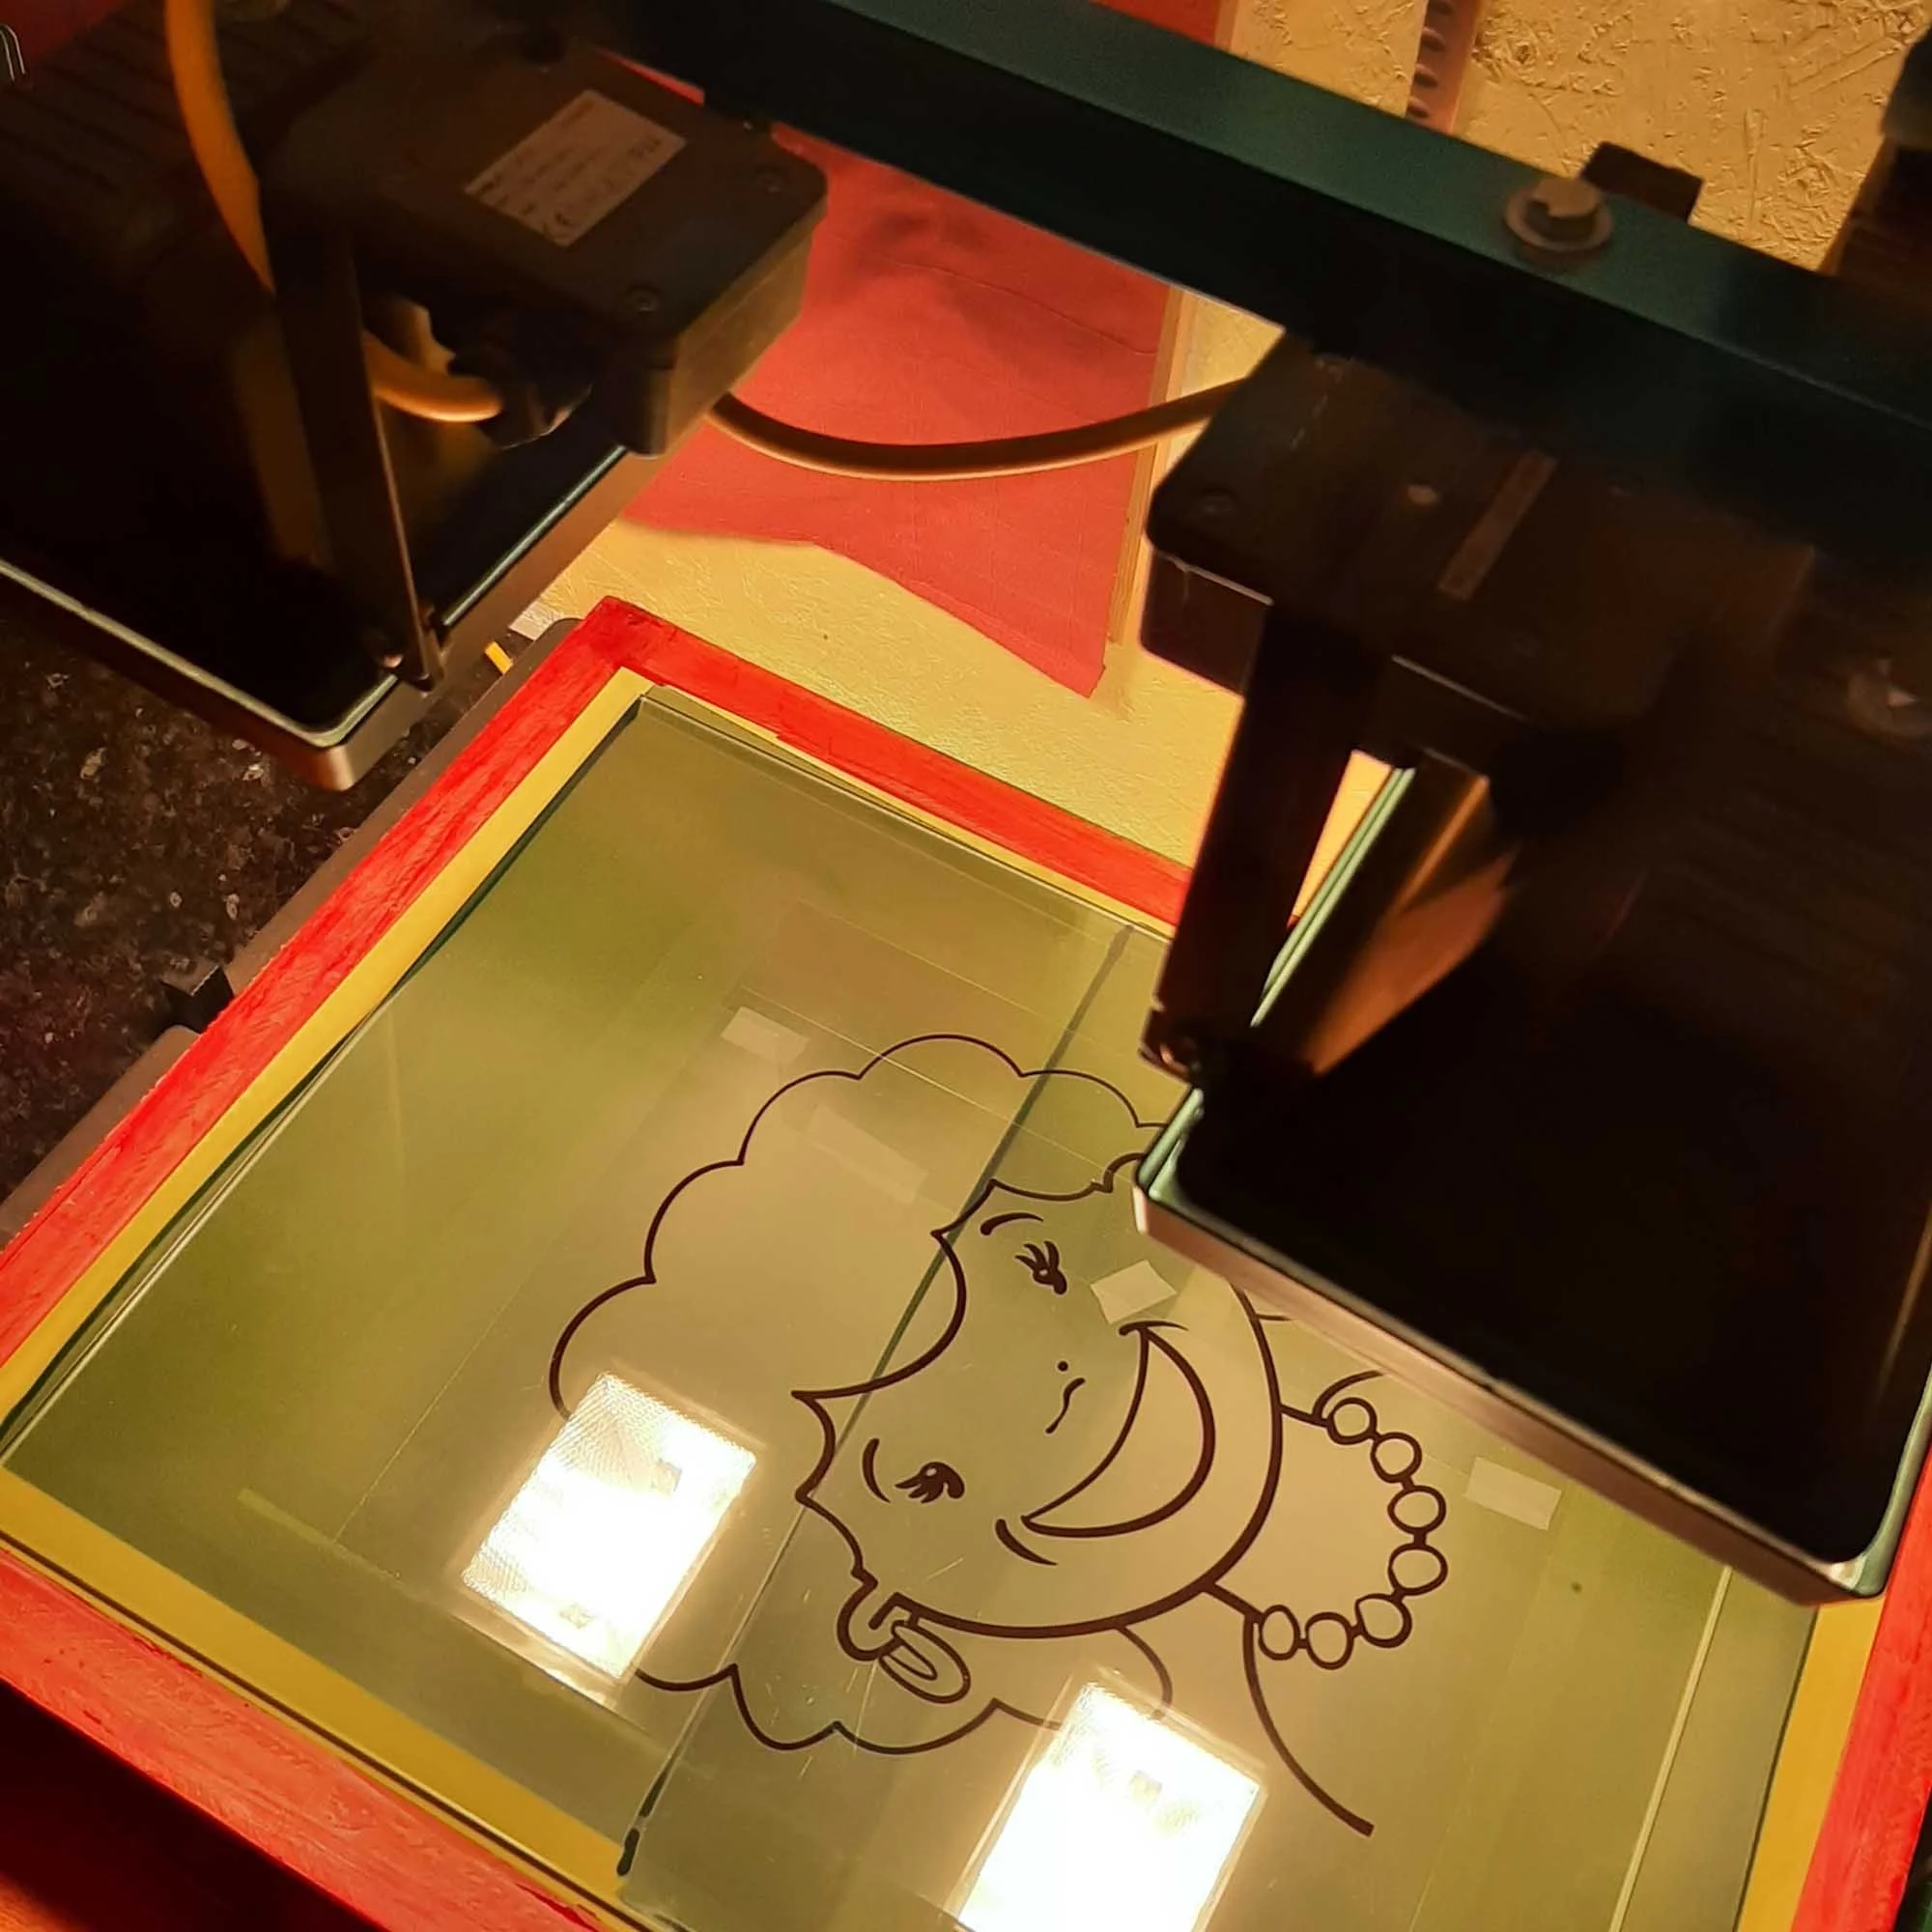
Materials: The Stuff That Makes the Magic
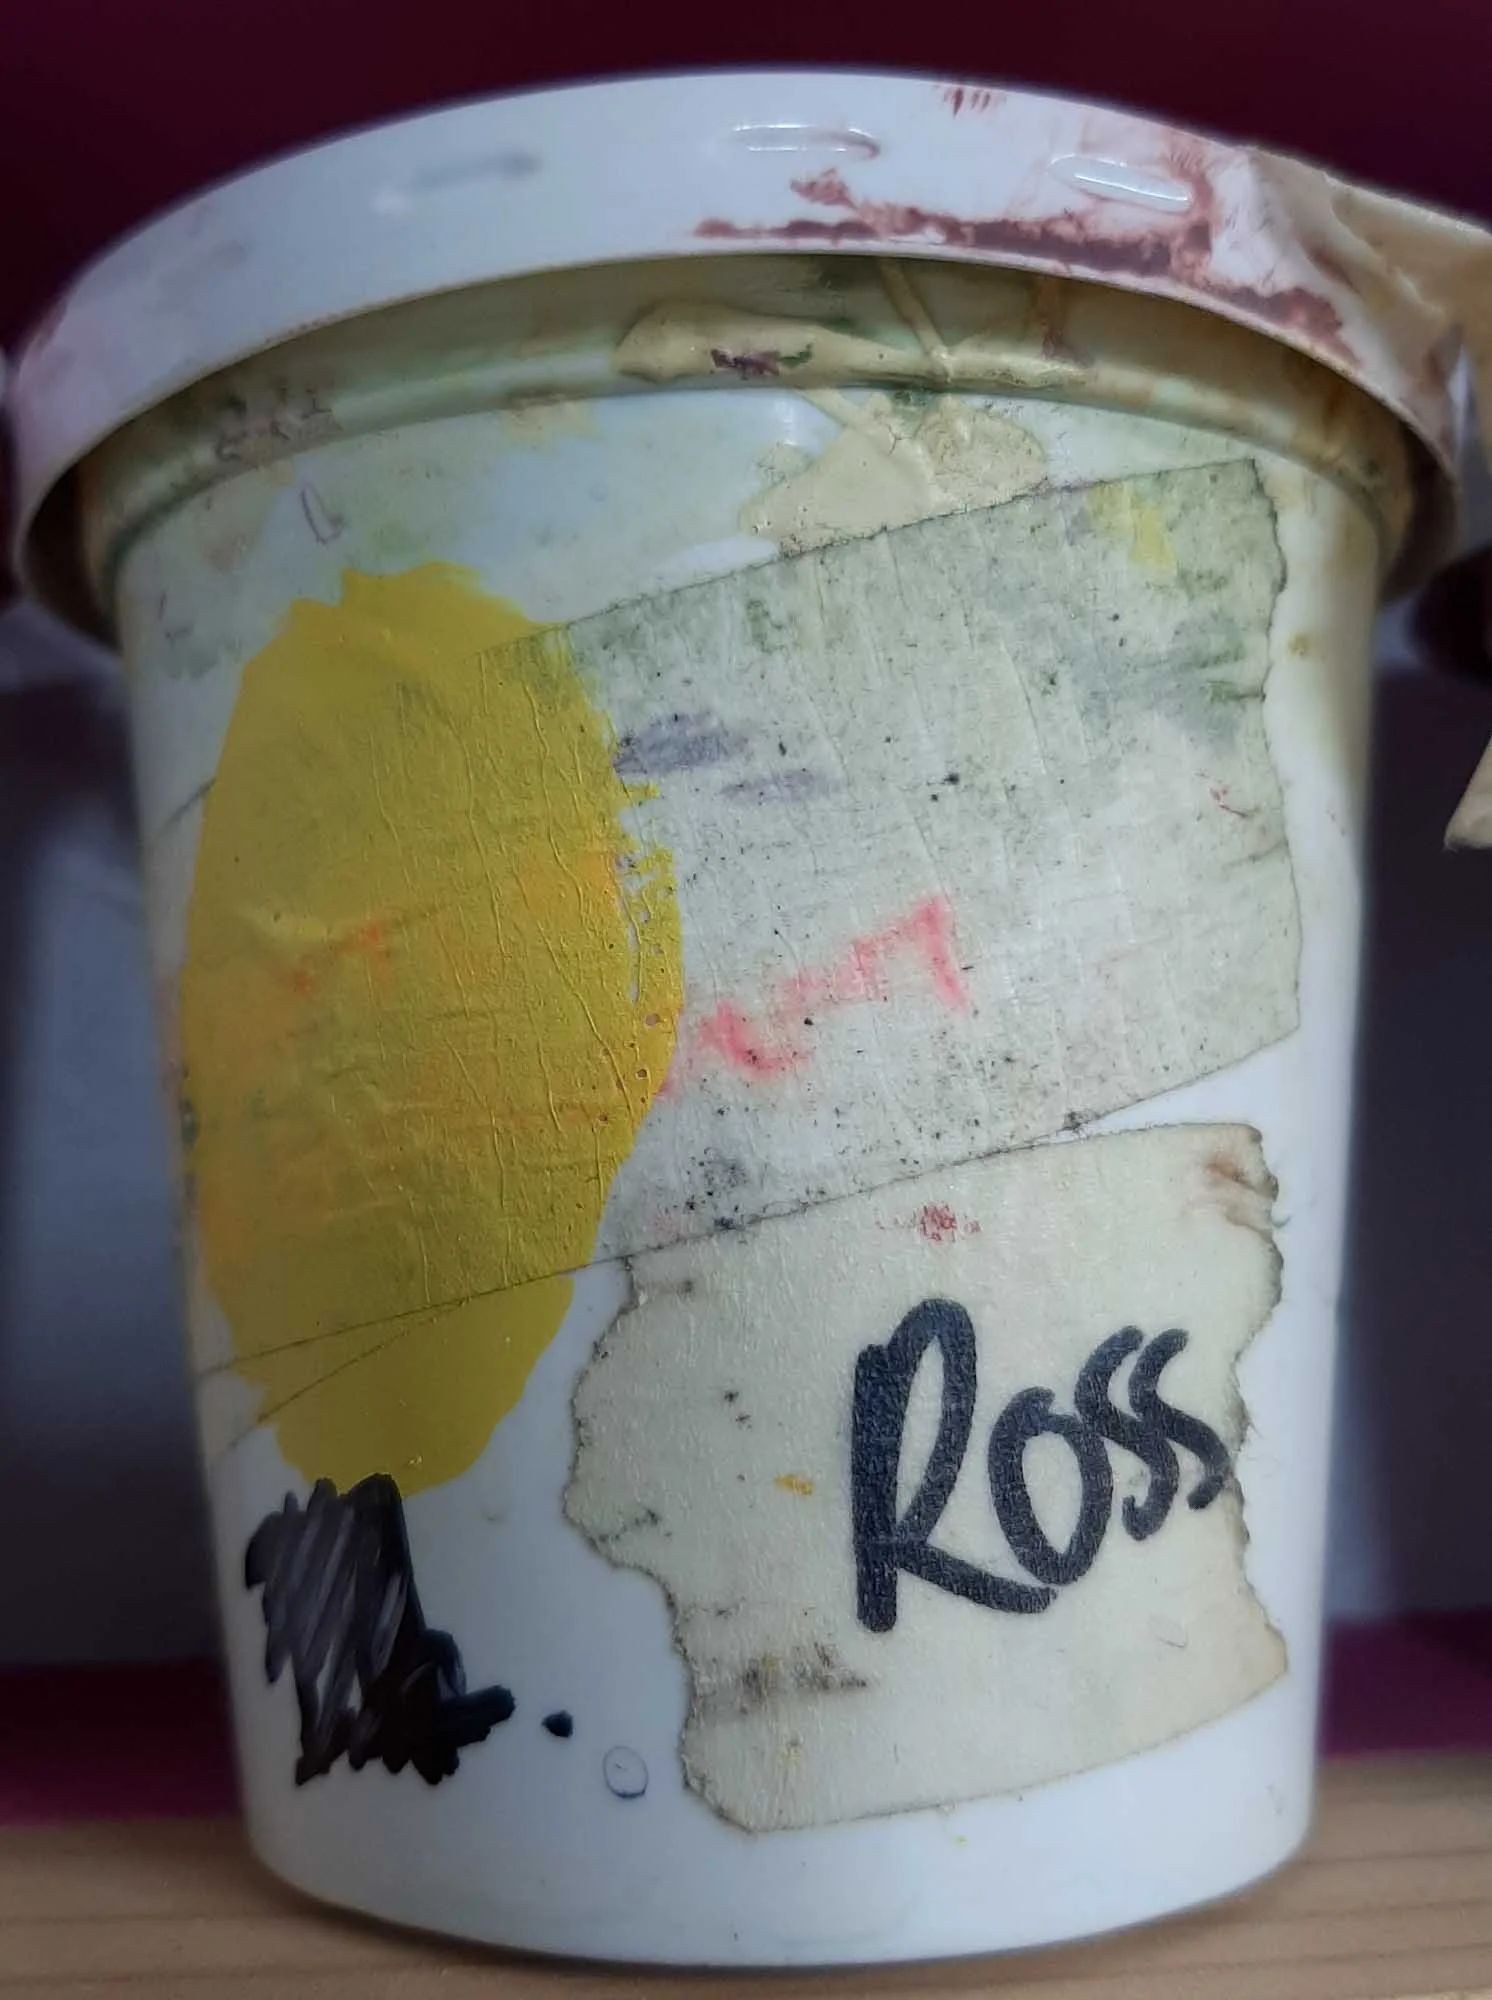
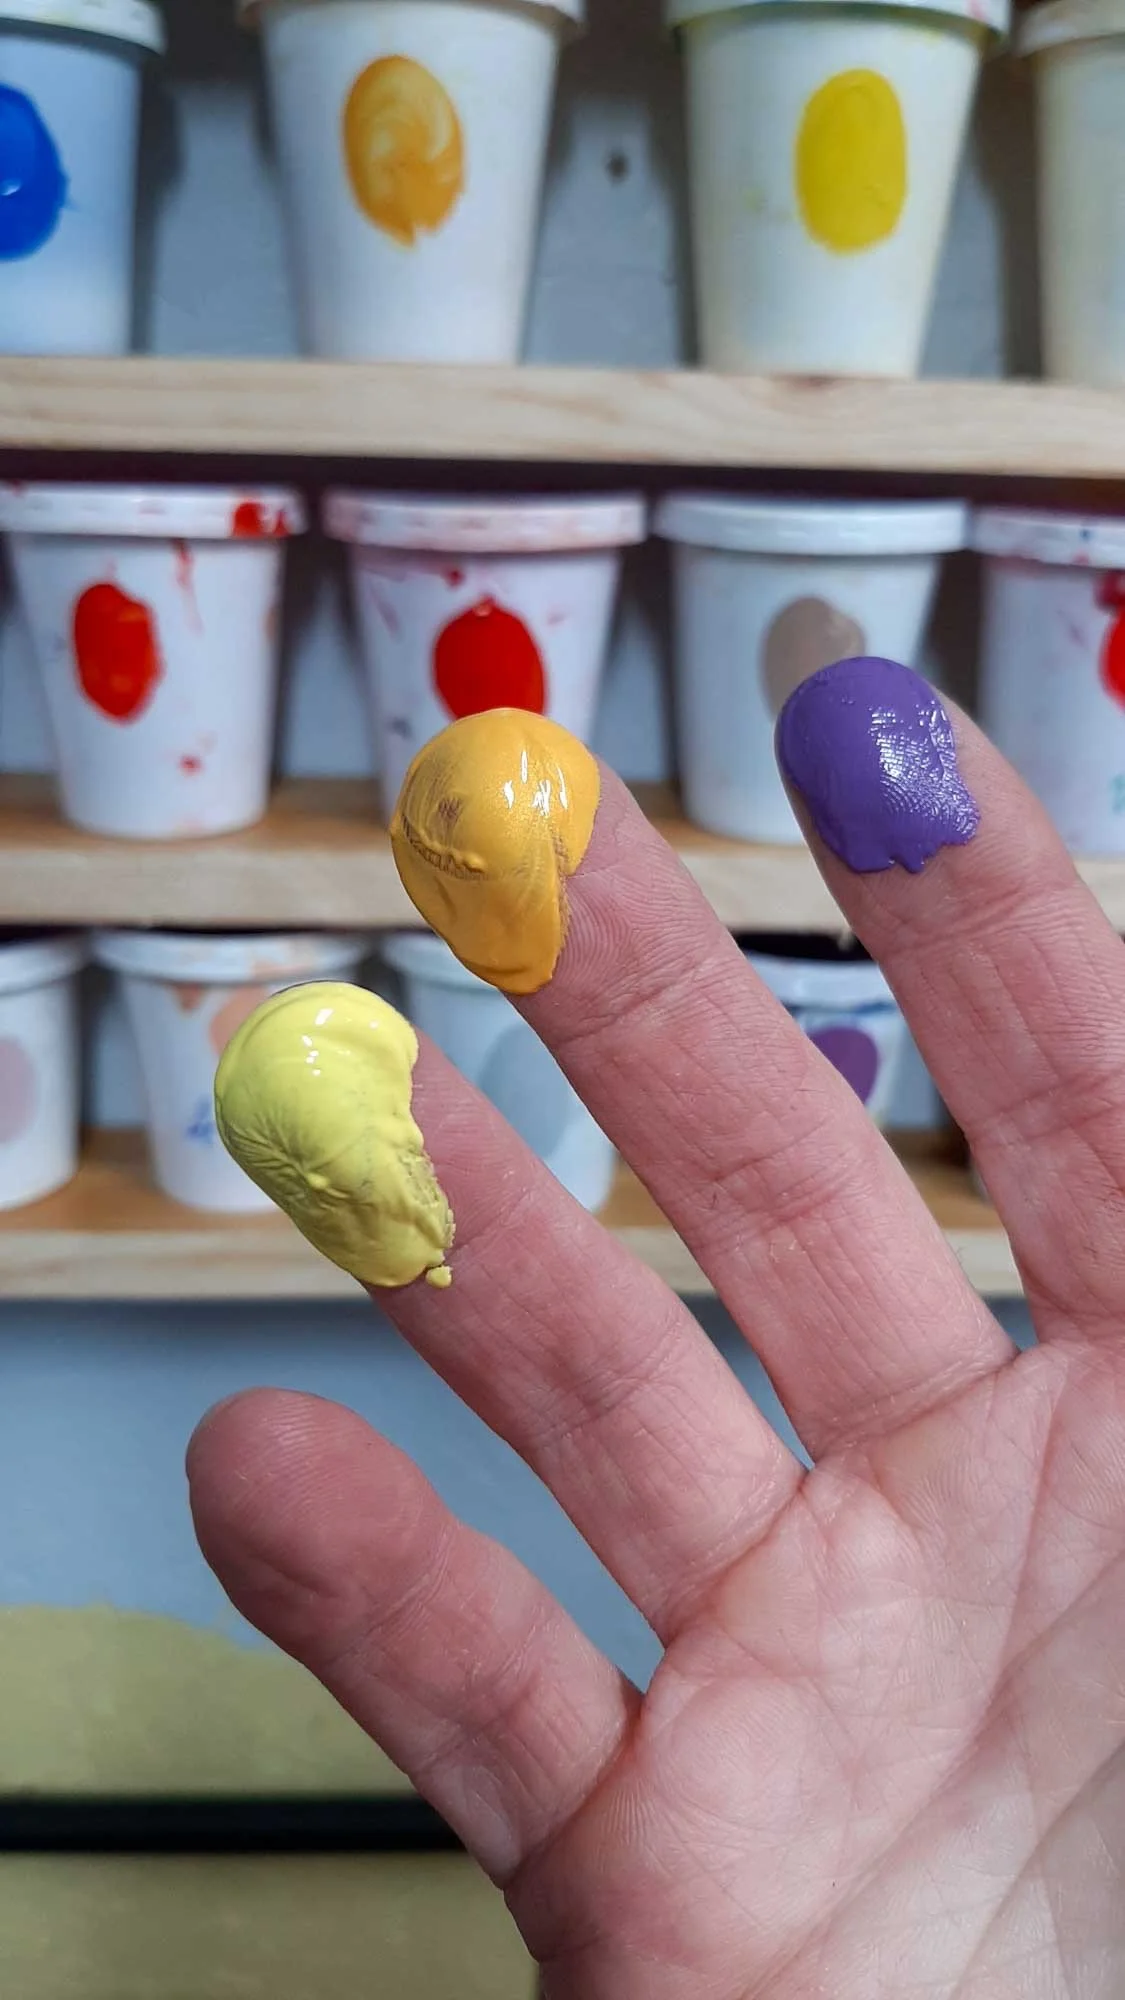
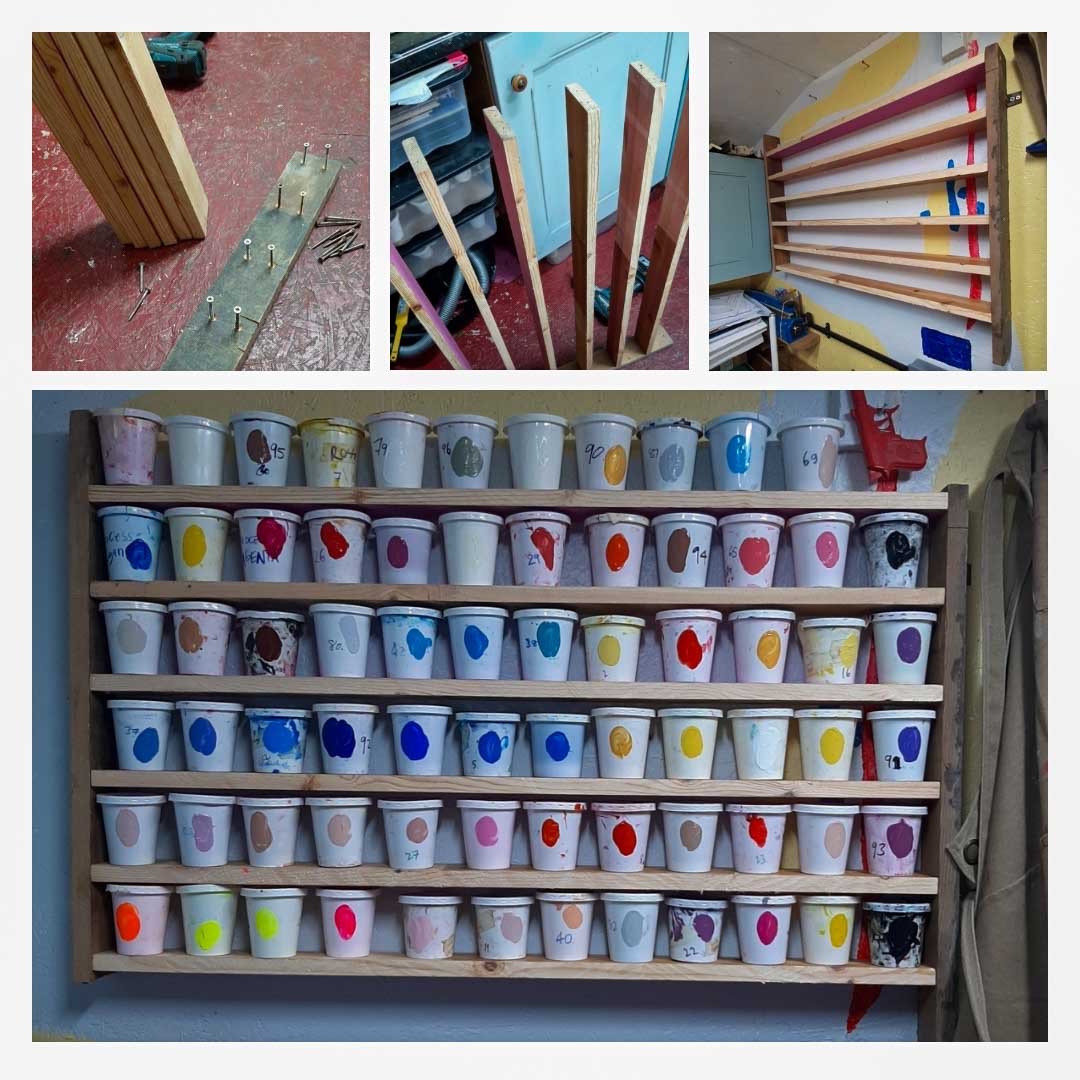
Paper is stashed beneath the drying cupboard and elsewhere, still in the sturdy cardboard it arrived in. Mixed inks line shelves and boxes under the kitchen cabinets. Unmixed inks, printing medium, stop‑out fluid, brown tape, masking tape, invisible tape, emulsion remover, ghost‑image remover, degreaser — all the essentials of a working print studio — live in their own little corners.
Comfort & Safety: The Practicalities
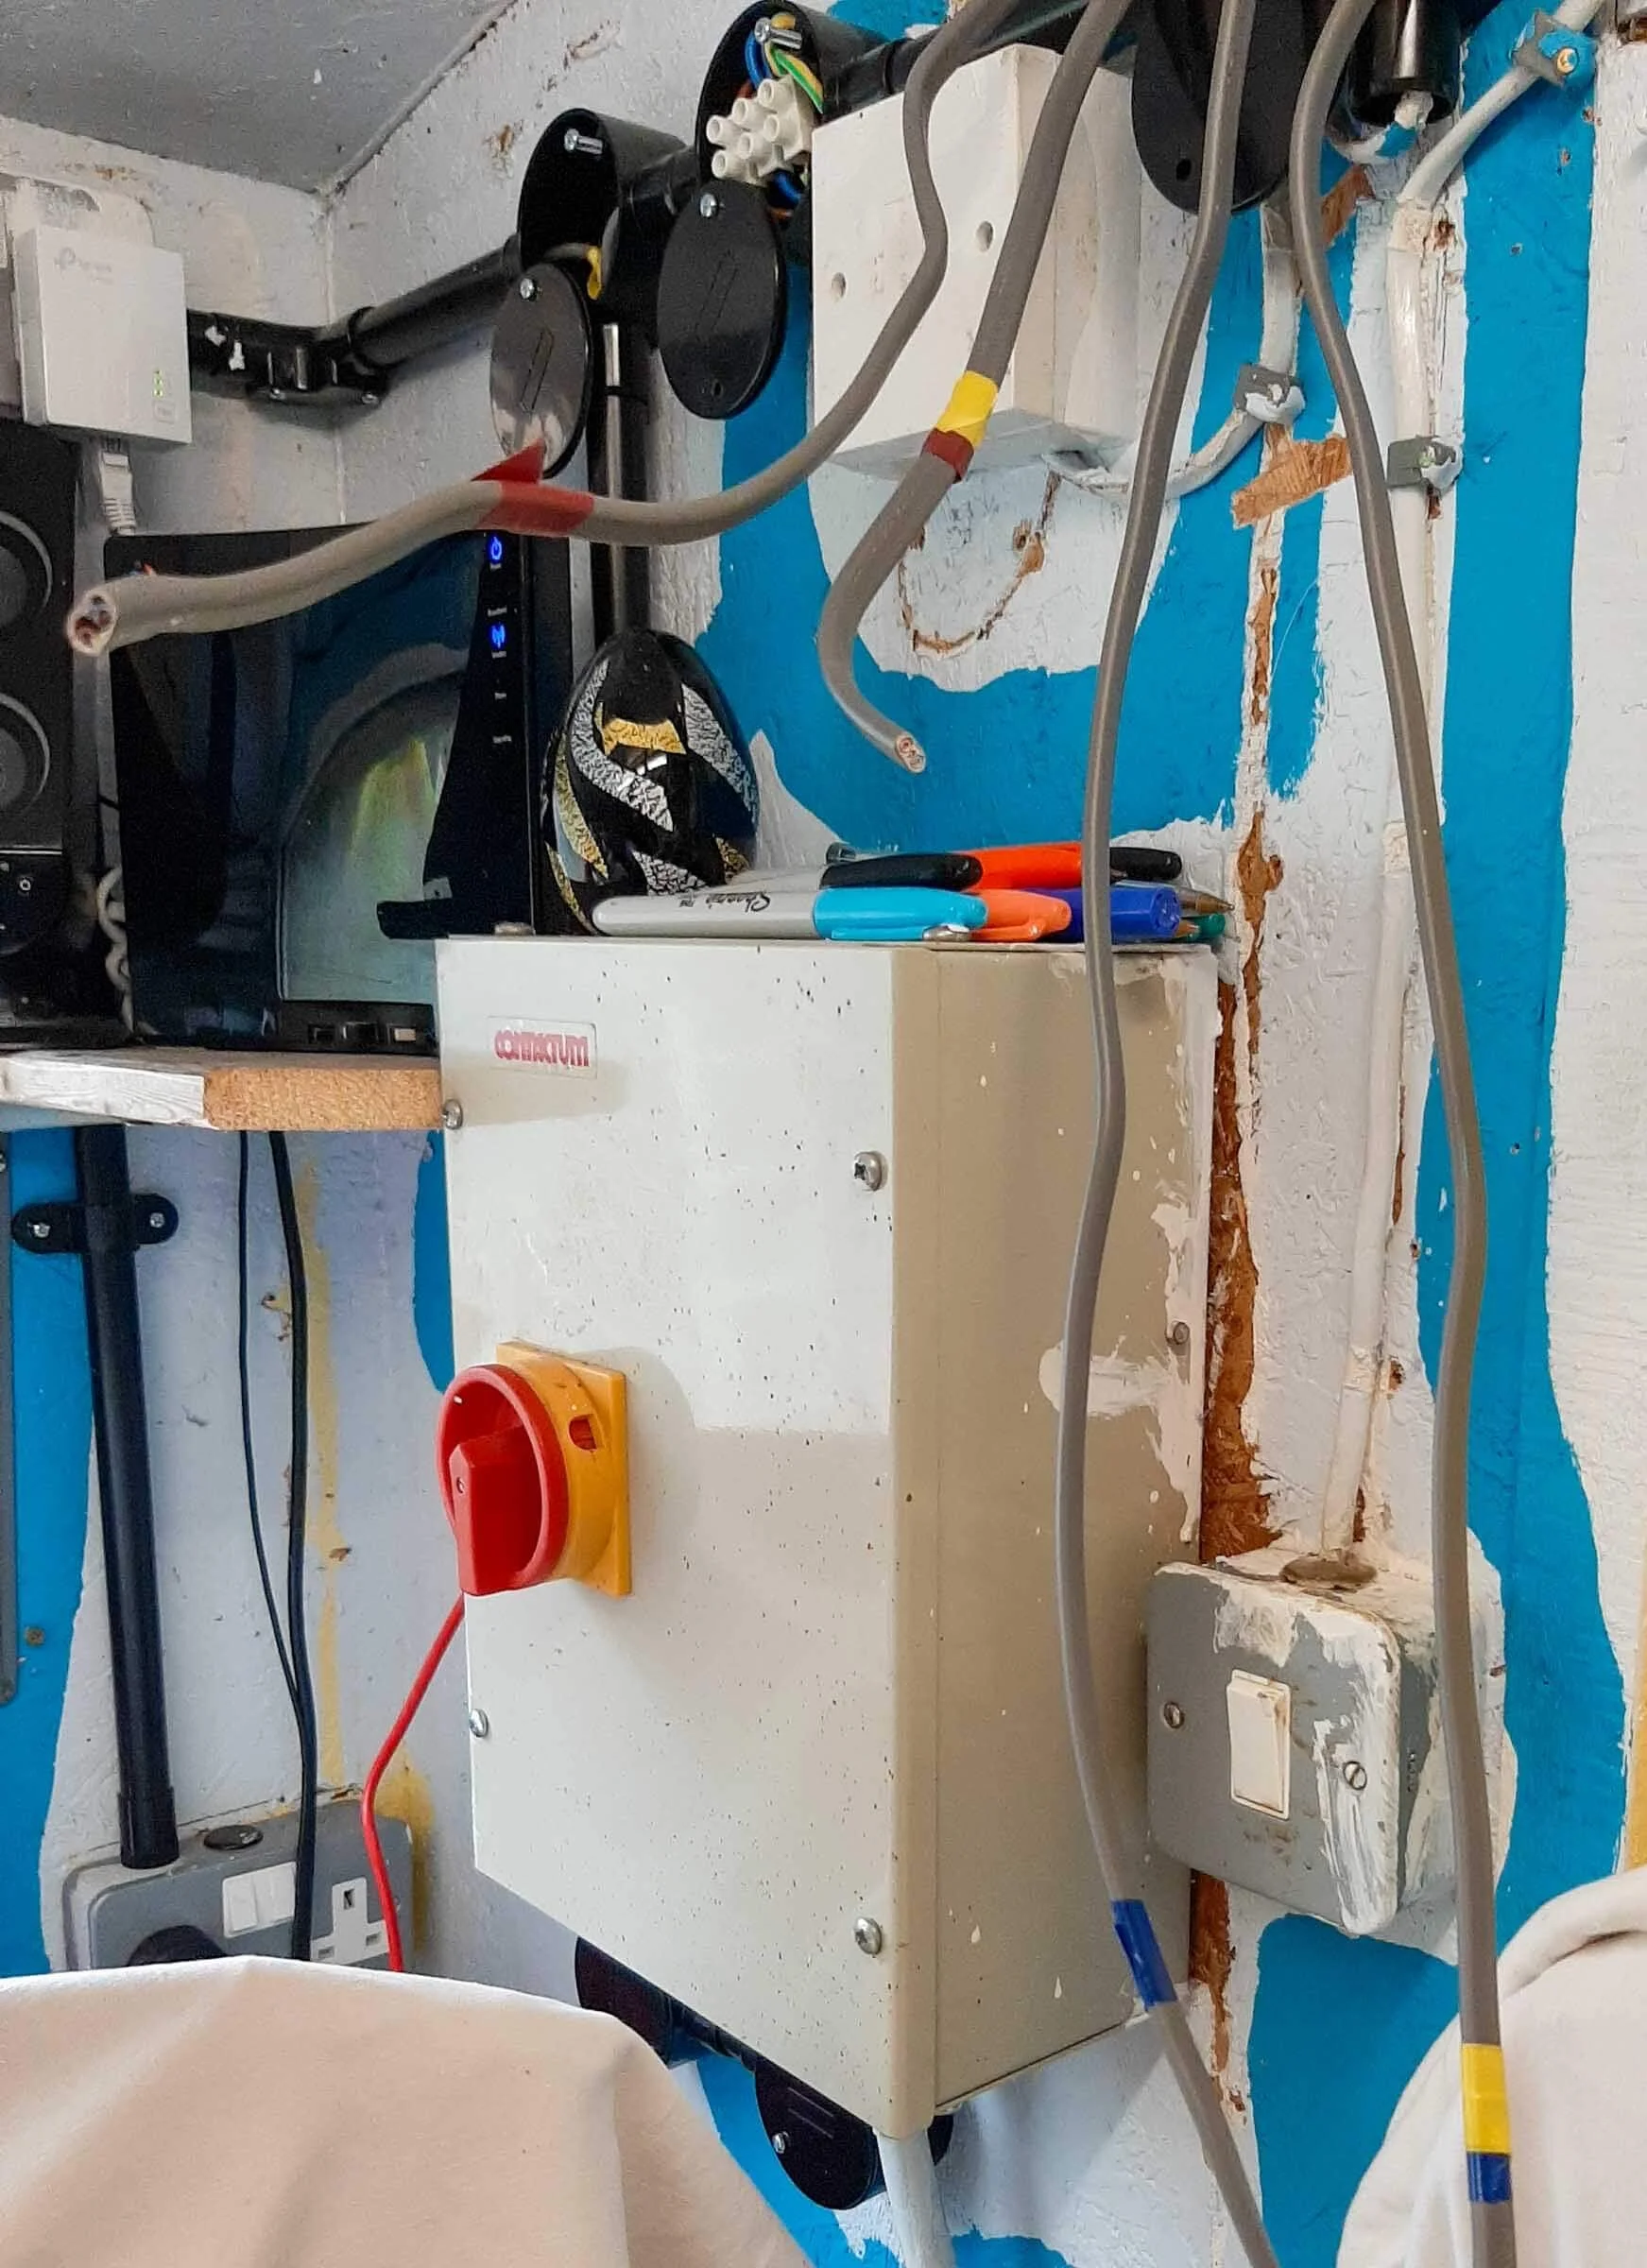
The shed already had an electrical supply, but the wiring and socket placement were chaotic. In 2024 I had it all overhauled, which made the space far more pleasant and efficient. Lighting now comes from four overhead strip lights and an under‑cupboard strip above the cutting mat. Heating is provided by an oil‑filled radiator (kept on anti‑frost overnight) and a fan heater, which doubles as a screen‑drying aid in the cupboard.
Looking Ahead
There’s so much more I want to share about how this little studio works — the tools I rely on, the mistakes I’ve made, the blind alleys I’ve wandered down, and the solutions I’ve discovered. Having your own print studio offers such freedom, and such deep pleasure, and I can’t wait to pass on what I’ve learned so you can build your own setup, or simply enjoy reading about my adventures in doing it myself.
———
This post is part of the Print Studio Setup Series:
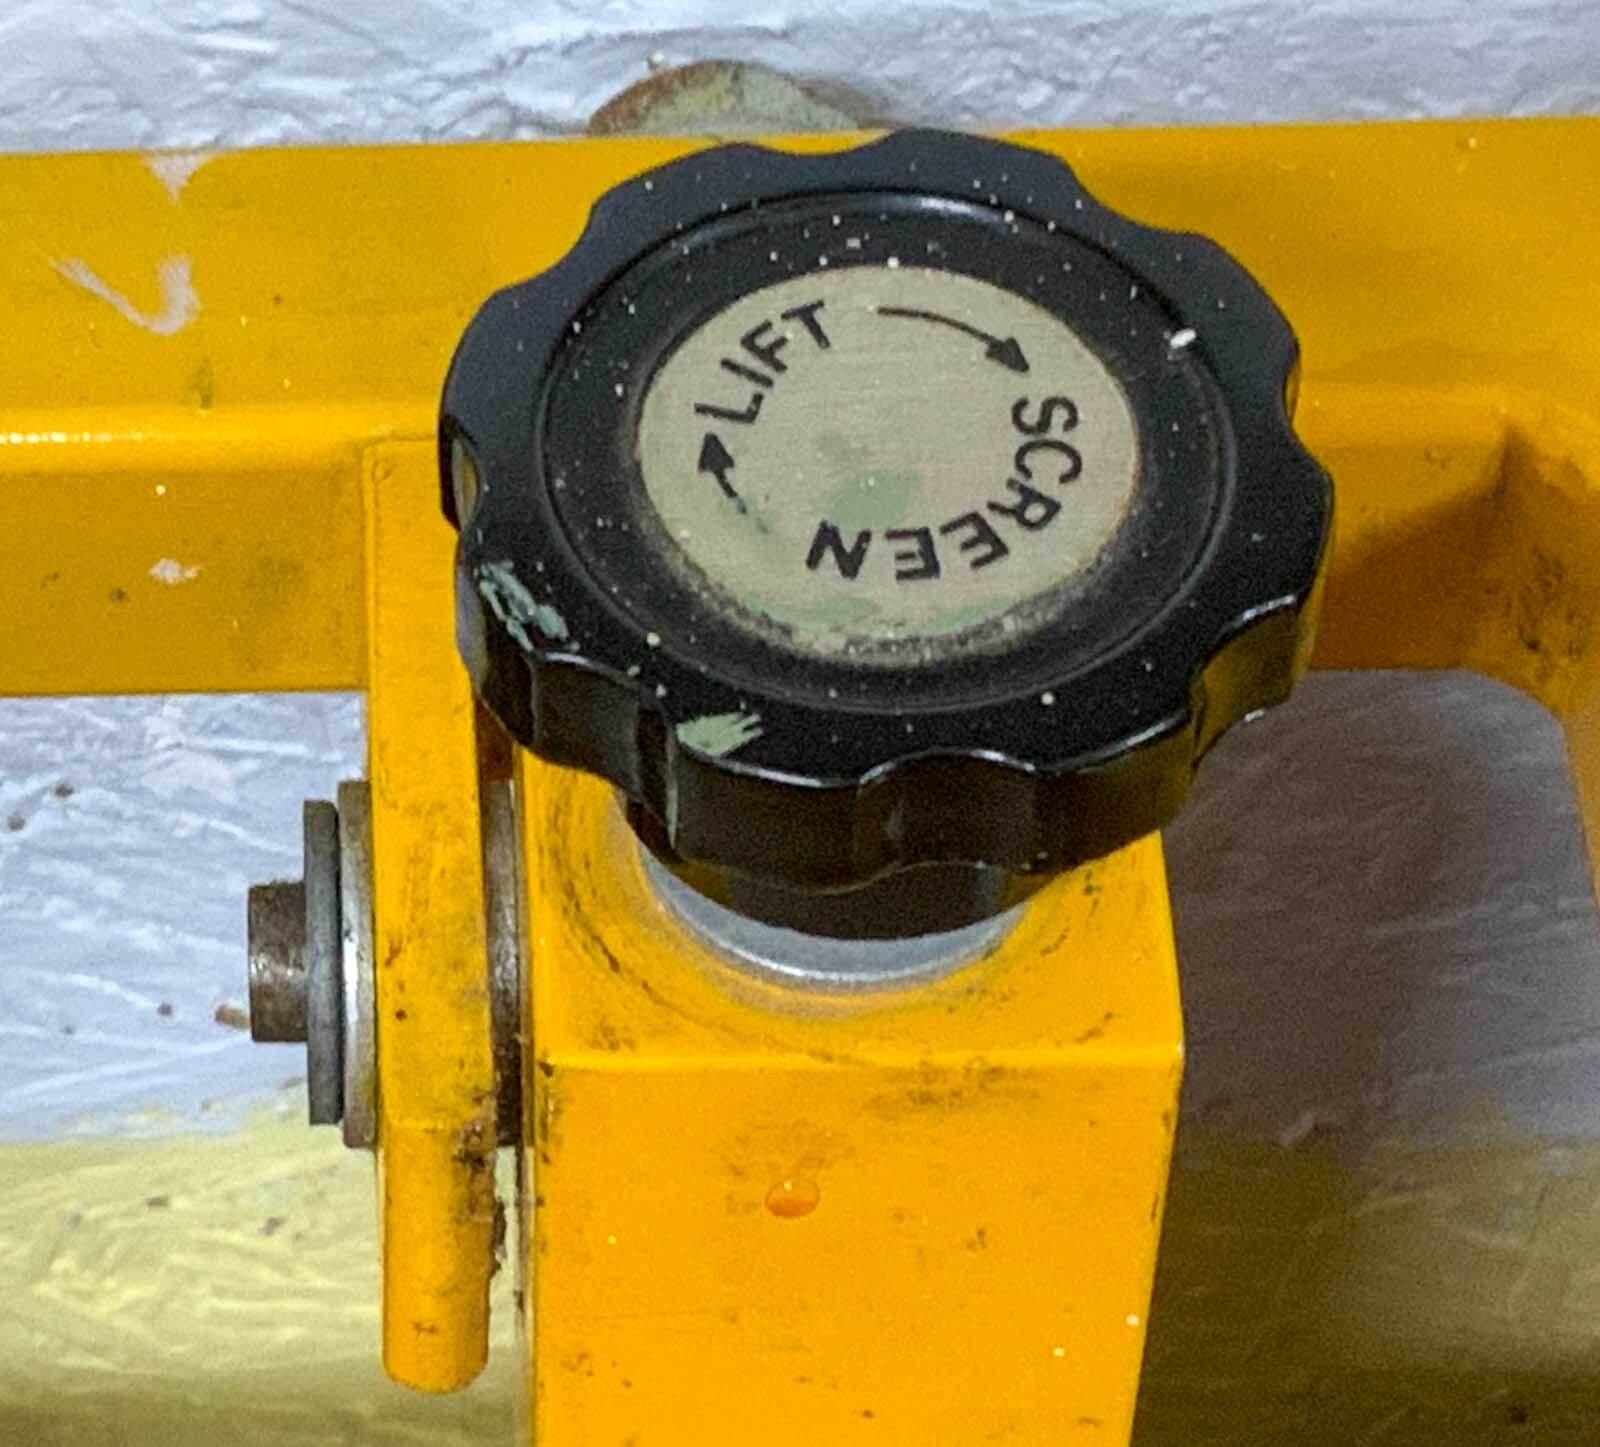

My exposure unit started life as a simple second‑hand frame with halogen lamps, but a few small changes made it far more flexible for my studio. This post explains how I adapted it to handle larger screens, save space and work more efficiently in a small shed workspace.