The Exposure Unit: How I Modified Mine
(Print Studio Setup Series, Part 7)
An exposure unit doesn’t need to be fancy to be effective, but it does need to work for the way you print. Mine began as a basic second‑hand setup, and for years it did everything I needed — until it didn’t. A simple modification opened up new possibilities and made the whole thing far more practical in a tiny studio.
In this post, I’ll walk through how my exposure unit works, why I changed it, and how a small adjustment made a big difference to the way I expose screens.
---
The Exposure Unit: How I Modified Mine
My exposure unit is one of the simplest bits of kit in the studio, but it taught me a useful lesson: sometimes the thing holding you back isn’t the equipment — it’s the way you’re using it.
The unit itself is very straightforward. It’s a metal frame holding a wooden baseboard, with two 400‑watt halogen lamps suspended a couple of feet above. On the board sits a large block of foam, the screen, the positives, and a sheet of glass to keep everything flat during exposure.
I bought it second‑hand — almost certainly from eBay — back in the autumn of 2017. For years it worked perfectly for my setup. Halogen lamps aren’t the fastest option, so exposures take several minutes, but that’s never bothered me. For my purposes, it did everything I needed… until I bought some screens that were too large to fit between the two vertical arms of the frame.
At first I assumed I’d need a new exposure unit. Then I realised the solution was much simpler: dismantle the frame, remove the uprights, and hang the lamps from the ceiling instead.
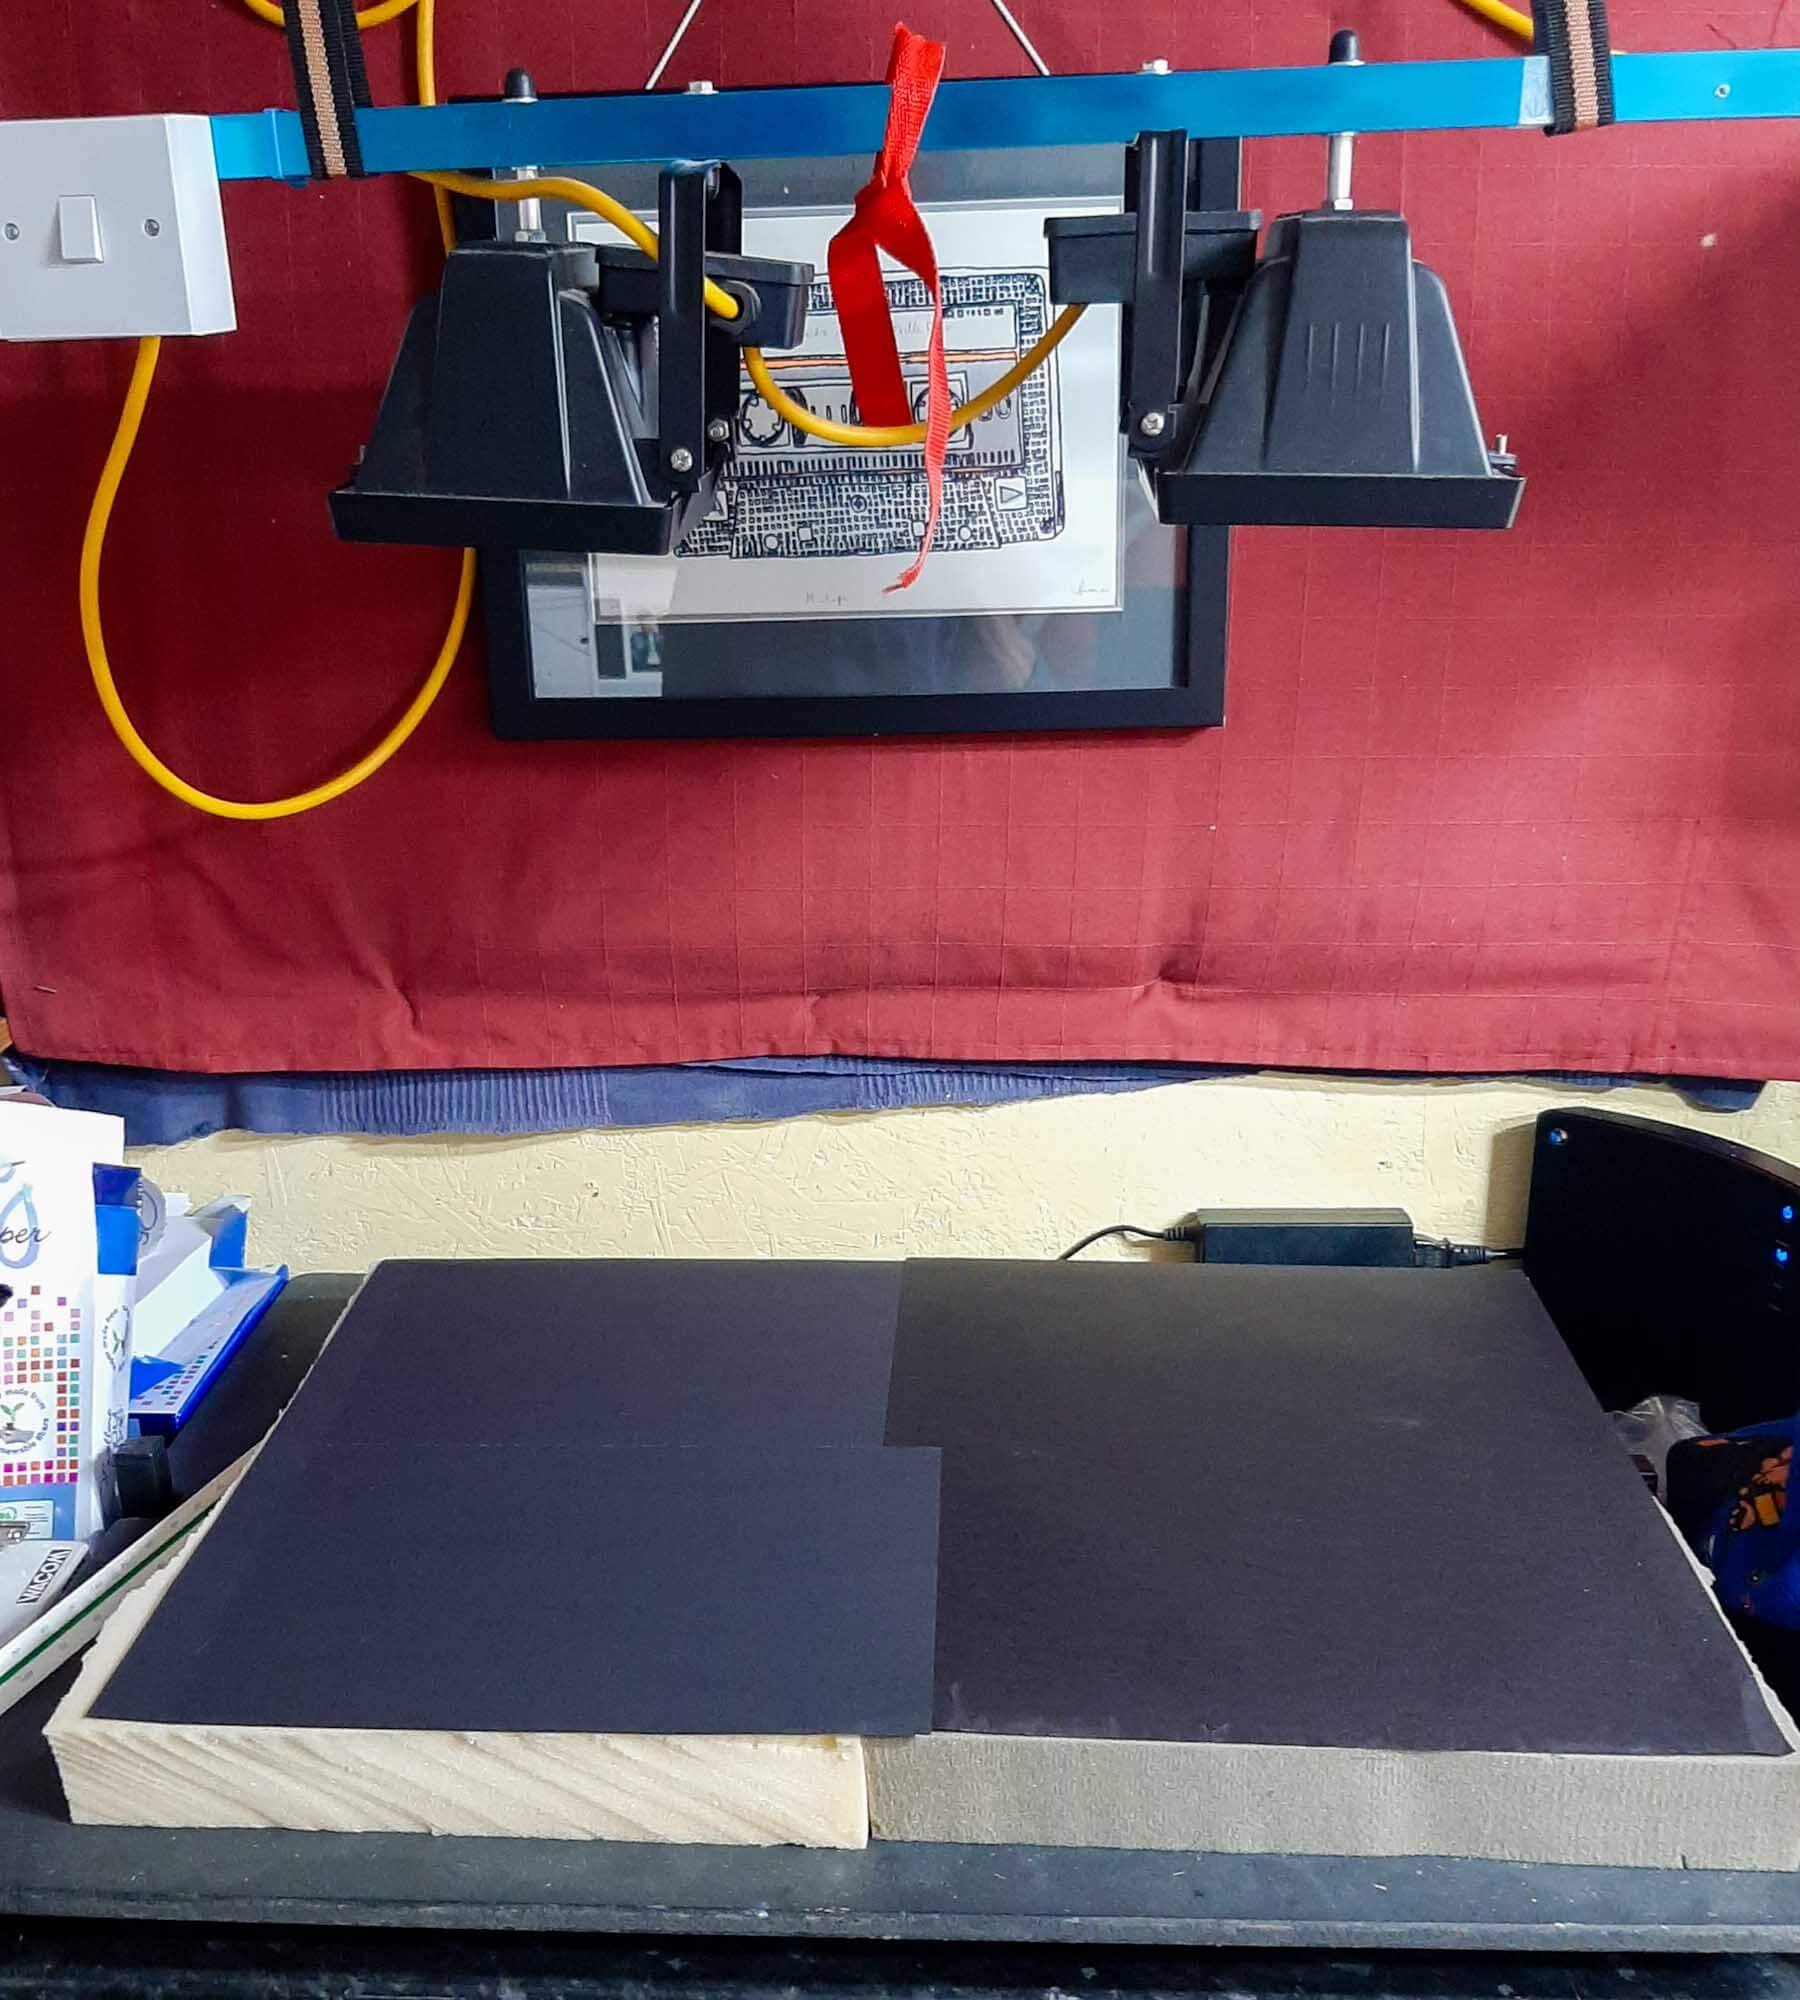
The modified exposure setup — foam blocks on the baseboard and the halogen lamps now hanging from the ceiling, giving me the space to expose larger screens.
Making the Unit Fit the Work
Suspending the lamps from above instantly solved the size problem. It also had an unexpected bonus: without the uprights, the exposure unit takes up far less physical and visual space when not in use. The lamps now hook neatly onto the wall, and the baseboard stays where it is, ready for the next screen.
Happily, the sheet of glass was already large enough for the bigger screens, and the wooden base didn’t need changing. The only thing that required adjustment was the foam block the screen rests on. Luckily, I had leftover foam from the window‑insulation panels I made (which I wrote about in an earlier post), so I simply cut a second block. When I’m exposing larger screens, the two pieces sit side by side.
If I Were Building One From Scratch
If I were starting again with a halogen‑lamp exposure setup, I’d skip the frame entirely. I’d buy a couple of lamps (more if you want to expose very large screens) and suspend them from the ceiling from the outset. I’m sure I’ve seen this approach somewhere before, and it makes a lot of sense in a small studio.
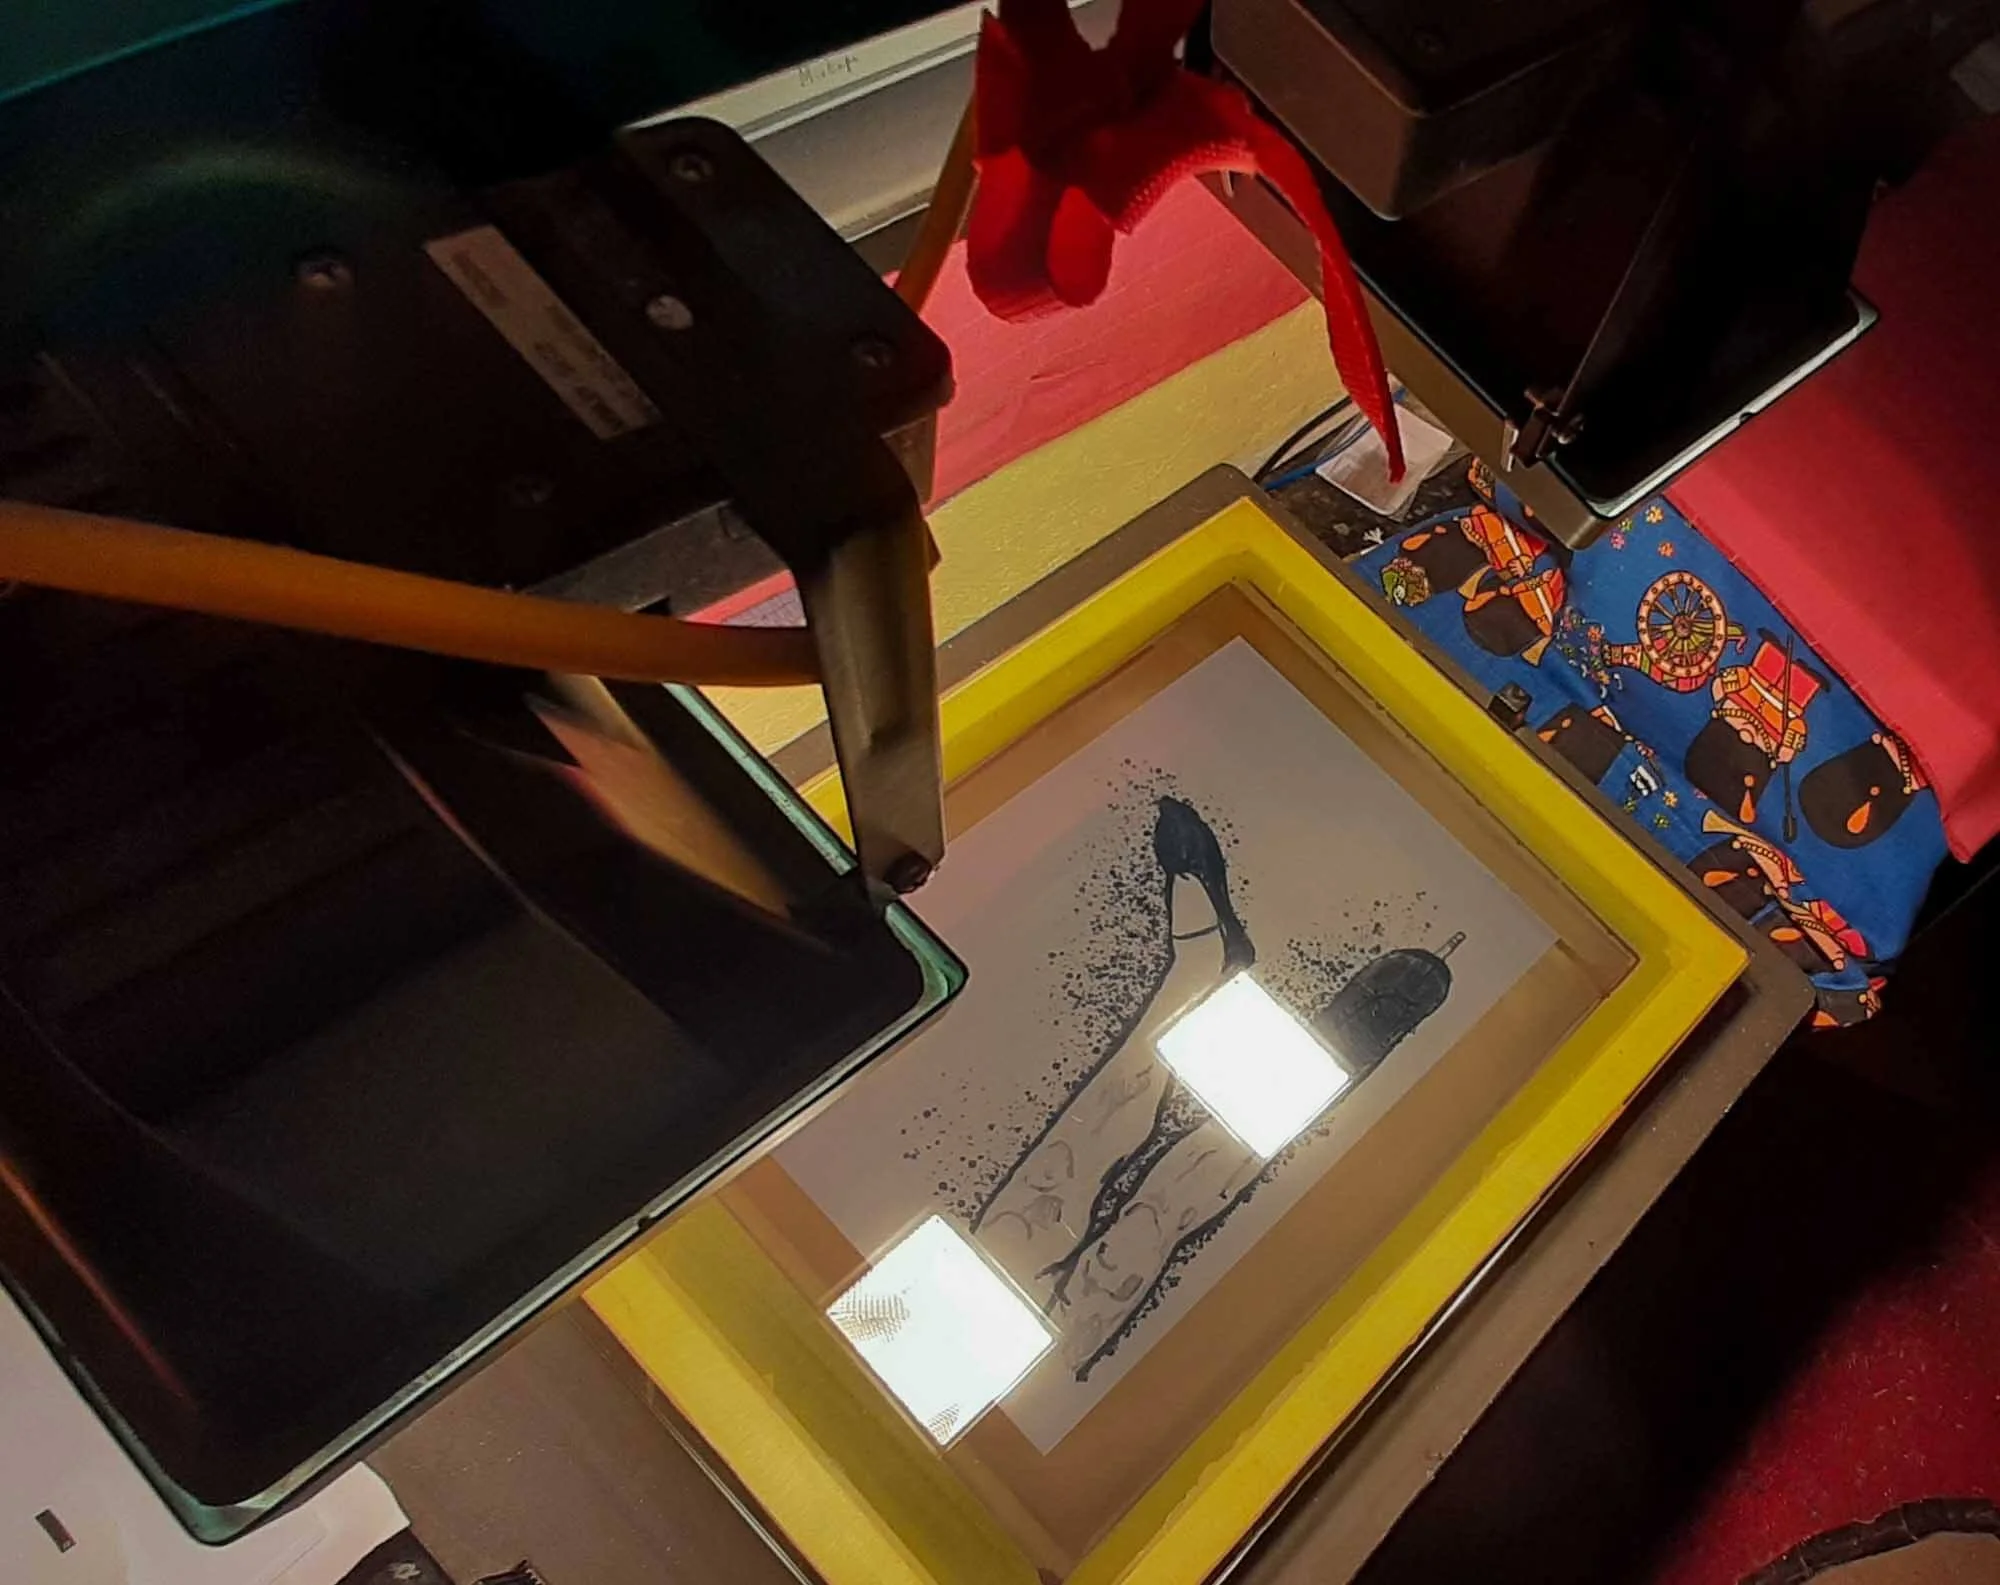
Looking straight down through the lamps onto the screen under glass — a simple halogen setup that still exposes beautifully, even after its studio‑friendly modifications.
Why It’s Worth Having Your Own Exposure Unit
Having your own exposure facility isn’t essential, but it’s a huge advantage. It means you can coat, expose and wash out screens on your own schedule, without relying on external facilities or juggling timings. As long as you have the space — and somewhere suitable to wash out the screens — it’s well worth putting something together.
---
This post is part of the Print Studio Setup Series:
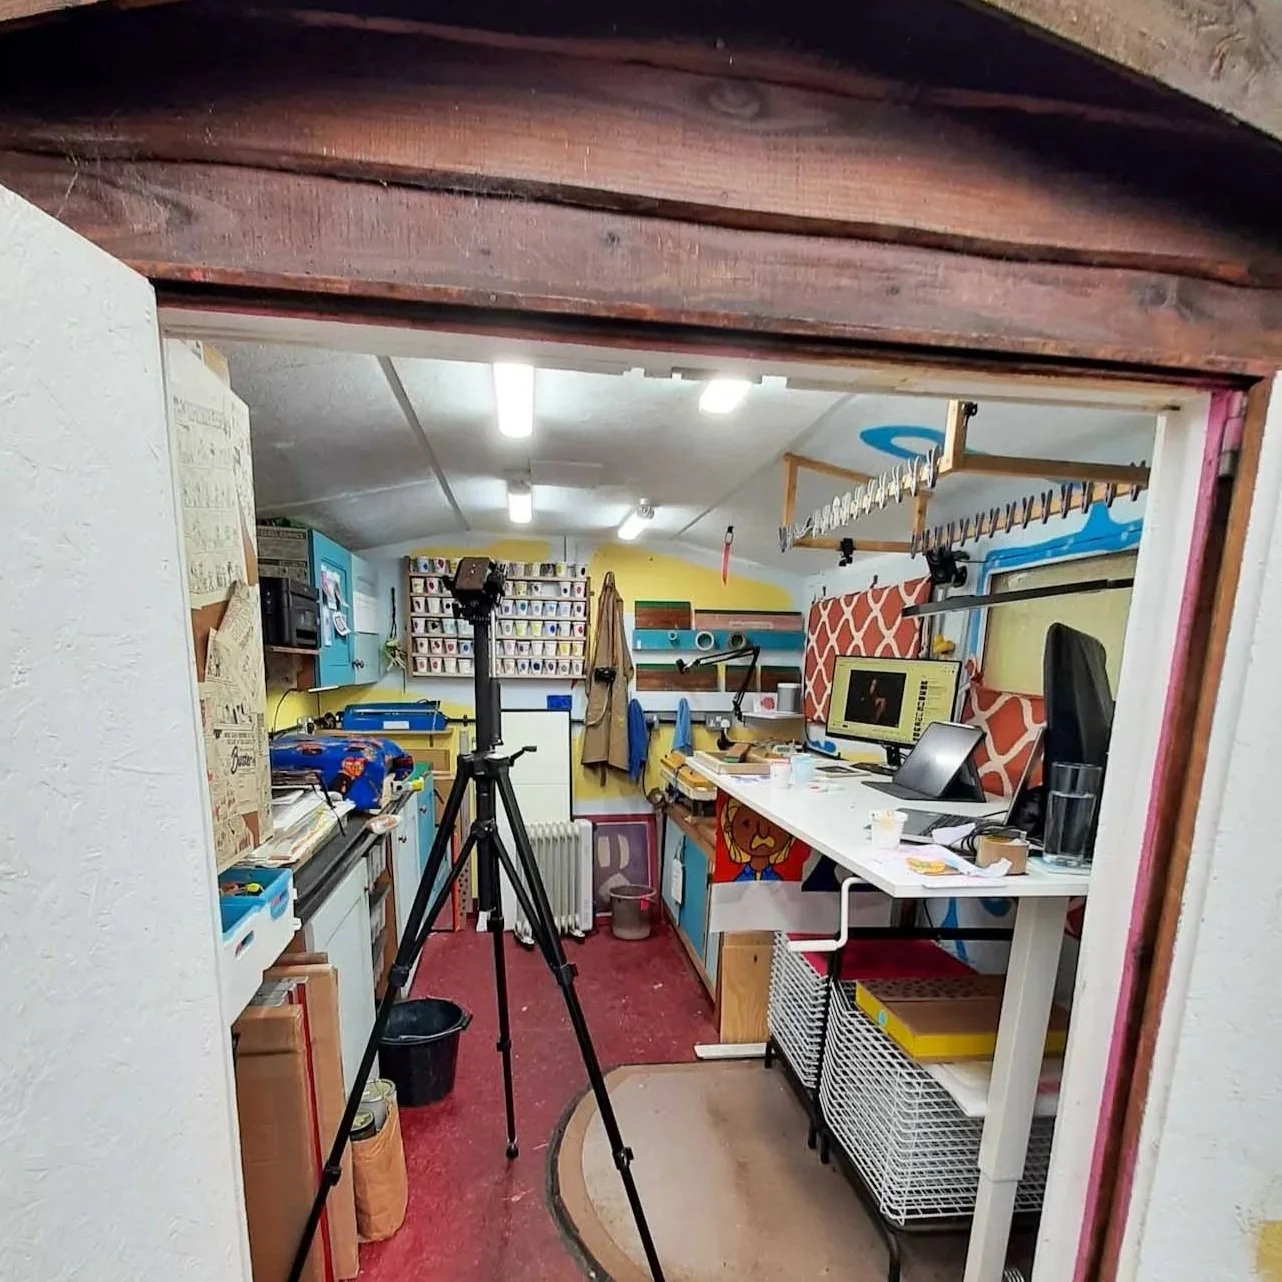

My exposure unit started life as a simple second‑hand frame with halogen lamps, but a few small changes made it far more flexible for my studio. This post explains how I adapted it to handle larger screens, save space and work more efficiently in a small shed workspace.