The Vacuum Table: A Deep Dive into the Heart of My Print Studio
(Print Studio Setup Series, Part 6)
The vacuum table is the unsung hero of my studio — the thing almost every print passes through, yet the tool I probably think about the least until something goes wrong. I bought mine second‑hand and have adapted it over the years with a mix of practical tweaks, DIY fixes and a few accidental discoveries.
In this post, I’ll take you through how the table works, how I use it, and the small upgrades that have made a big difference to accuracy, comfort and workflow in my shed studio.
---
The Vacuum Table: A Deep Dive into the Heart of My Print Studio
The vacuum table is the beating heart of my studio. Almost everything I print passes across it, and although it arrived second‑hand and slightly battered, it’s become one of the most important tools I own.
I bought it on Gumtree for under a hundred pounds — a bargain considering similar models (with stands and built‑in vacuums) go for around £2,500. Mine came without a stand or vacuum, but that suited me perfectly. The missing stand meant I could use the space beneath for my drying cupboard, and the vacuum problem was easily solved with a household cleaner.
The Vacuum Setup
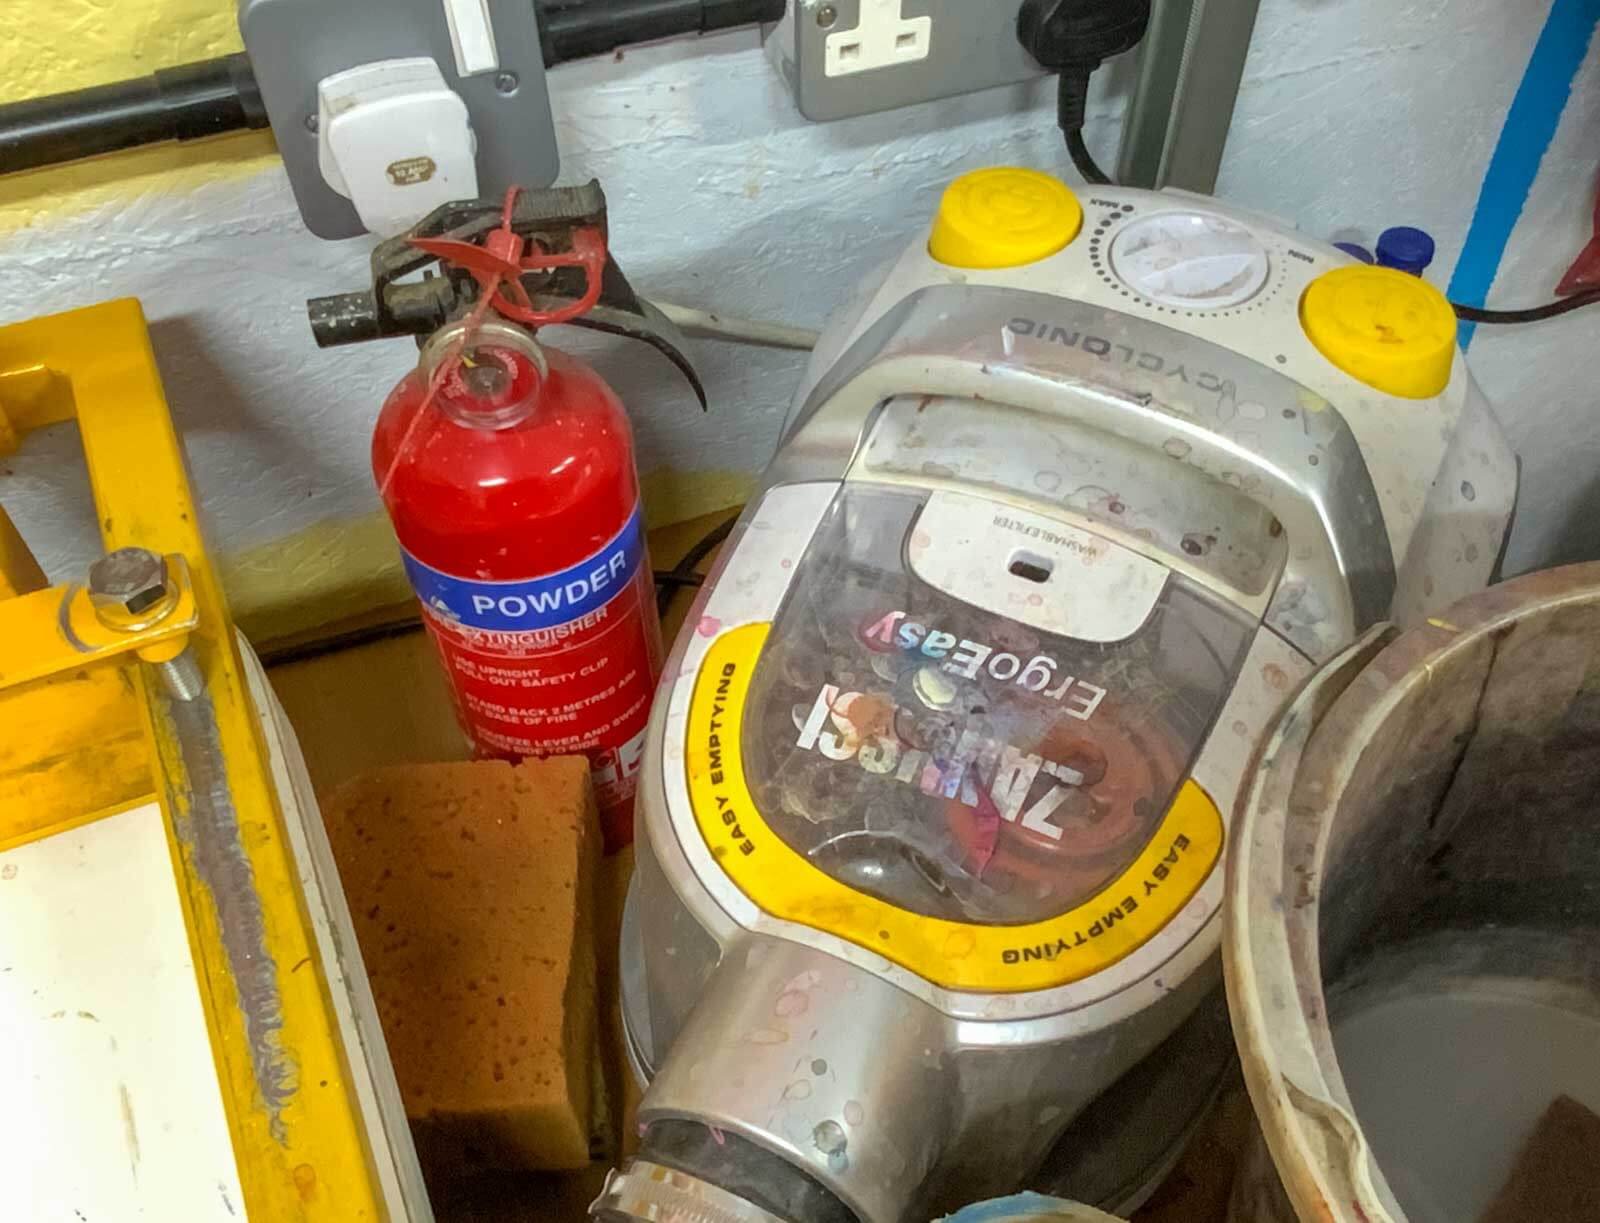
My first vacuum was an elderly machine that eventually gave up, but its replacement — a Zanussi “Ergo Easy” bagless vacuum — cost under £100 and has been going strong for years. I switch it on and off using a socket positioned right next to the table (a small joy made possible by the electrics upgrade). The vacuum’s variable suction control gives me a bit of extra fine‑tuning when needed.
The table itself works by pulling air through a grid of tiny holes in the printing surface. Beneath that lies a sealed cavity. When the vacuum is running, the suction holds the paper or substrate firmly in place, preventing lateral movement and stopping anything from sticking to the underside of the screen. Simple, effective, and essential.
Holding the Screen in Place
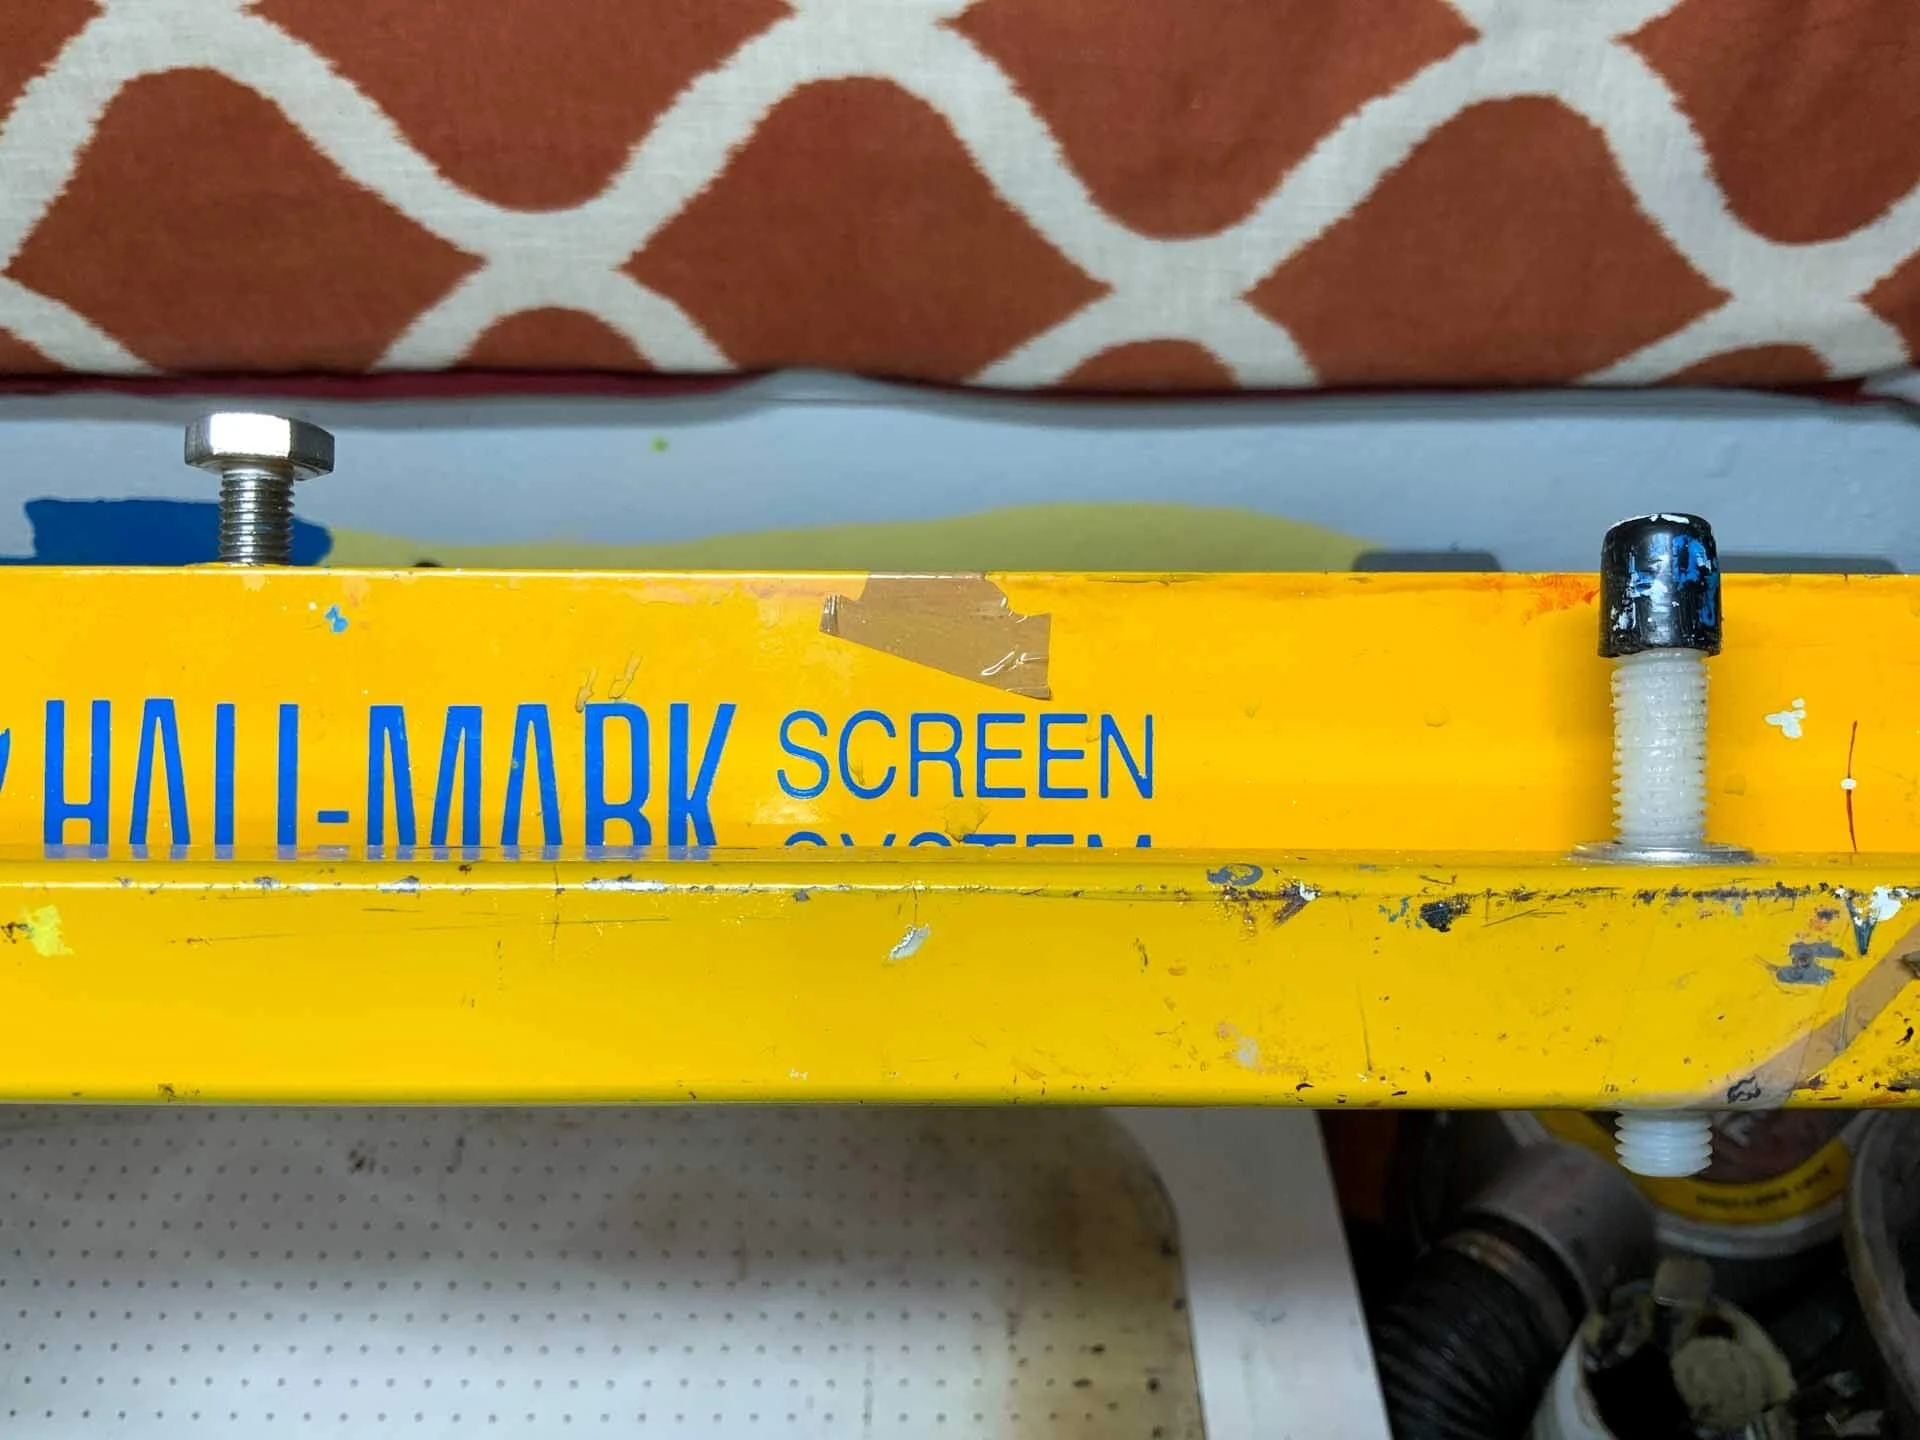
The screen is clamped using two lateral bars that can accommodate different screen sizes and orientations. These originally came with plastic bolts, but they became stiff and awkward over time, so I replaced them with metal ones. The metal bolts have left satisfying marks on the yellow frame — the kind of wear that tells a story of use.
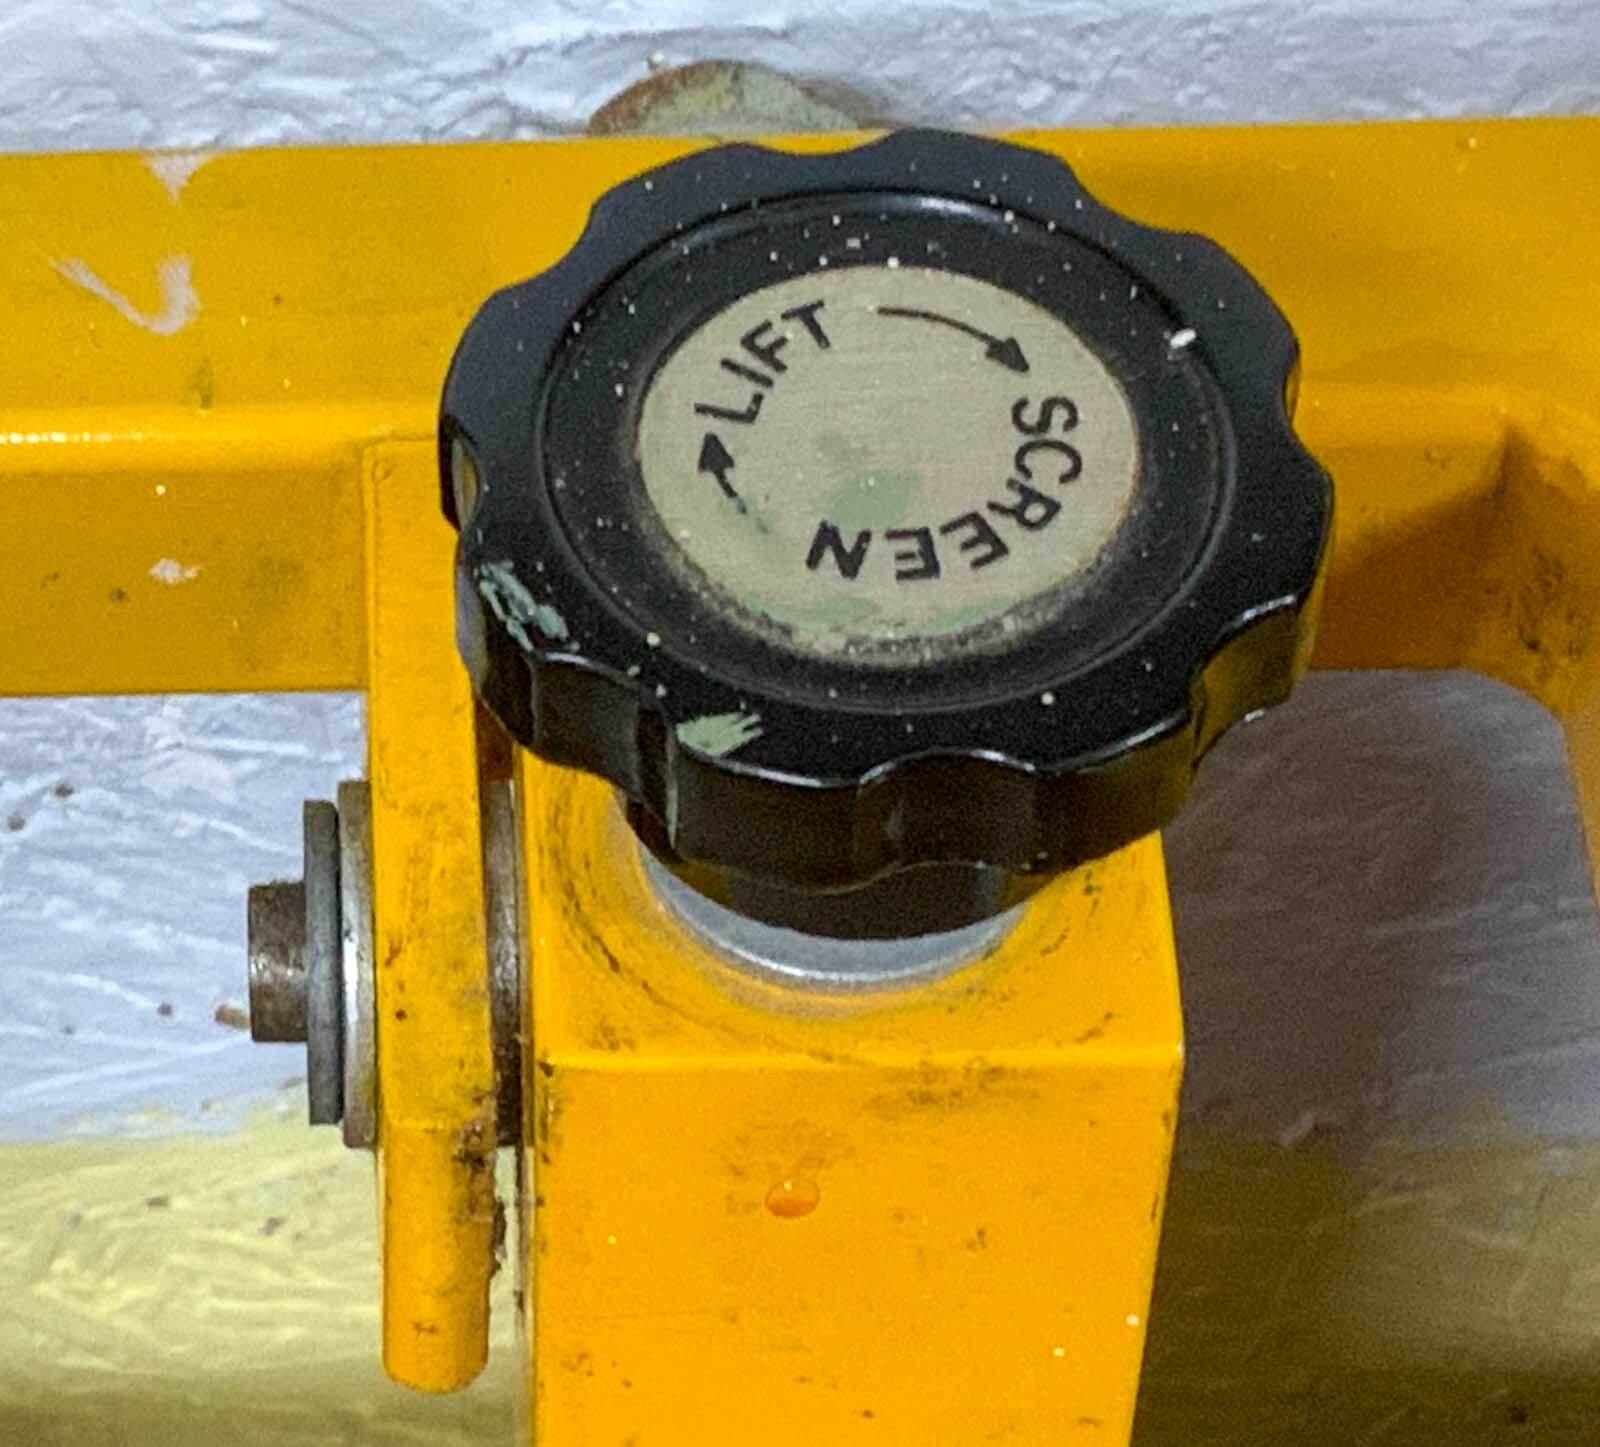
The height of the frame is crucial for achieving the right amount of “snap” — the moment the screen lifts cleanly away from the substrate after printing. On my table, the rear height is controlled by two twist‑action, solution‑filled pistons, which allow for precise adjustment. The front height is set using two plastic bolts, which have worn down and become a nuisance. They’ll be replaced with metal ones soon enough.
The Counterweight Problem (and the Hat)
The table was designed to be used with a counterweight so that the frame stays lifted when raised. Unfortunately, my studio is too small to accommodate the counterweight arm, so for several years I had to balance the frame on my head while registering prints. This required donning my special woolly “print hat” to avoid bruising — a surprisingly sweaty experience in summer.
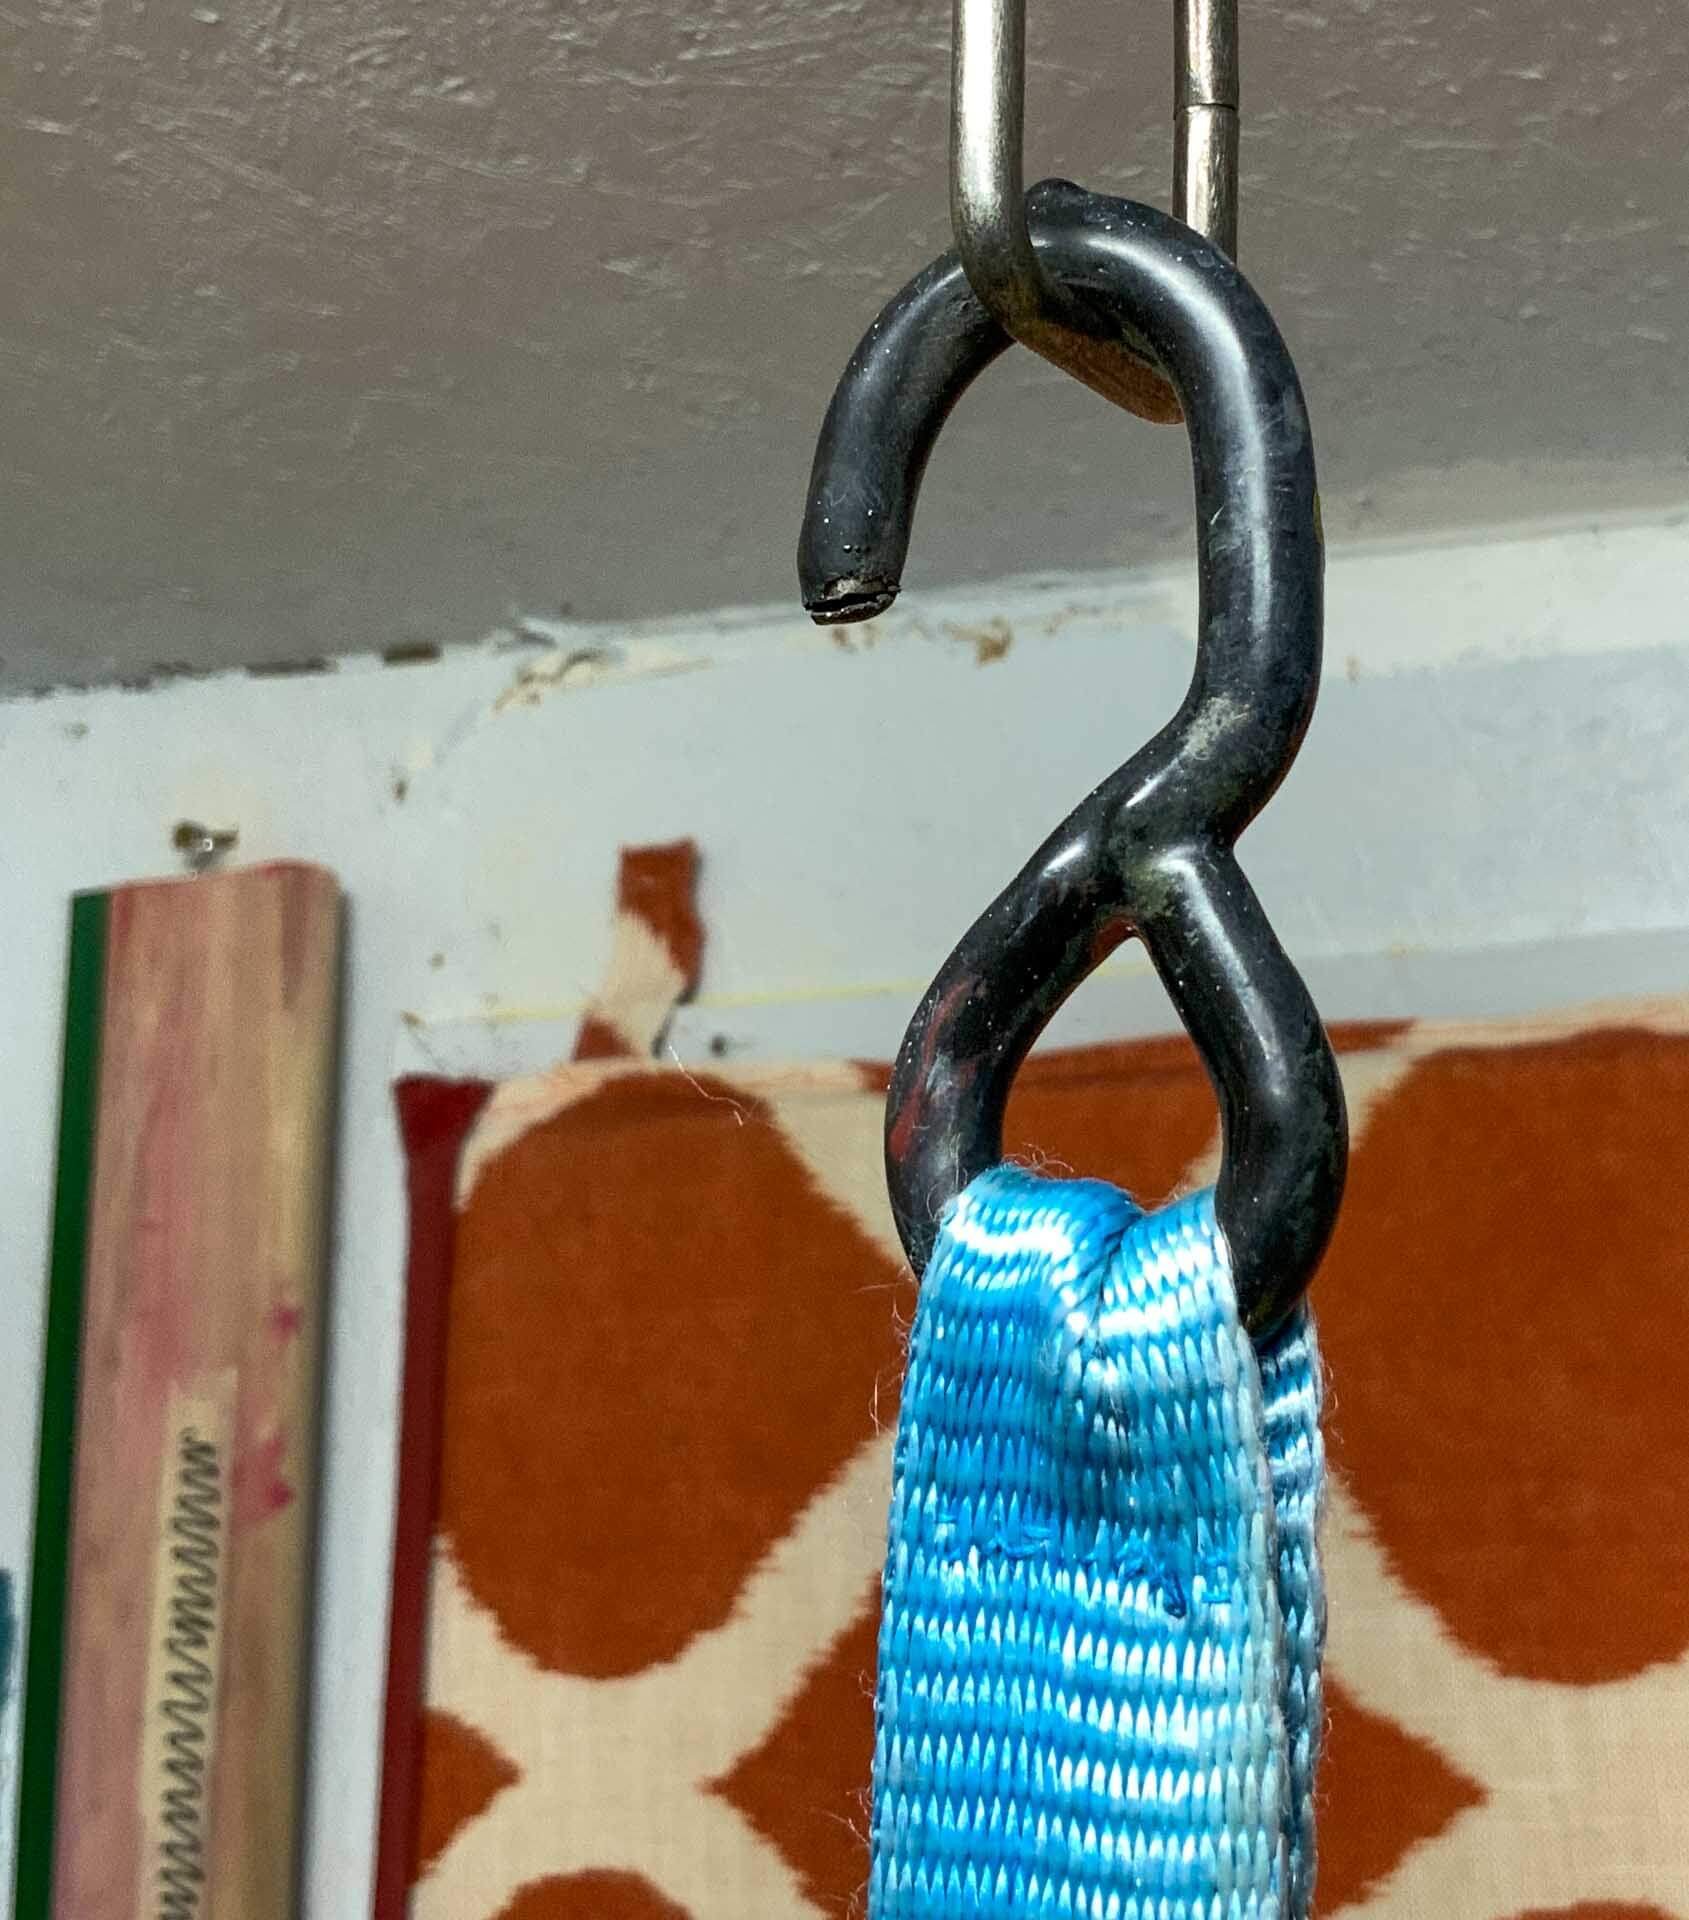
Eventually, I realised I could attach a cord and hook to the frame, which then hooks onto a ceiling‑mounted hook. It’s a simple, elegant workaround that has made a world of difference. Between prints, a block of wood keeps the frame off the table surface.
Registration: My Preferred Method
Attached to the table is my registration sheet — an A1‑sized, 600‑micron clear acetate sheet. For me, this thickness is ideal. I use the registration print for almost every layer of every print, and although the thickness can make perfect alignment visually challenging, it’s still my preferred method.
I once tried a thinner 250‑micron sheet, but it went floppy and wobbly, making it completely unusable.
Both the table and the registration sheet need to be kept clean. Any ink or glue on the table can block the suction holes, and any marks on the acetate can obscure your view or create bumps that interfere with the first print onto the sheet.
In Praise of the Vacuum Table
So that’s my vacuum table — second‑hand, slightly improvised, occasionally infuriating, but absolutely indispensable. It’s one of those tools that quietly does its job day after day, and I wouldn’t be without it.
---
This post is part of the Print Studio Setup Series:
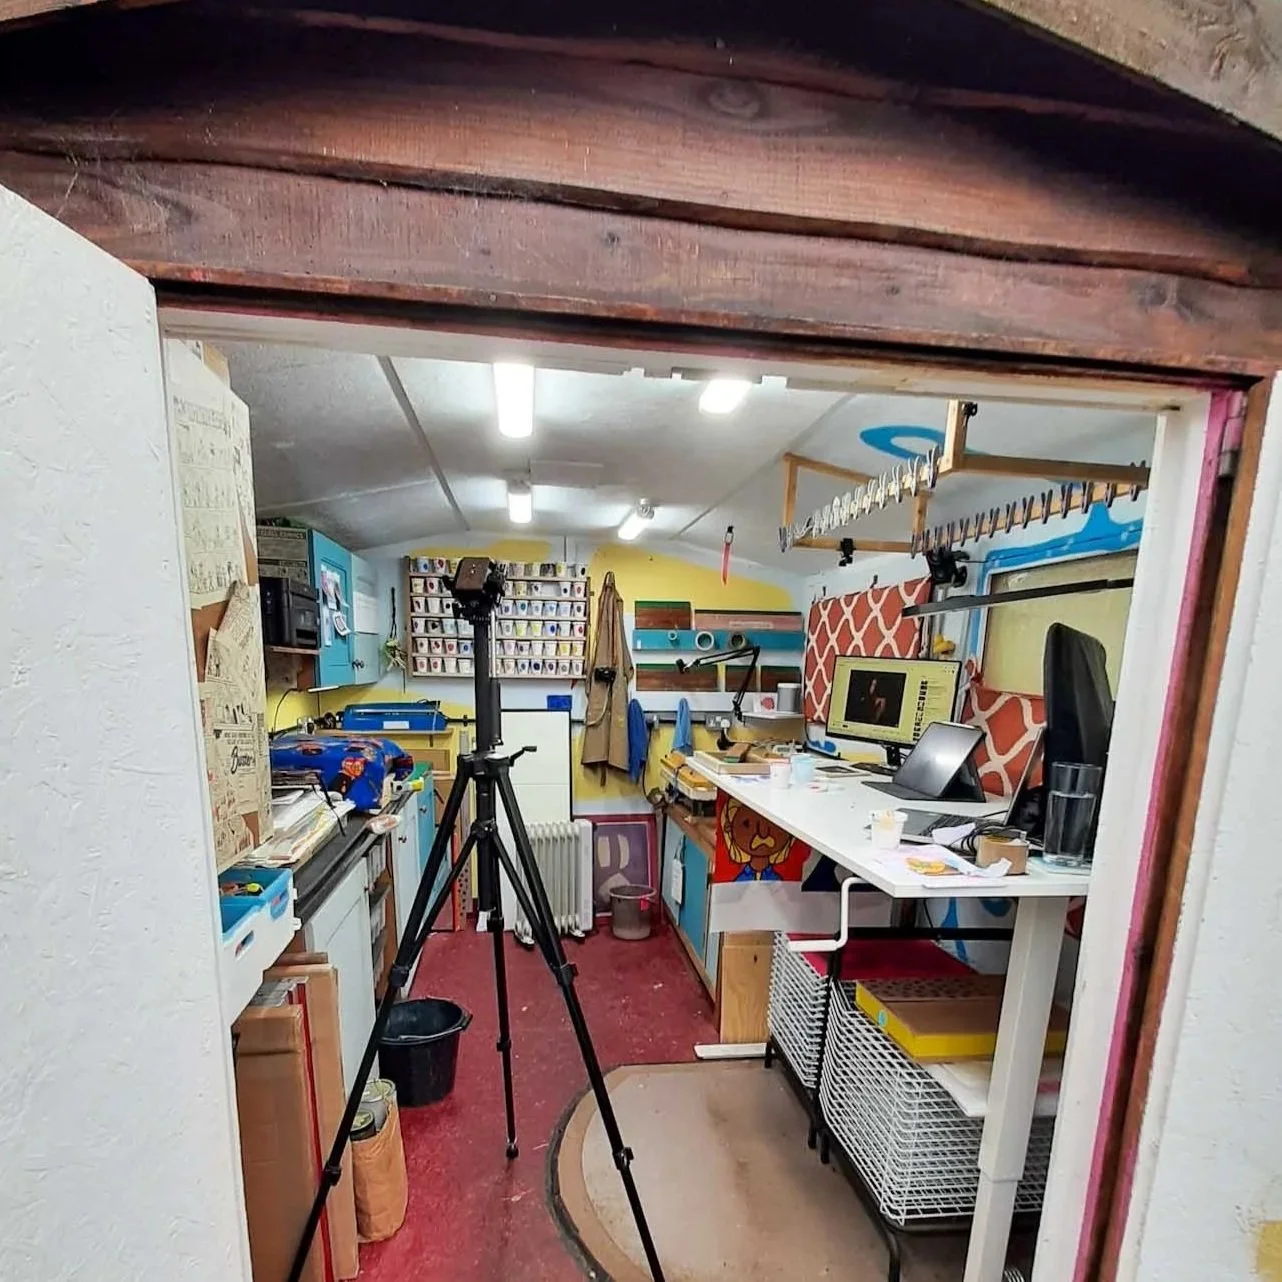

My exposure unit started life as a simple second‑hand frame with halogen lamps, but a few small changes made it far more flexible for my studio. This post explains how I adapted it to handle larger screens, save space and work more efficiently in a small shed workspace.