The Screen
printing Process
From first idea to finished artwork
My prints are built through a slow, layered process — from hand‑pulled silkscreen work to careful mounting and framing. This page walks through the stages behind each piece, offering a glimpse into how the images take shape, the materials I use, and the craft that carries the work from studio table to finished artwork.

creating imagery - digital or on paper
Every piece begins with an idea. Sometimes it arrives in a moment; other times, it takes months of quiet reflection. Once ready, the idea moves into the physical world - through pencil, pen, or digital stylus.
I work fluidly between analogue and digital techniques, allowing each to inform the other as the imagery evolves. To prepare for silkscreen printing, the image is separated into distinct layers. These layers will later be reunited on paper, one at a time, through the printing process.

preparing screens for printing
I use a photographic method to transfer each image layer onto the silkscreen. This involves coating the screen with photo-sensitive emulsion and exposing it to a strong light source through acetate sheets - known as ‘positives’ - which I print using an inkjet printer.
The light hardens the exposed areas, while the unexposed sections remain soft and are washed out with a jet of water. Once dried, the screen is ready to print.
exploring, mixing & matching colours
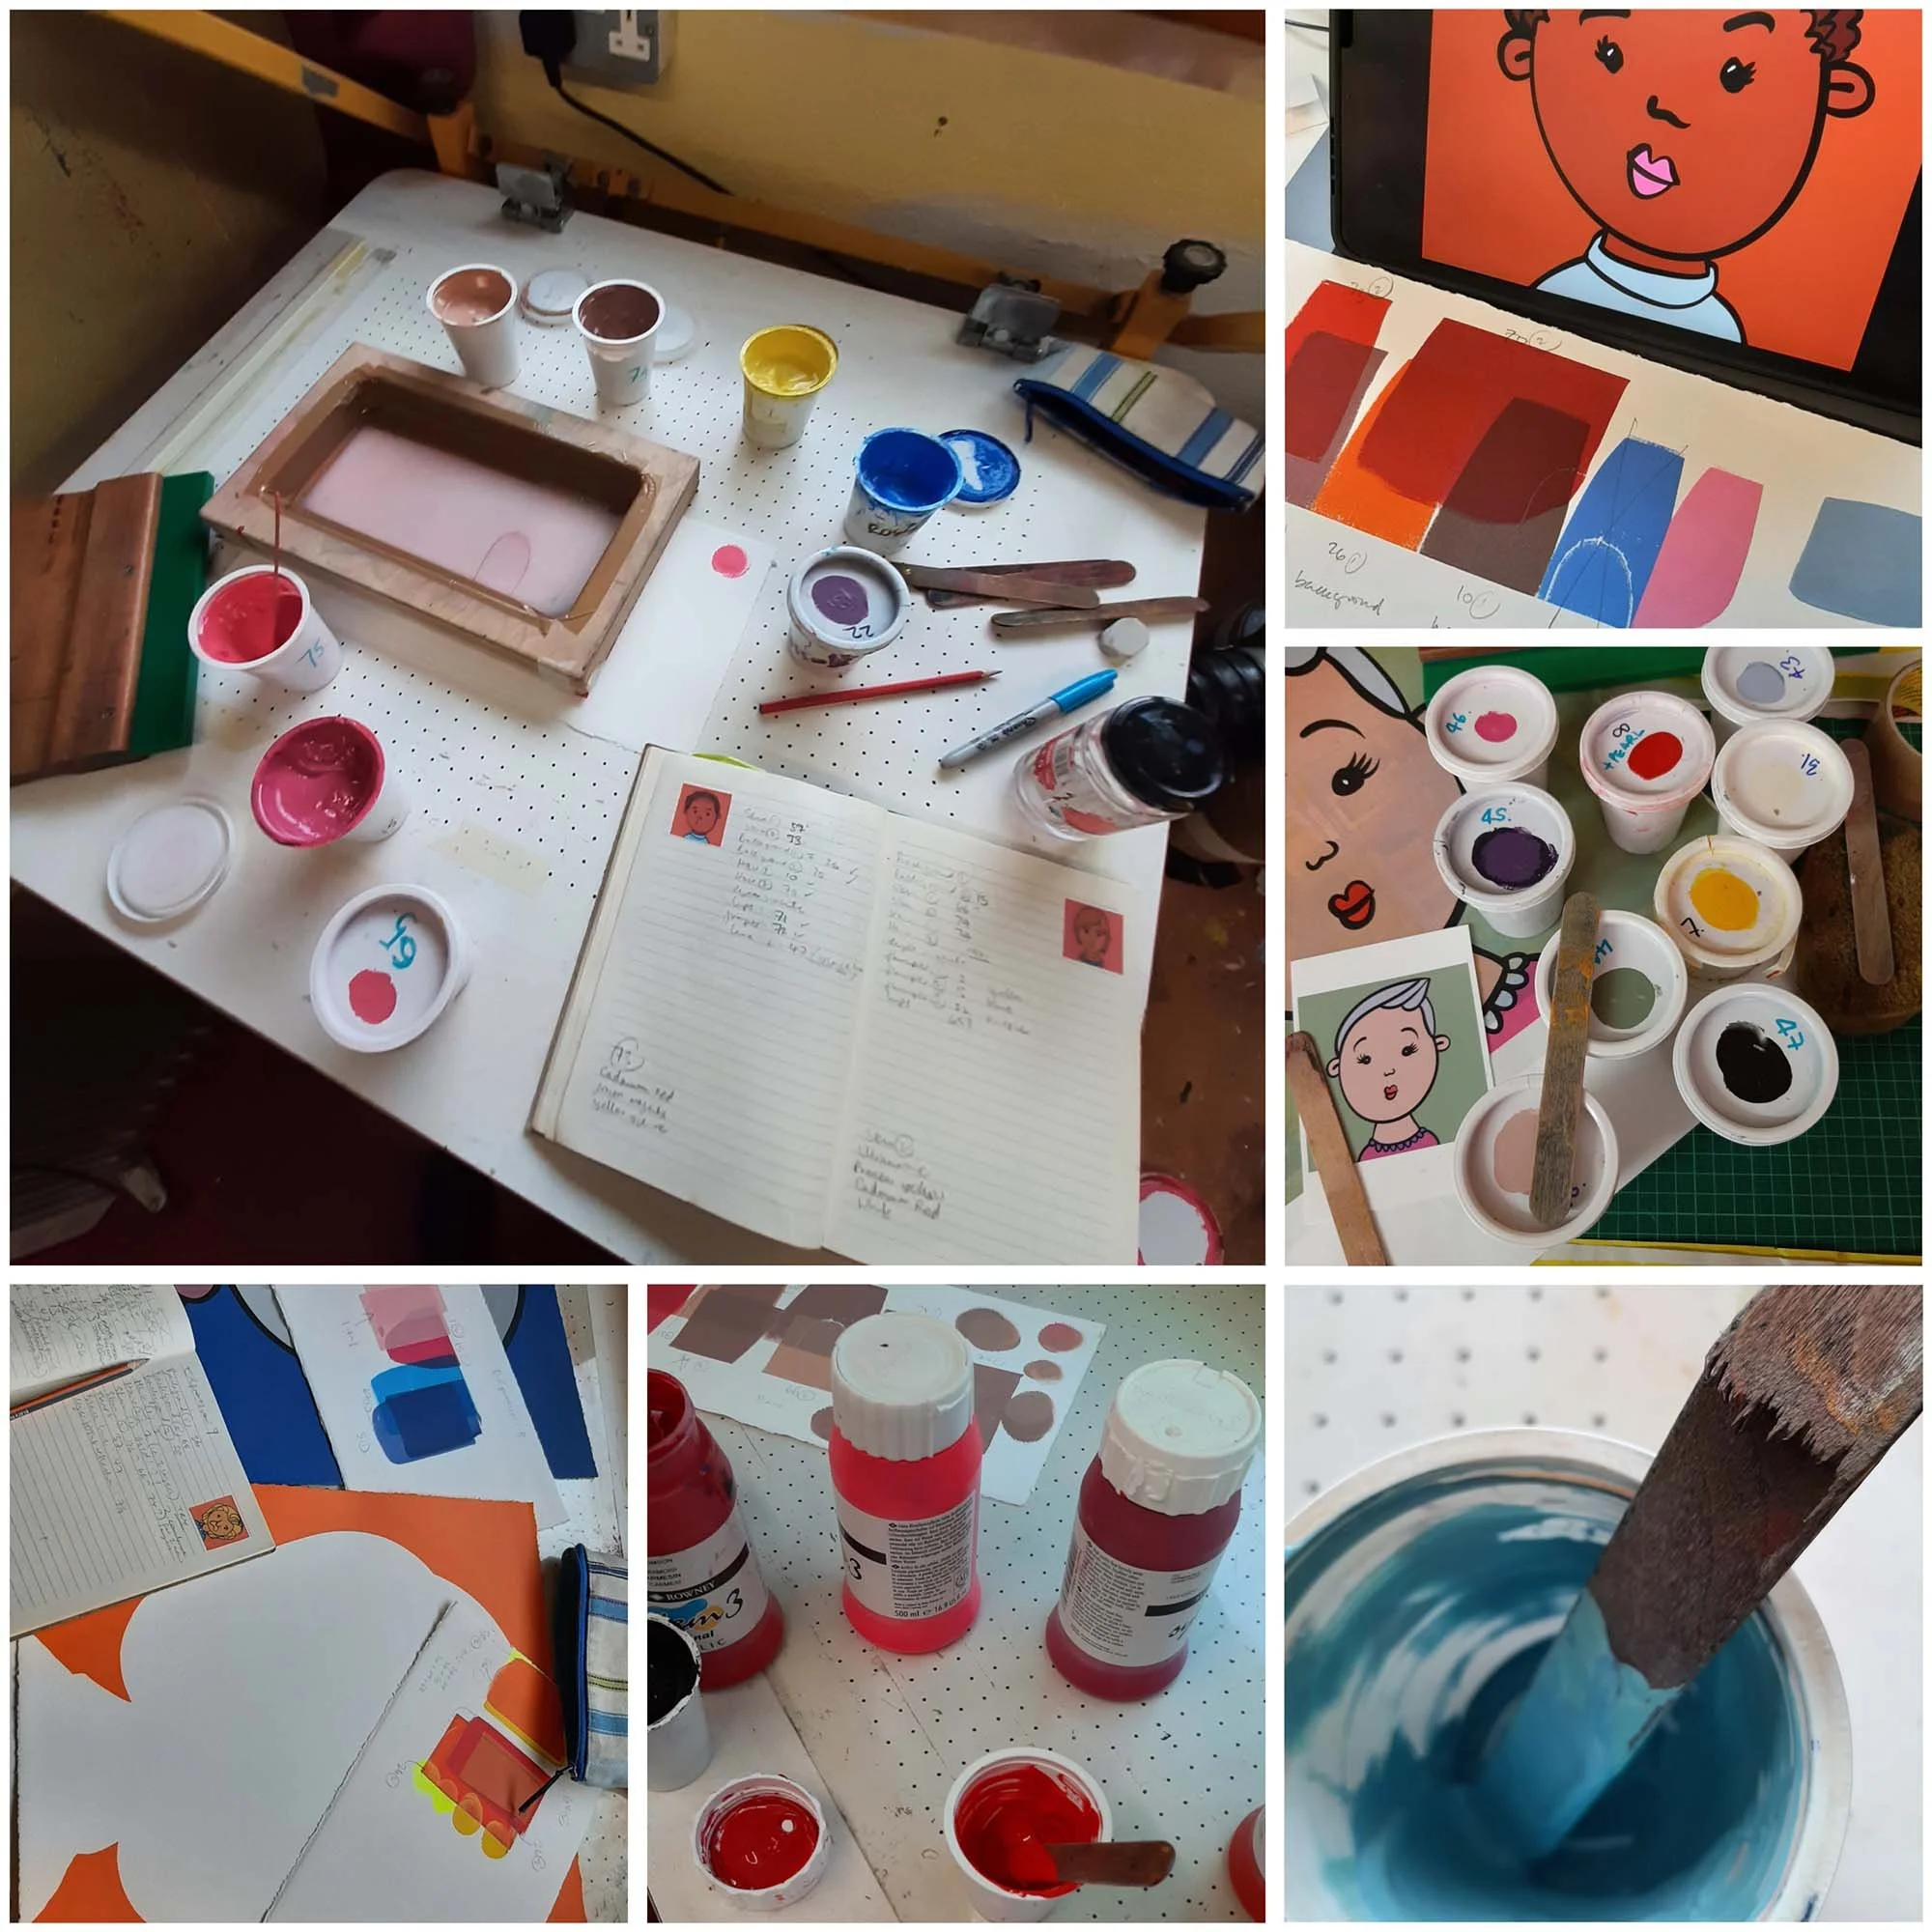
Mixing inks is one of the most joyful parts of the process. I use water-based acrylic inks combined with a printing medium that keeps the ink workable on the screen.
Colour selection is critical. Silkscreen printing allows for vivid, layered hues, and I often build complex tones by printing multiple colours in succession. Each layer adds depth, texture, and nuance to the final piece.

Preparing the paper
Most of my works are printed on Somerset Velvet White 300gsm—a 100% cotton printmaking paper known for its weight and texture. It holds ink beautifully without warping, and its tactile surface adds a distinctive character to the work.
This texture led me to develop a framing method that avoids glass, allowing the surface to remain visible and appreciated. The paper is torn to size, and its natural deckled edges—especially when overprinted - create a soft, expansive feel that enhances the composition.

printing multiple layers & editioning
Nearly all of my silkscreen works involve multiple layers. For example, the yellow background in Joy uses three separate layers—mustard, canary, and luminous yellow—to achieve its vivid intensity.
Each layer is aligned using a transparent registration sheet. The work in progress is placed beneath the sheet for positioning, then the sheet is removed and the layer is printed.
I produce small editions—typically up to 25 prints. Earlier works sometimes reached 50. Maintaining consistent quality across every print is part of the challenge, especially as the number of layers increases.

protective layer of spray lacquer
All artist-framed works receive several coats of spray lacquer. This protective layer allows the surface to be dusted and offers resistance to minor splashes.
The lacquer I use is subtle - it doesn’t alter the appearance of the ink or leave visible spray patterns. It adds only a soft sheen, enhancing the work without distraction.

Hand cut & painted plywood mounts
Each artist-framed work is mounted on softwood plywood. The board is cut to fit the print, then filled, sanded, and painted along its edges to match the artwork’s borders.
The paper is affixed using spray adhesive, ensuring a secure and lasting bond. This method allows the work to sit proudly on its mount, with the texture fully visible.

frame building & making ready to hang
I build my own frames using a mitre cutter, guillotine trimmer, and corner-pinning tools - each with its own rhythm and challenge.
Most frames are finished with Farrow & Ball estate emulsion in Pitch Black or All White. Occasionally, I take a more expressive approach, using acrylics to echo the artwork itself—as seen in Hillview Floristry.