Squeegees: Sizes, Shapes, Uses
(Screen printing Tools & Materials series, Part 2)
Squeegees are one of those tools that seem simple until you start using them every day. Over time you develop preferences — the right handle, the right blade firmness, the right width for each job. I’ve gathered a small collection in my studio, most of them cut down from a pair of long Sericol squeegees, and each one has its own purpose.
In this post, I’ll walk through the sizes I use, how I choose between them, and the cleaning habits that keep my blades in good condition.
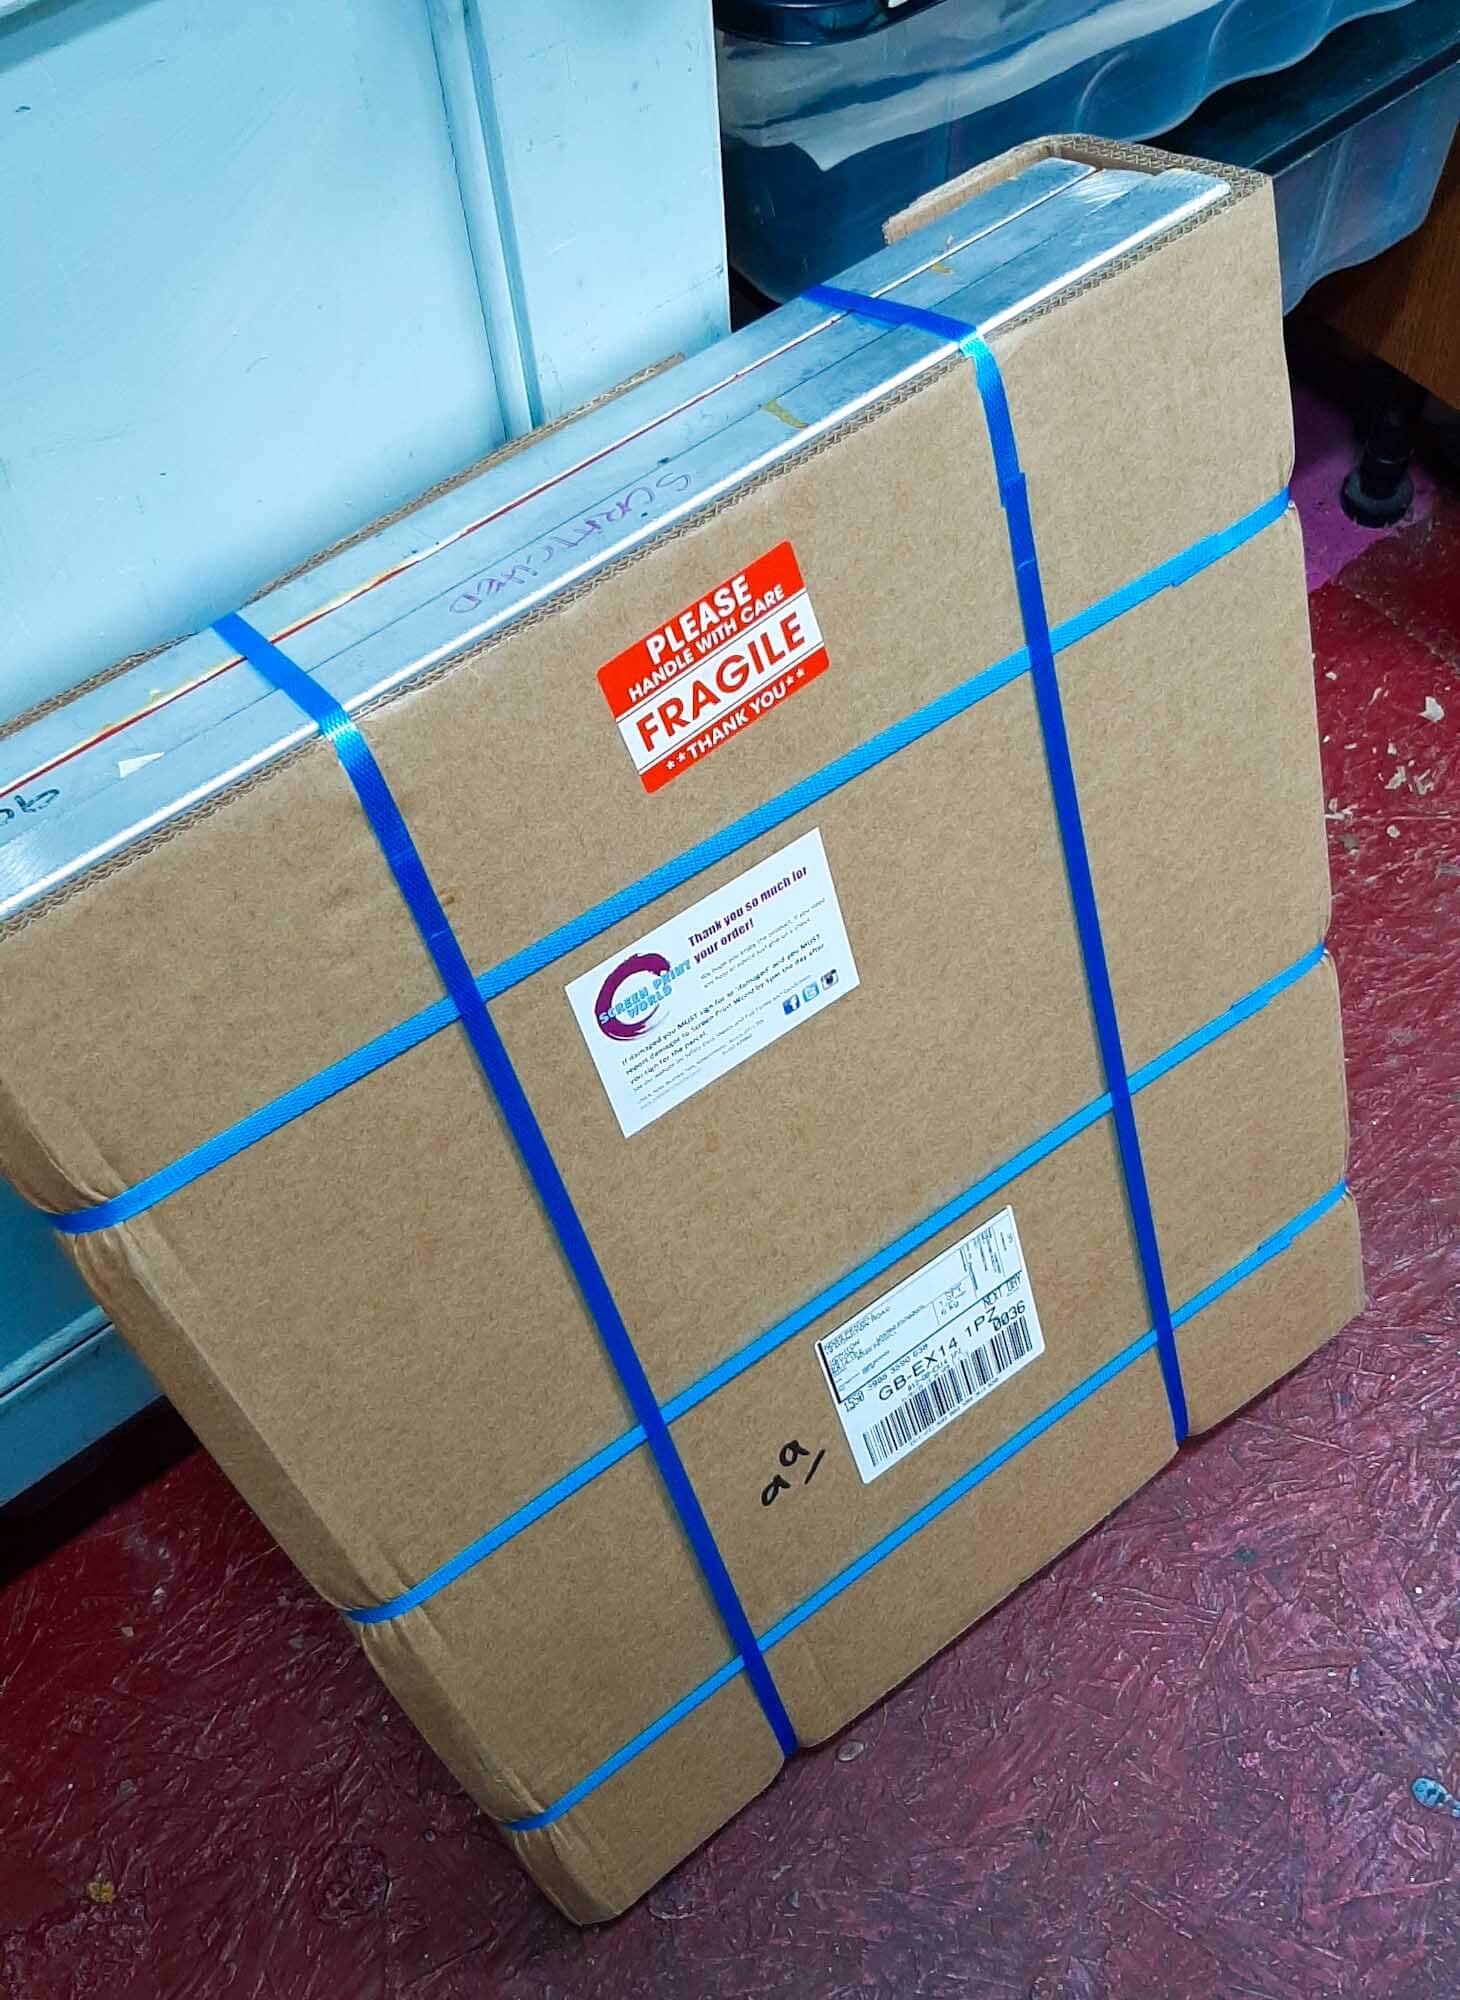
I own eight squeegees in total, though I only use seven of them. The odd one out is an aluminium‑bodied squeegee that was sent to me after I mentioned a screen‑printing supplier online. I’ve never taken to it — the sharpness of the handle just doesn’t feel right in the hand — so it’s sat unused ever since. If you want it, let me know and I’ll happily post it to you; it’s 9” long with a medium blade.
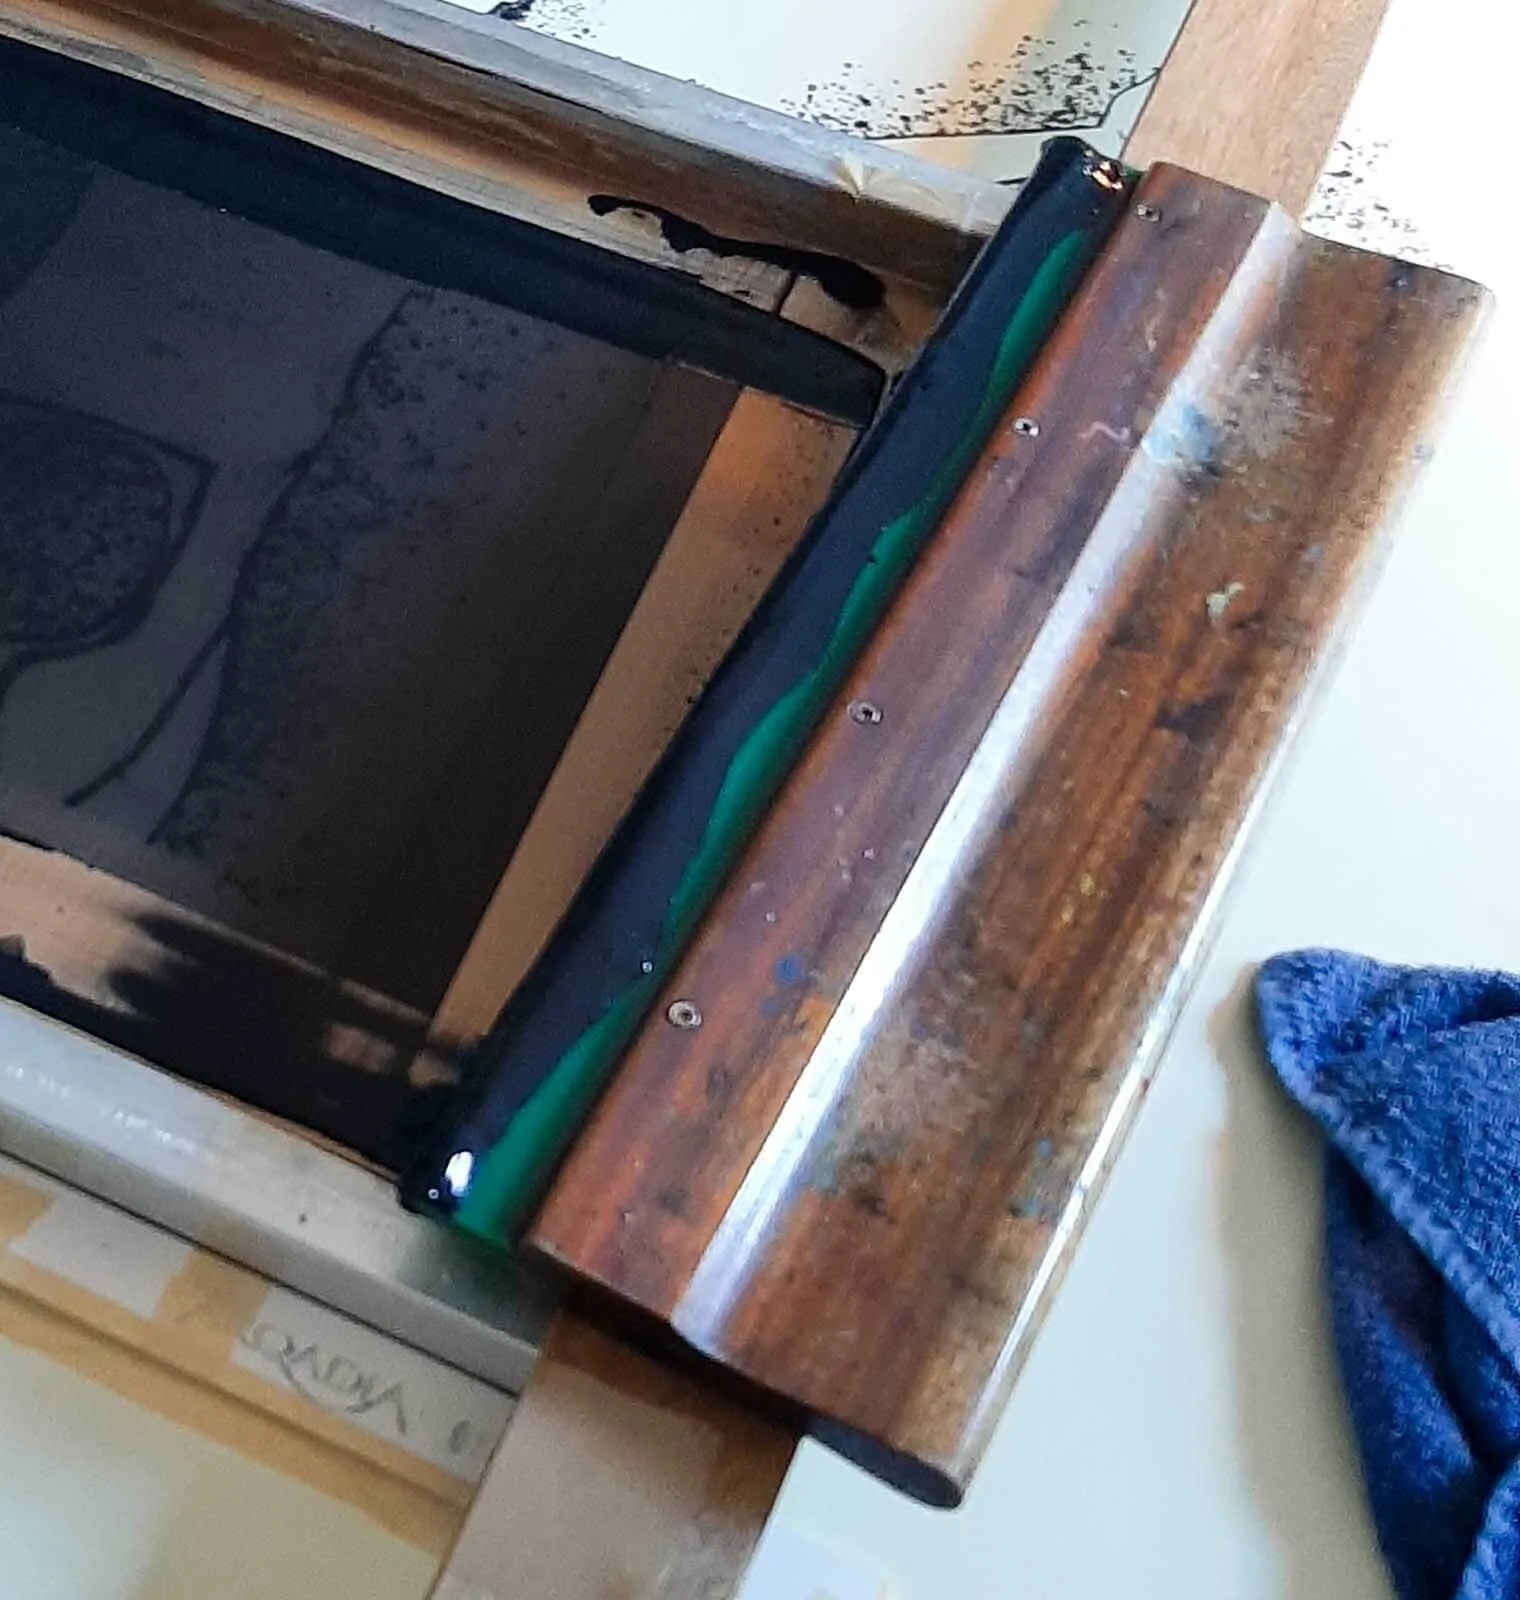
The other seven are far more interesting. Six of them were cut down from two long Sericol wooden‑bodied squeegees gifted to me by a printmaking friend. The handles on these are wonderful: warm, dense, soft yet firm — everything you want in a tool you’re gripping for long stretches. I replaced the original blades with new medium‑firm ones, which I’ve found to be the sweet spot for most of my printing.
The Smallest Squeegee: For Testing Colours
My smallest squeegee is about 2½ inches wide, and I use it with a mini screen for testing colours. You can smear ink with your finger onto paper to get a rough idea, but if you want to properly test layering, transparency and combinations, nothing beats actually pulling ink through a screen. It gives you a true sense of how the colour behaves in practice.
Choosing the Right Width
The range of Sericol sizes means I can usually pick a squeegee that’s just right for the job. Ideally, your squeegee should extend 2–3 inches beyond the printed image on each side. Too narrow and you risk missing the edges or applying uneven pressure. Too wide and you’re dragging ink across non‑printing areas — which is messy, wasteful and unnecessary.
The Longest Squeegee: Useful, But Not Perfect
My longest squeegee was bought specifically to handle some larger screens I acquired. The blade is fine — another medium one — but the handle is made from cheap, shallow wood. It’s lighter than I’d like and not quite deep enough for my hands, which makes it harder to control. It works, but it’s not a favourite.
Keeping Squeegees Clean
The most important thing with squeegees is keeping them clean. They’re always the first thing I wash after printing — even before the screen — because dried ink on the blade will cause all sorts of problems in future prints.
My routine is simple:
scrape excess ink back into the pot with a spatula
wipe the blade with a wet sponge
rinse the sponge and repeat until the blade is spotless
place the squeegee somewhere safe so it can’t fall and damage the edge
A clean blade is a happy blade, and a happy blade makes better prints.
———
This post is part of the Screen printing Tools & Materials Series
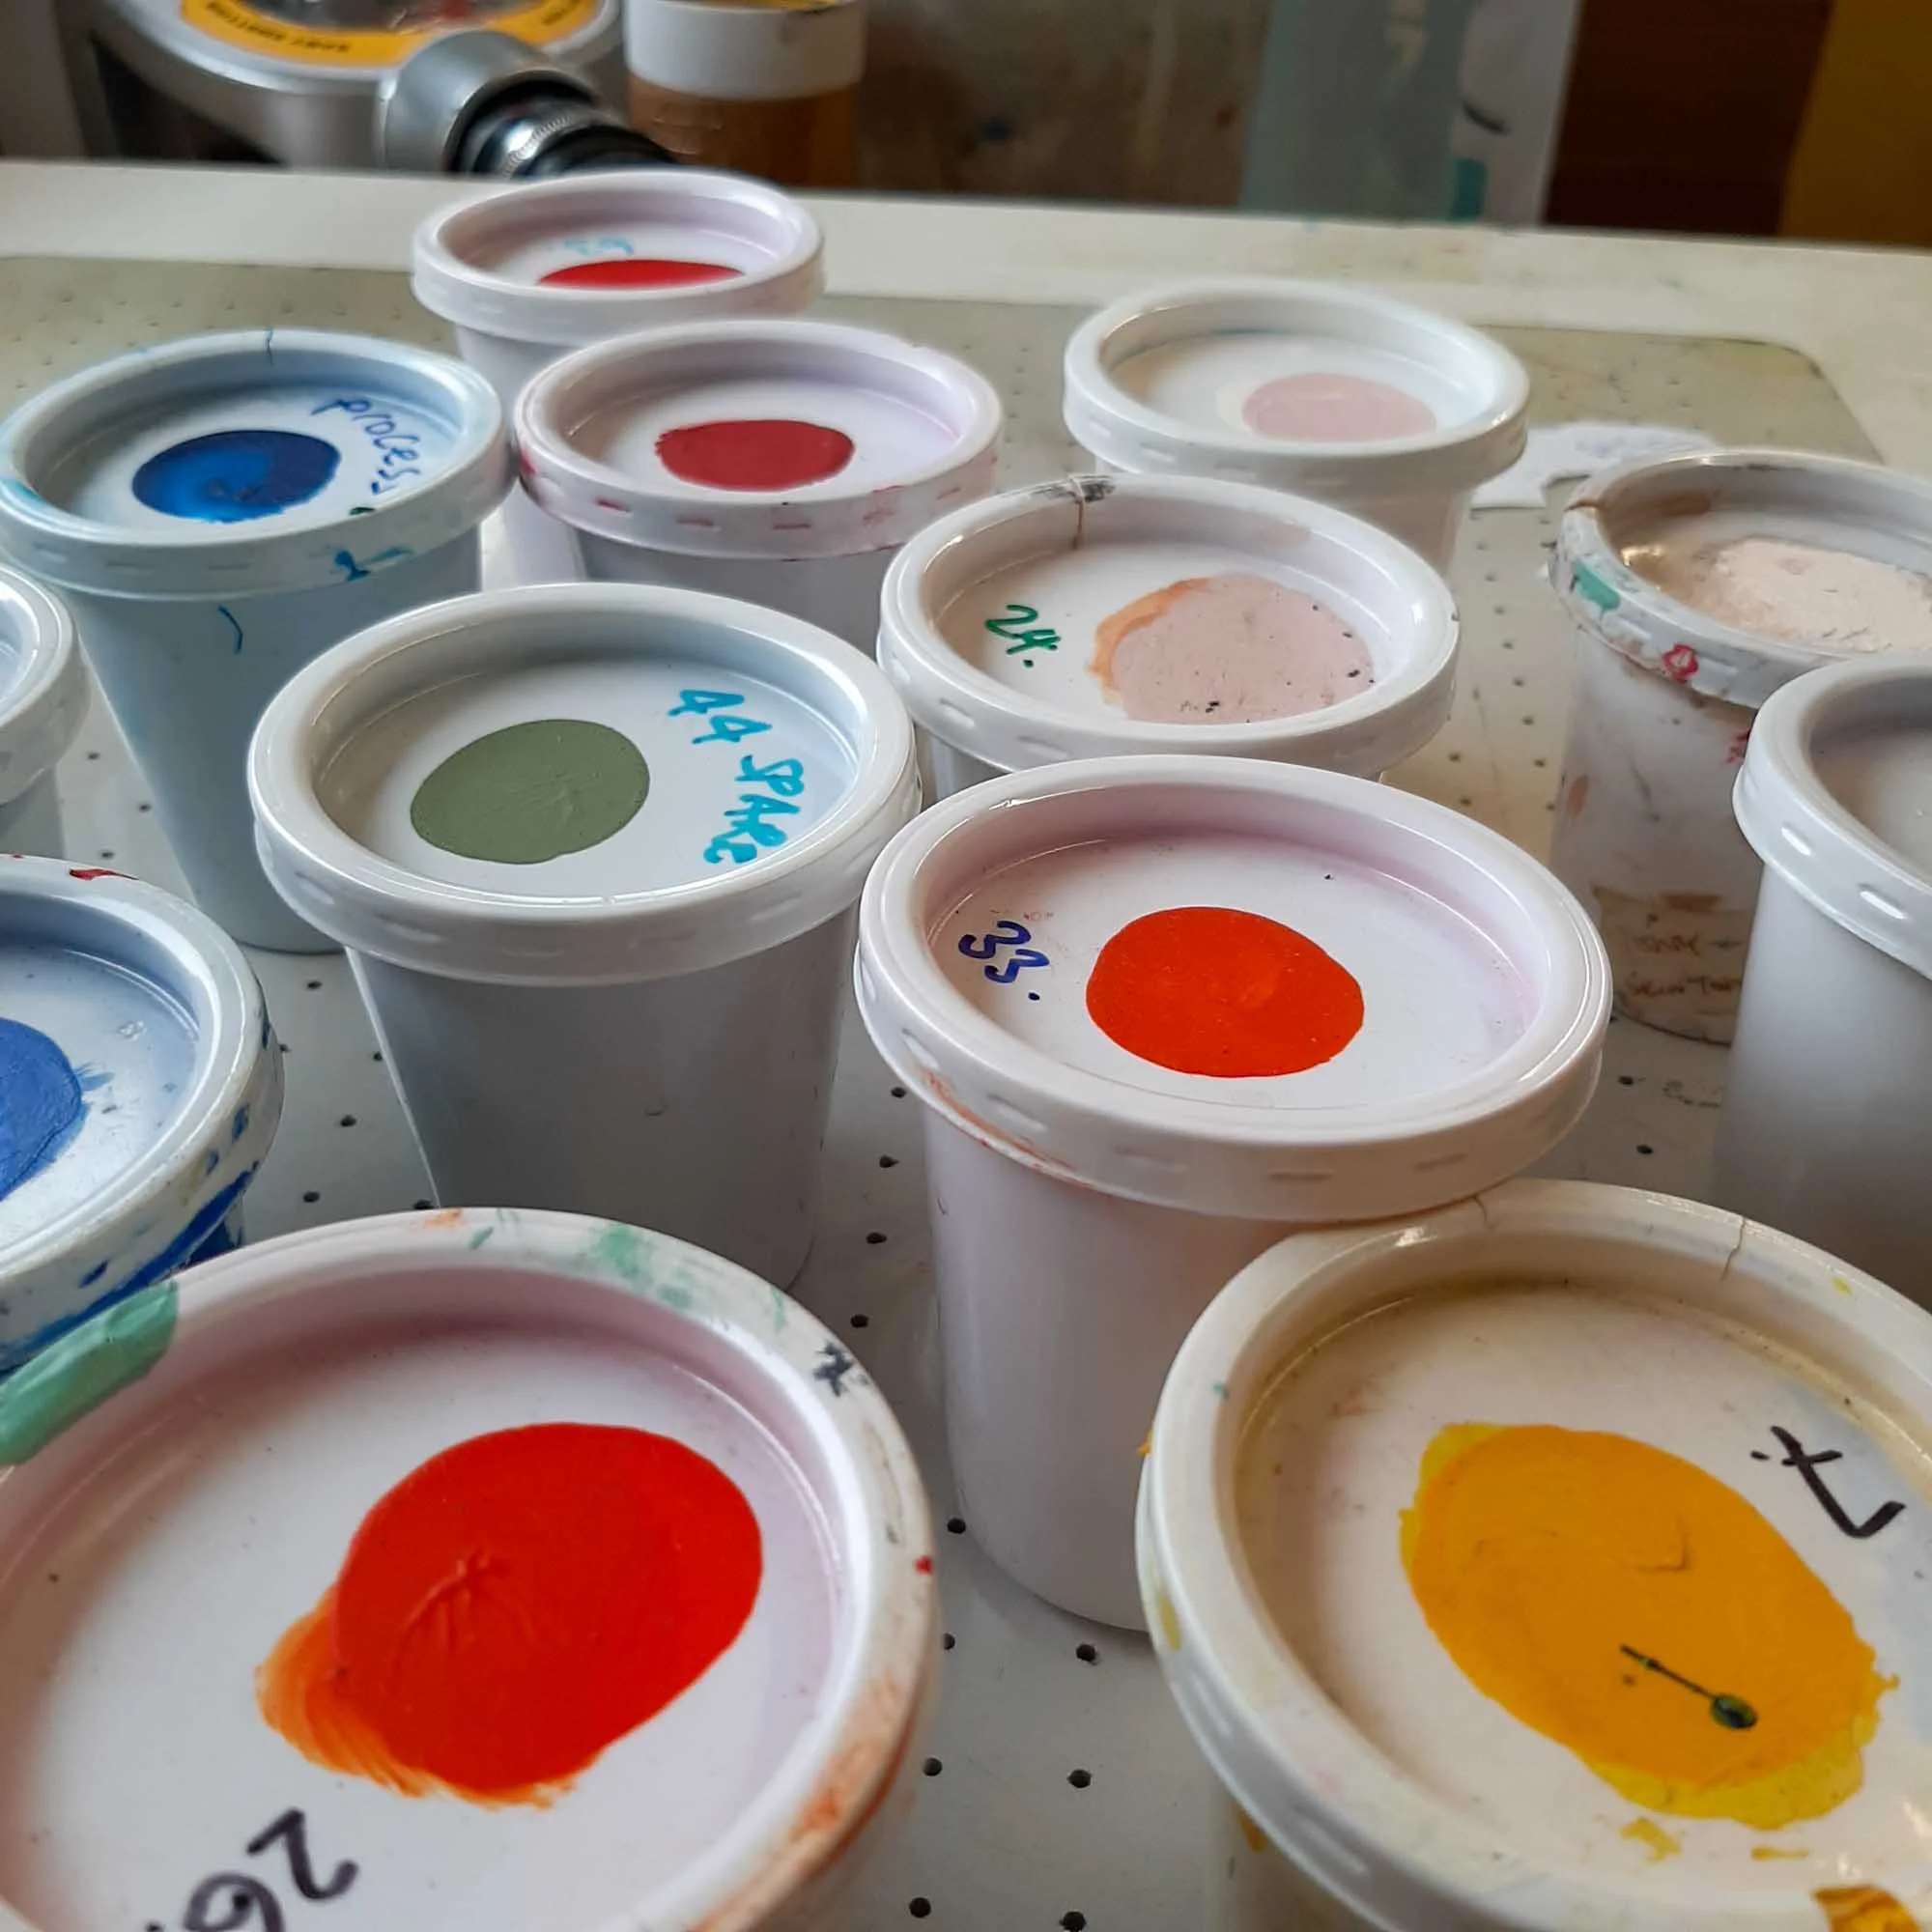

I use water‑based acrylic inks for all my printing, mixing them thick, storing them carefully and reviving older colours when needed. In this post, I share how I mix my inks, the colours I keep on hand, and the storage setup that keeps more than 120 pots in good working order.