Drying Solutions for a Tiny Print Studio: Racks, Cupboards & Improvisations
(Print Studio Setup Series, Part 3)
Drying screens and prints is a constant part of screen printing, and in a small studio it can quickly take over every surface. I’ve built, adapted and improvised a whole range of drying solutions to keep things moving without losing space.
This post walks through the cupboard, racks, sticks and hanging systems that help me dry everything efficiently in a shed‑sized workspace.
———
Racks, Cupboards & Improvisations
Drying screens and prints is a constant part of screen printing, and over the years I’ve ended up with a mix of solutions that work surprisingly well in a tiny space. At the moment I use a drying cupboard for screens and a combination of flat and hanging methods for paper. None of it is fancy, but all of it is functional — and most of it is improvised.
Drying Cupboard
My drying cupboard started life as an old wooden table. I screwed wooden posts onto the legs and made a set of movable wooden slats that rest across them, creating supports on which screens can be suspended. I added plywood doors on simple hinges, then clad the back, sides and floor with thin laminate wood. Every joint is sealed with duct tape to keep out the light.
It’s not glamorous, but it works beautifully. I can fit six screens inside (or three of my largest ones), and the enclosed space keeps everything dust‑free while the emulsion dries.
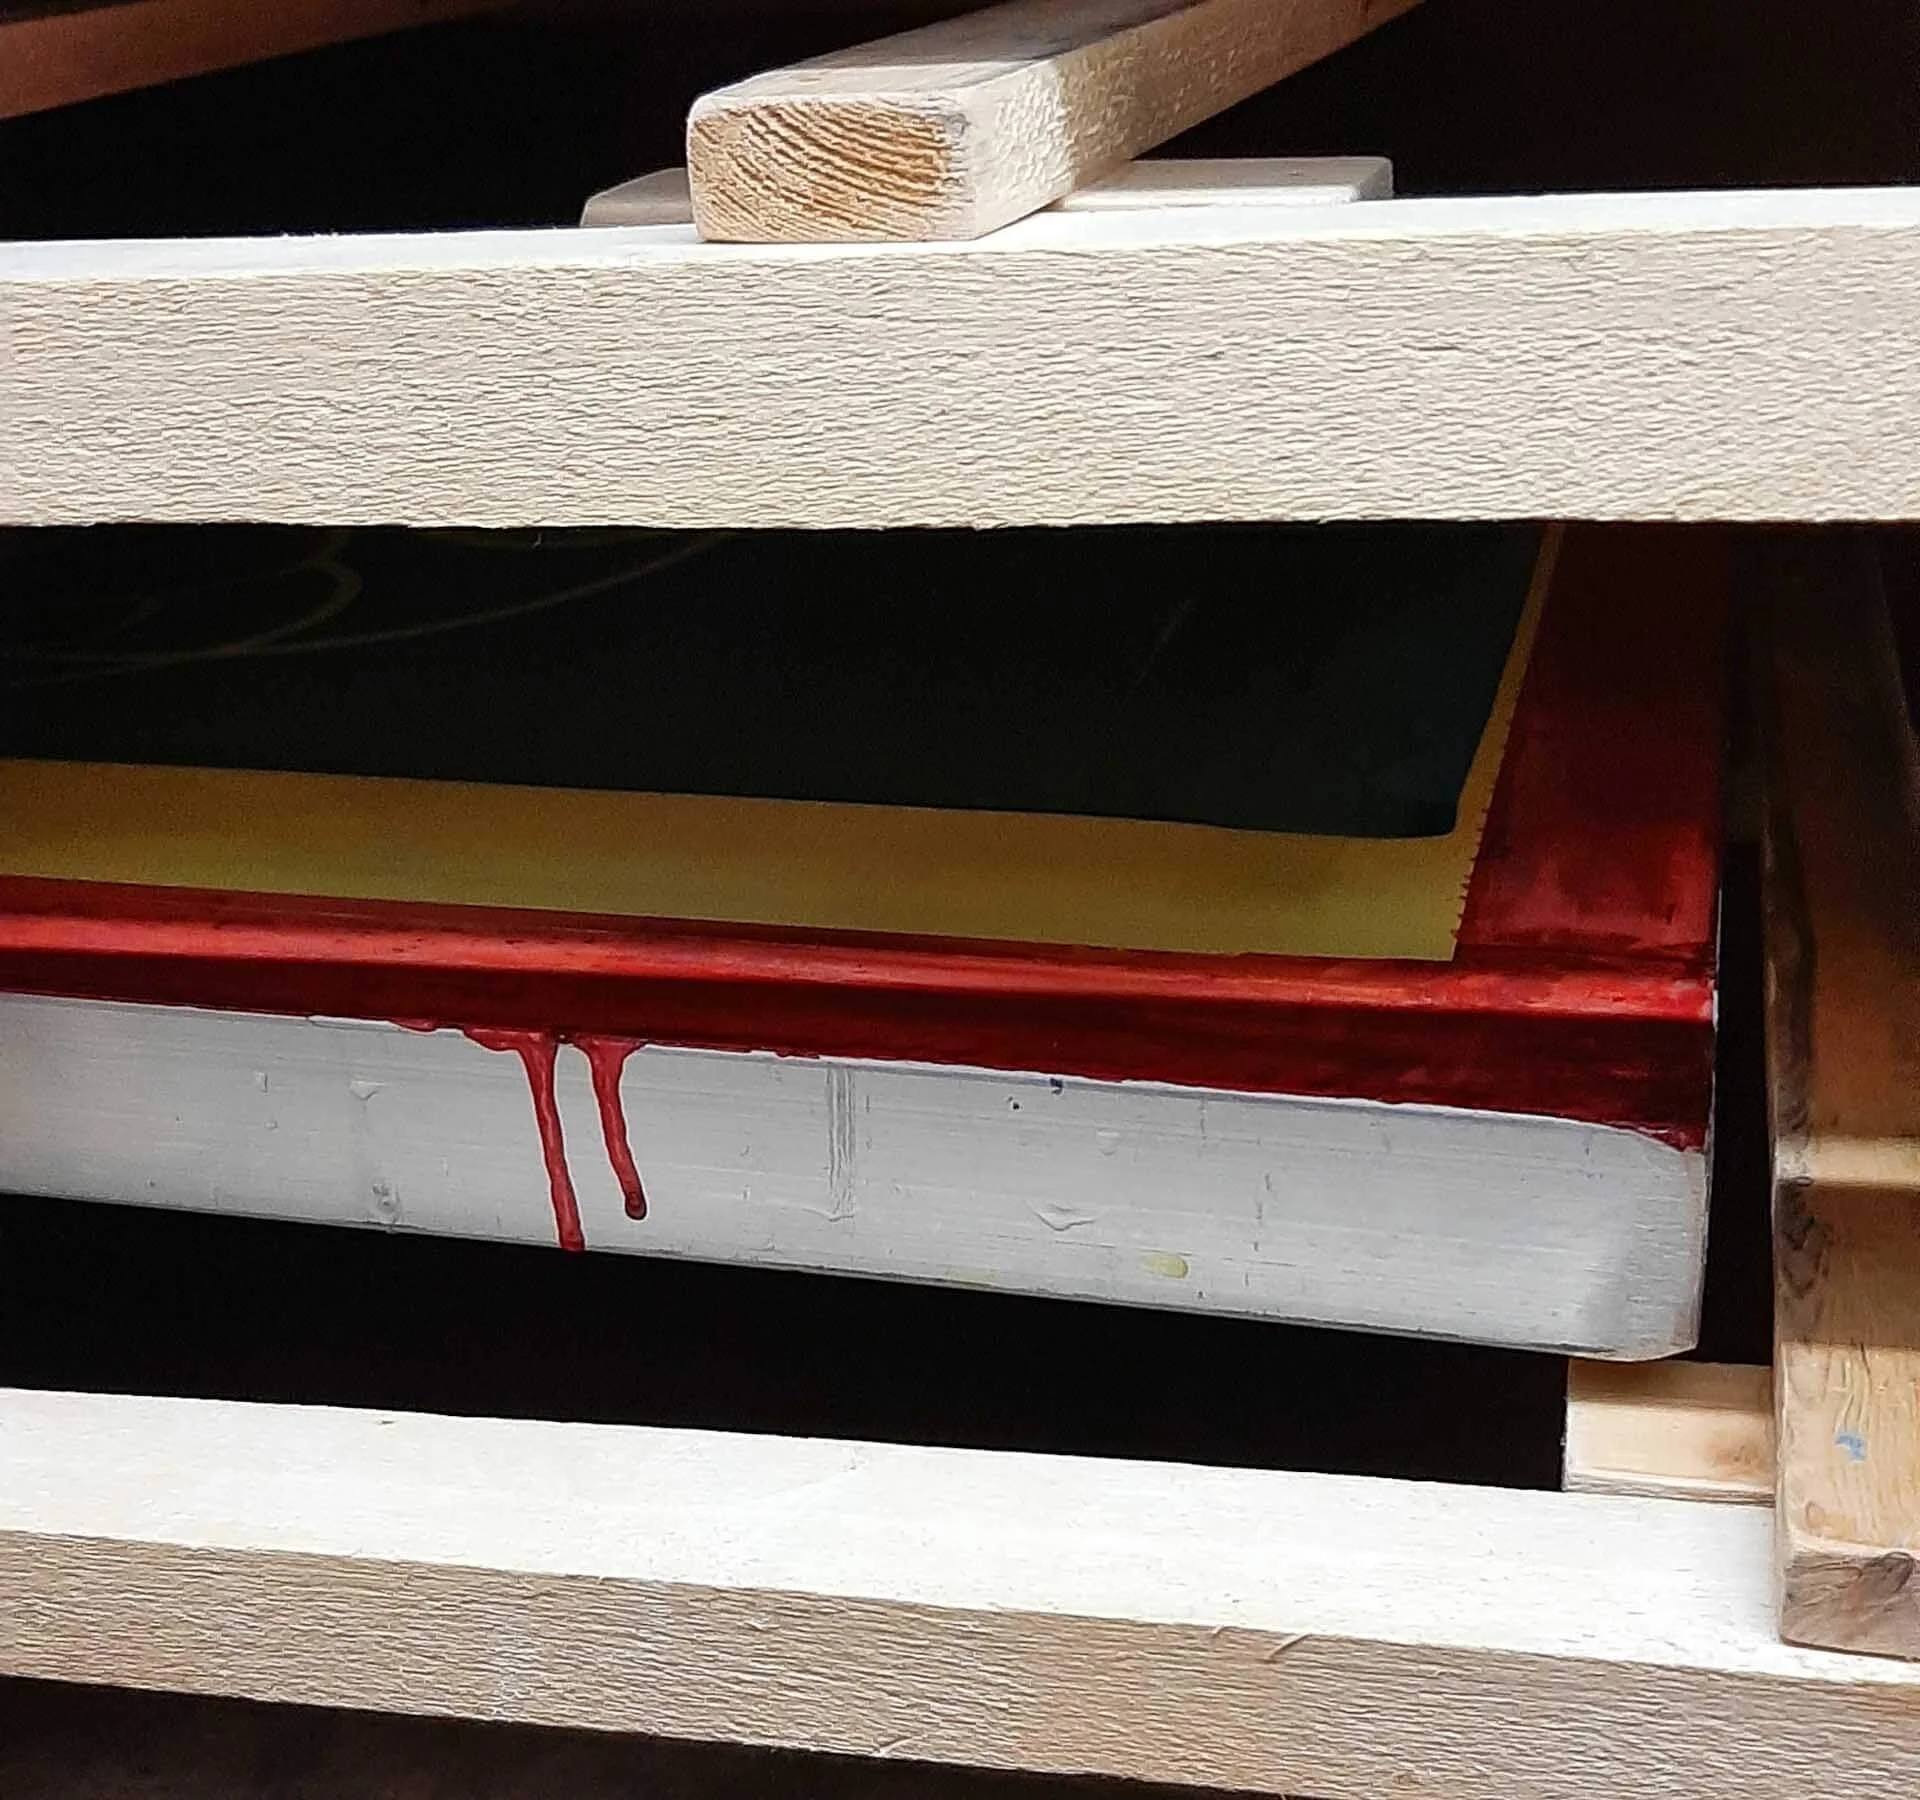
Inside my DIY drying cupboard, built from an old table and some laminate wood, keeps screens dust‑free and light‑sealed while the emulsion dries.
Stacking Sticks
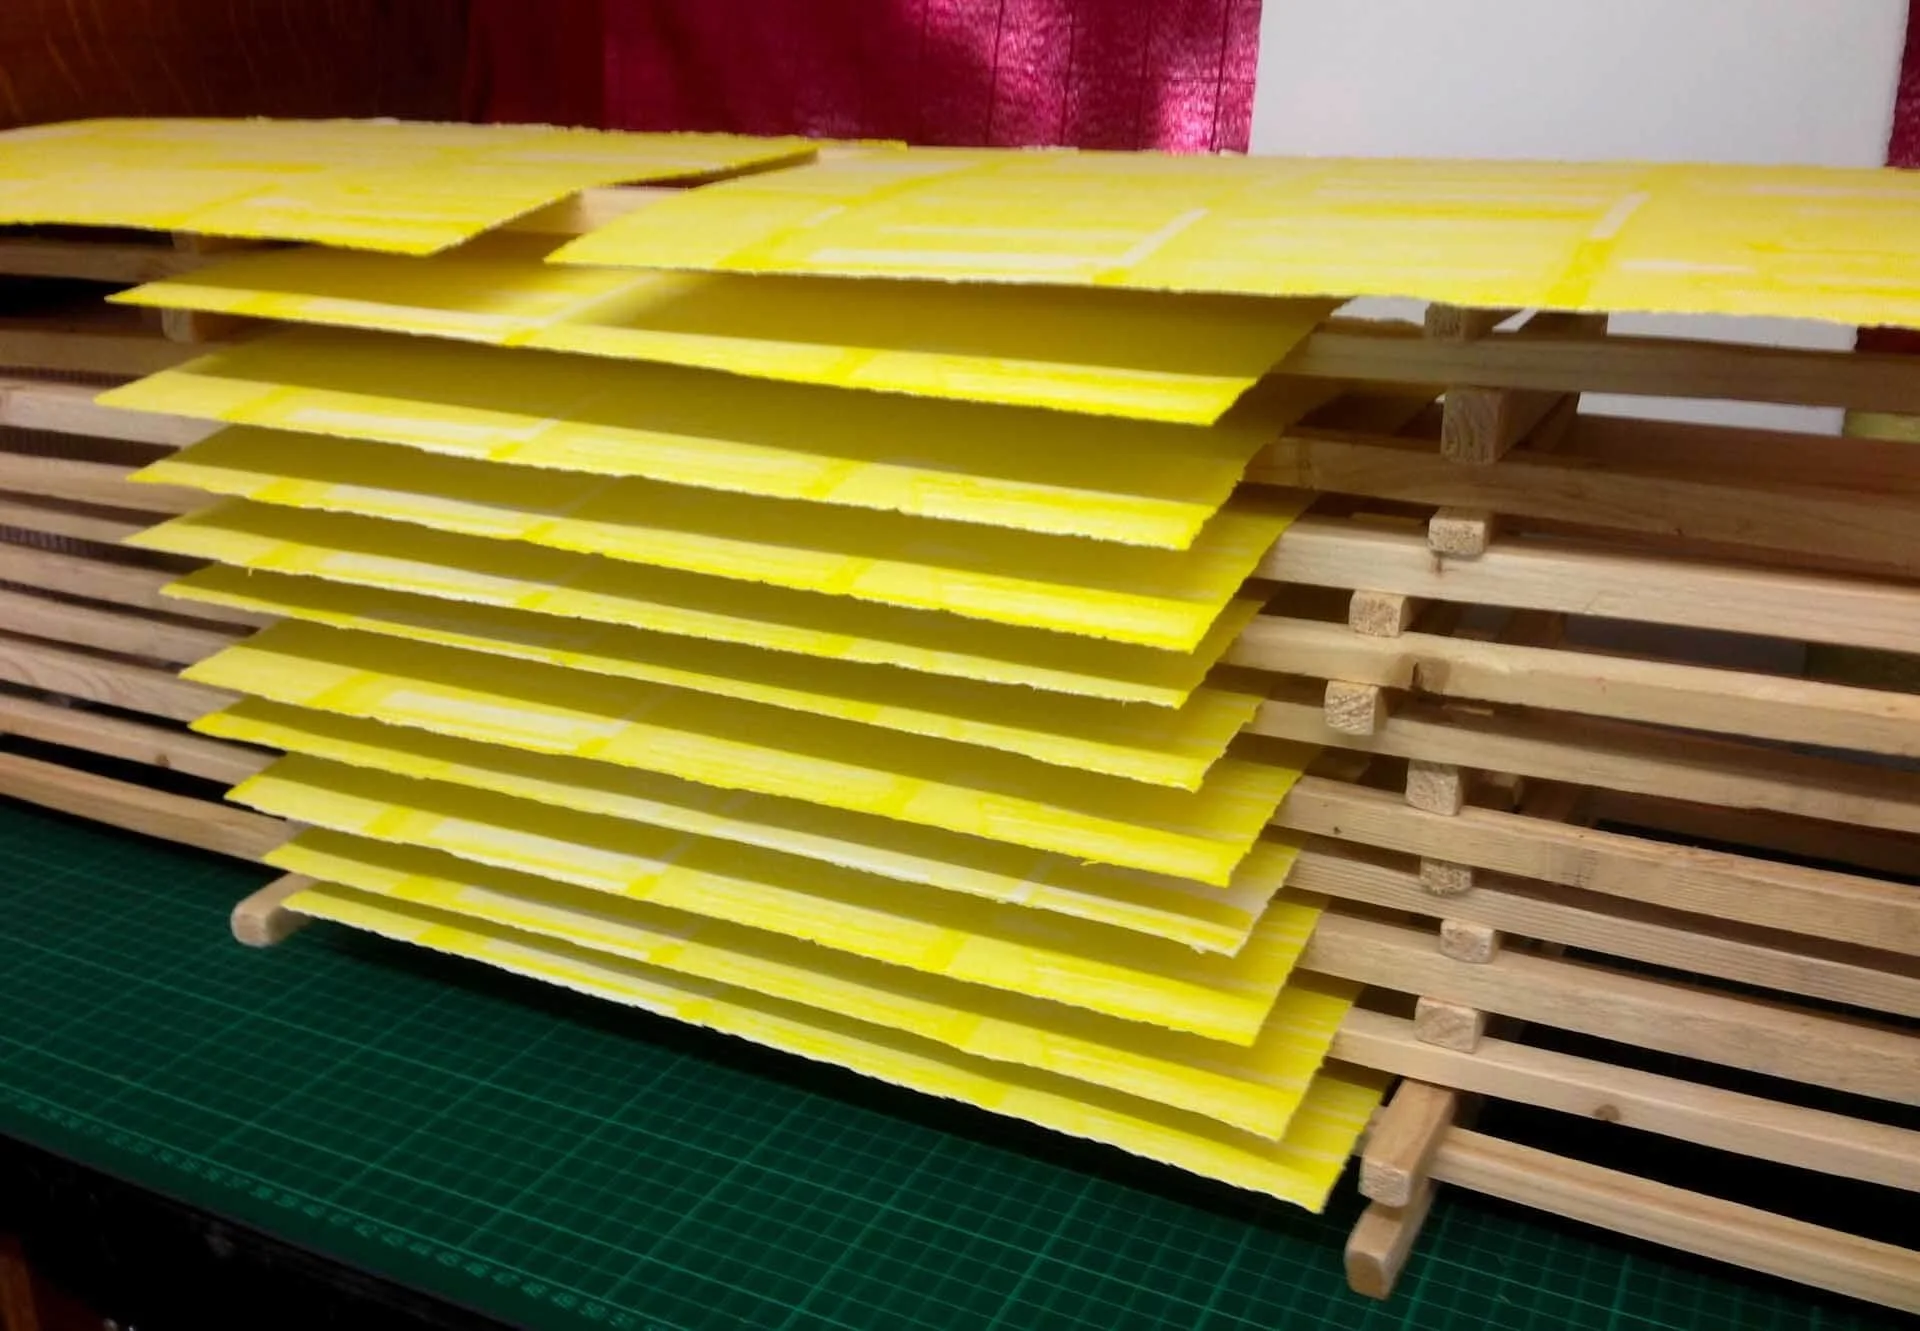
My first flat drying method was cheap, simple and unexpectedly elegant. I cut slivers of wood from a larger plank — half around 80cm long, the rest about a quarter of that. These are stacked tic‑tac‑toe style, adding a new layer after each print (or each batch of smaller prints).
There’s a sweet spot with the spacing: wide enough to stop the paper sagging, narrow enough to keep everything stable. Once the prints are dry, the whole stack comes apart and the sticks go back into a tidy bundle. It’s still one of my favourite solutions — low‑tech, satisfying, and oddly joyful to use.
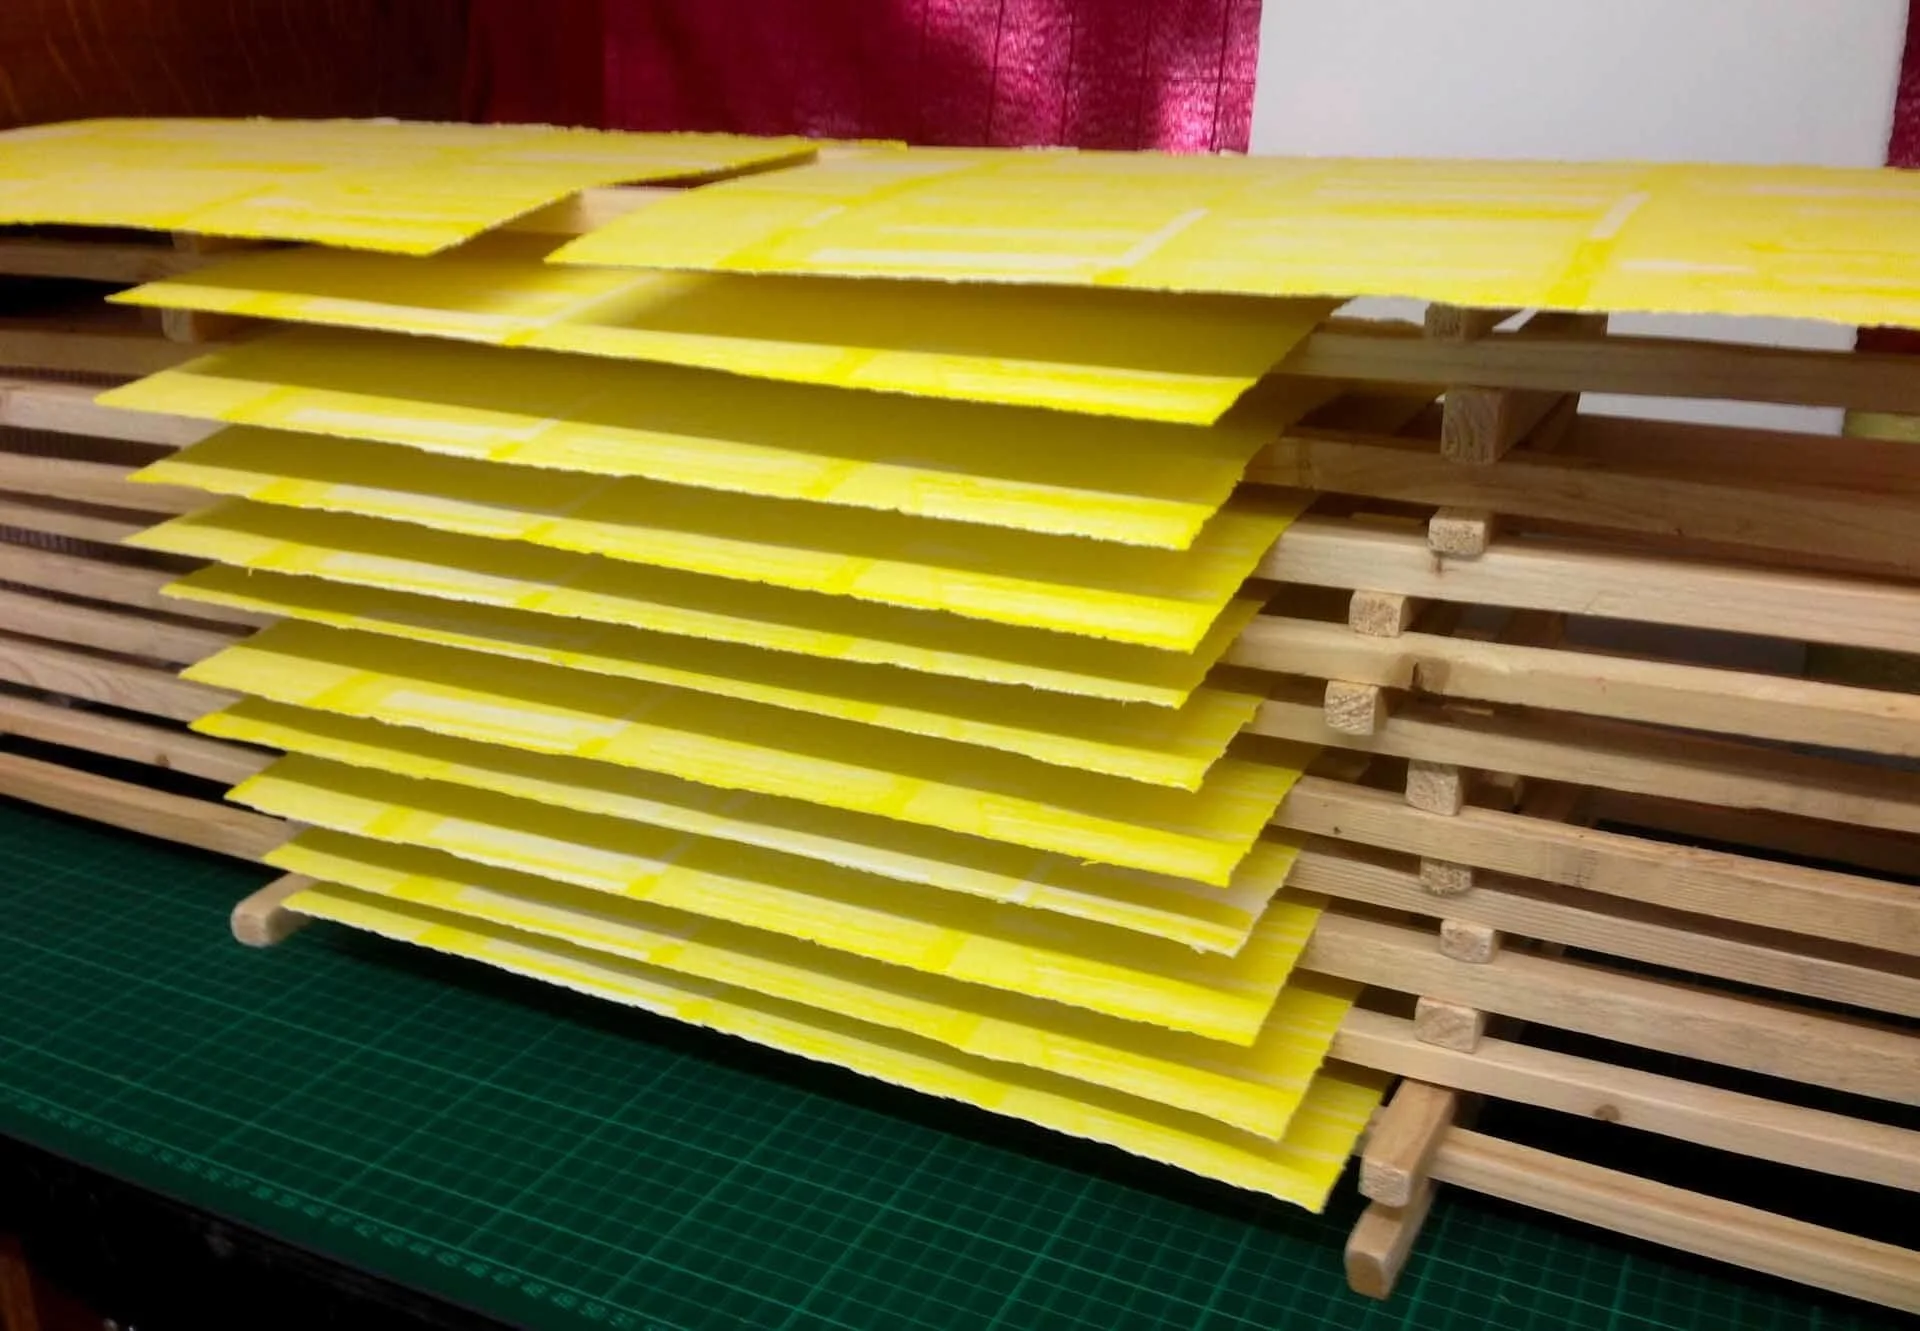
Stacking sticks — slivers of wood arranged tic‑tac‑toe style — let me dry prints flat without sagging or smudging. Still one of my favourite solutions.
Overhead Drying Rack
I can’t remember exactly where the idea came from, but I adapted it to fit the sloping ceiling above my desk. It’s a simple wooden frame with clothes pegs screwed into two sides. Prints hang from the pegs — sometimes one peg, sometimes two if the paper needs more support.
If you need to peg a section of paper that already has dry ink on it, you can protect it by hooking a folded strip of cartridge paper over the print before clipping. This method isn’t suitable for prints covered edge‑to‑edge in wet ink (unless you don’t mind peg marks), but for most work it’s perfect.
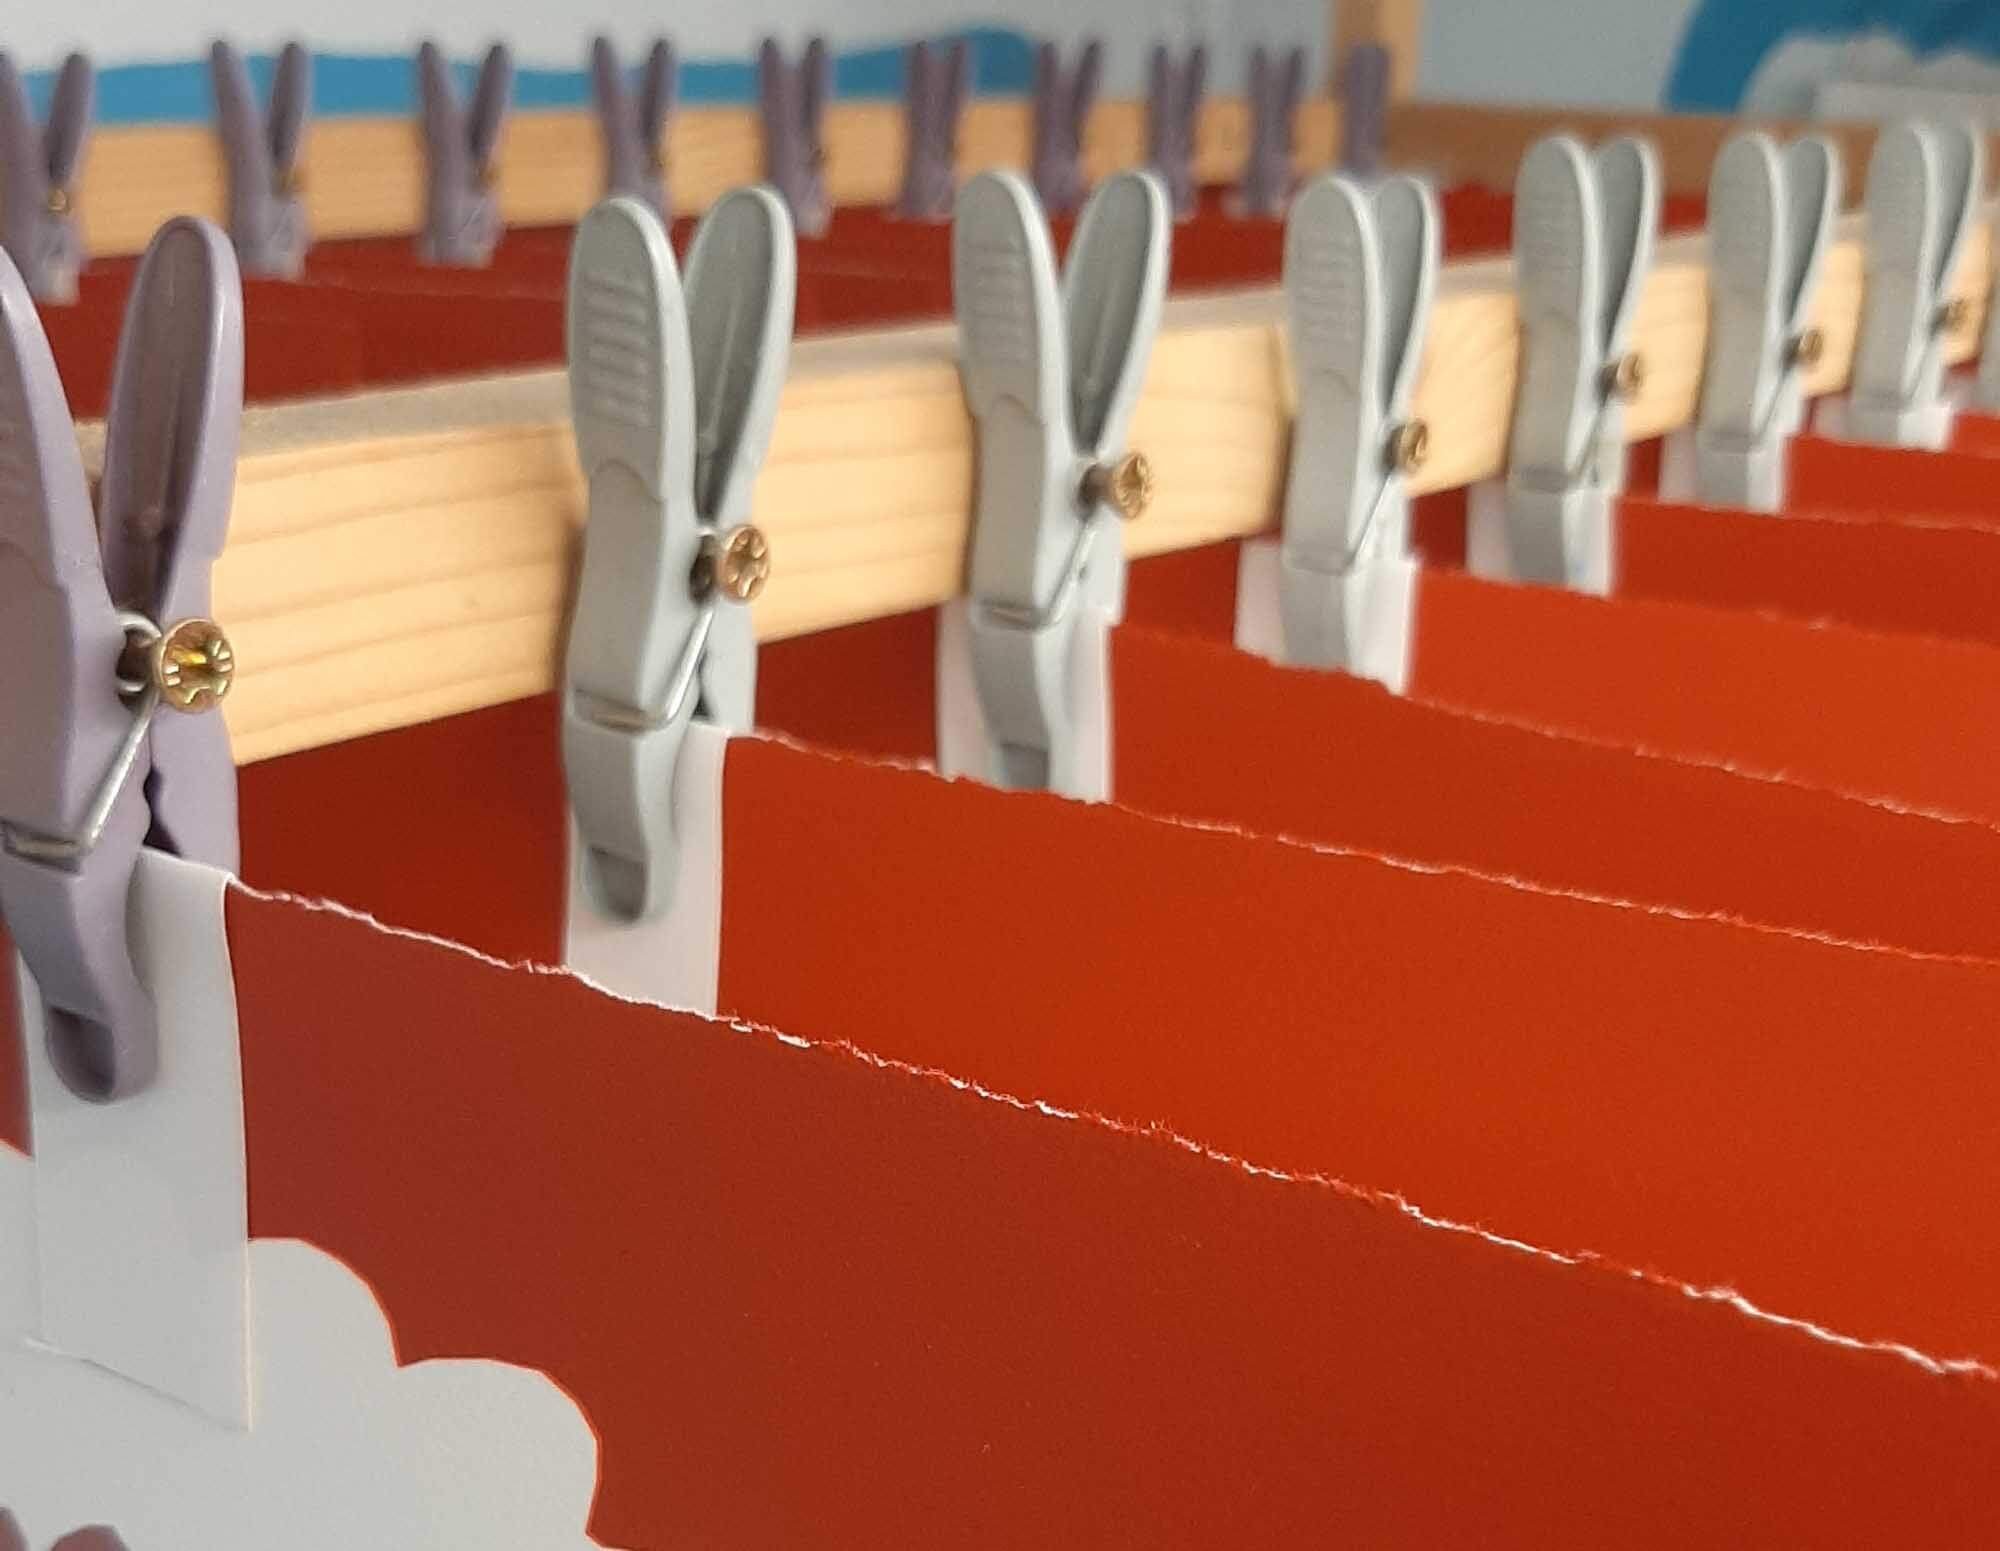
Prints hanging from pegs on a wooden rail — a simple overhead drying system adapted to fit the sloping ceiling above my desk.
30‑Shelf Spring Drying Rack
In 2021 I invested in a 30‑shelf spring drying rack that lives under my sit‑stand desk (which I only ever use in “stand” mode). It was a necessary splurge and has made a huge difference. It gives me far more capacity and frees up precious table space — always in short supply in a tiny studio.
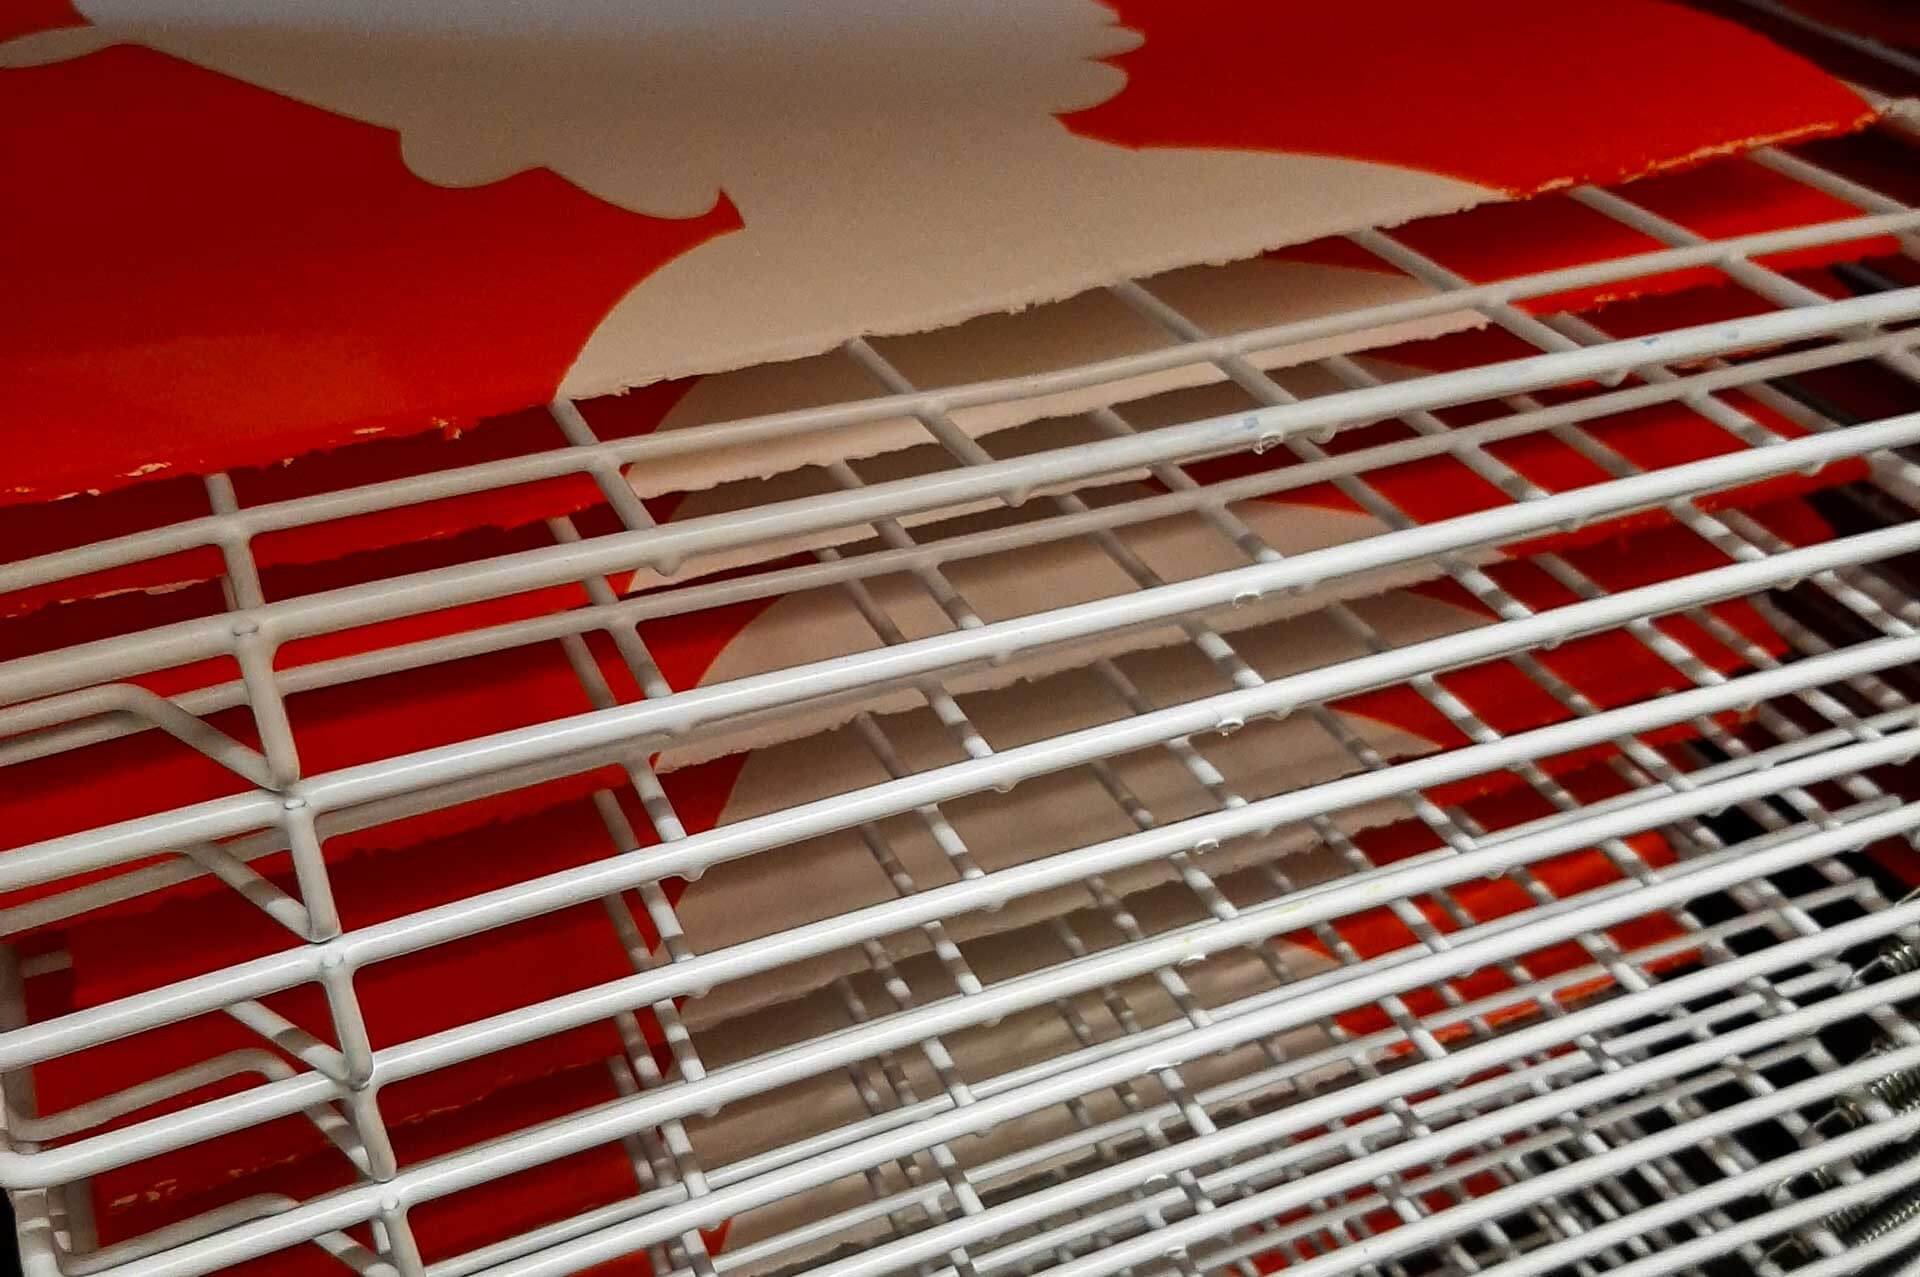
My 30‑shelf spring drying rack lives under my sit‑stand desk and handles most of my print runs. A necessary splurge that freed up vital table space.
Every Available Surface
During a print run, my studio ends up covered in paper. I use the spring rack for prints and the overhead rack for cartridge paper, but on longer runs I inevitably run out of space. Even hanging cartridge sheets two to a peg — dry sides facing — only gets me so far.
Eventually every surface becomes a drying surface. I actually love the look of the studio when it’s like this — it feels alive, busy, productive. If a screen prints slightly over the edge of the paper, I slip a piece of newsprint underneath to protect the vacuum table, and those newsprint sheets end up scattered around too, drying wherever they can.
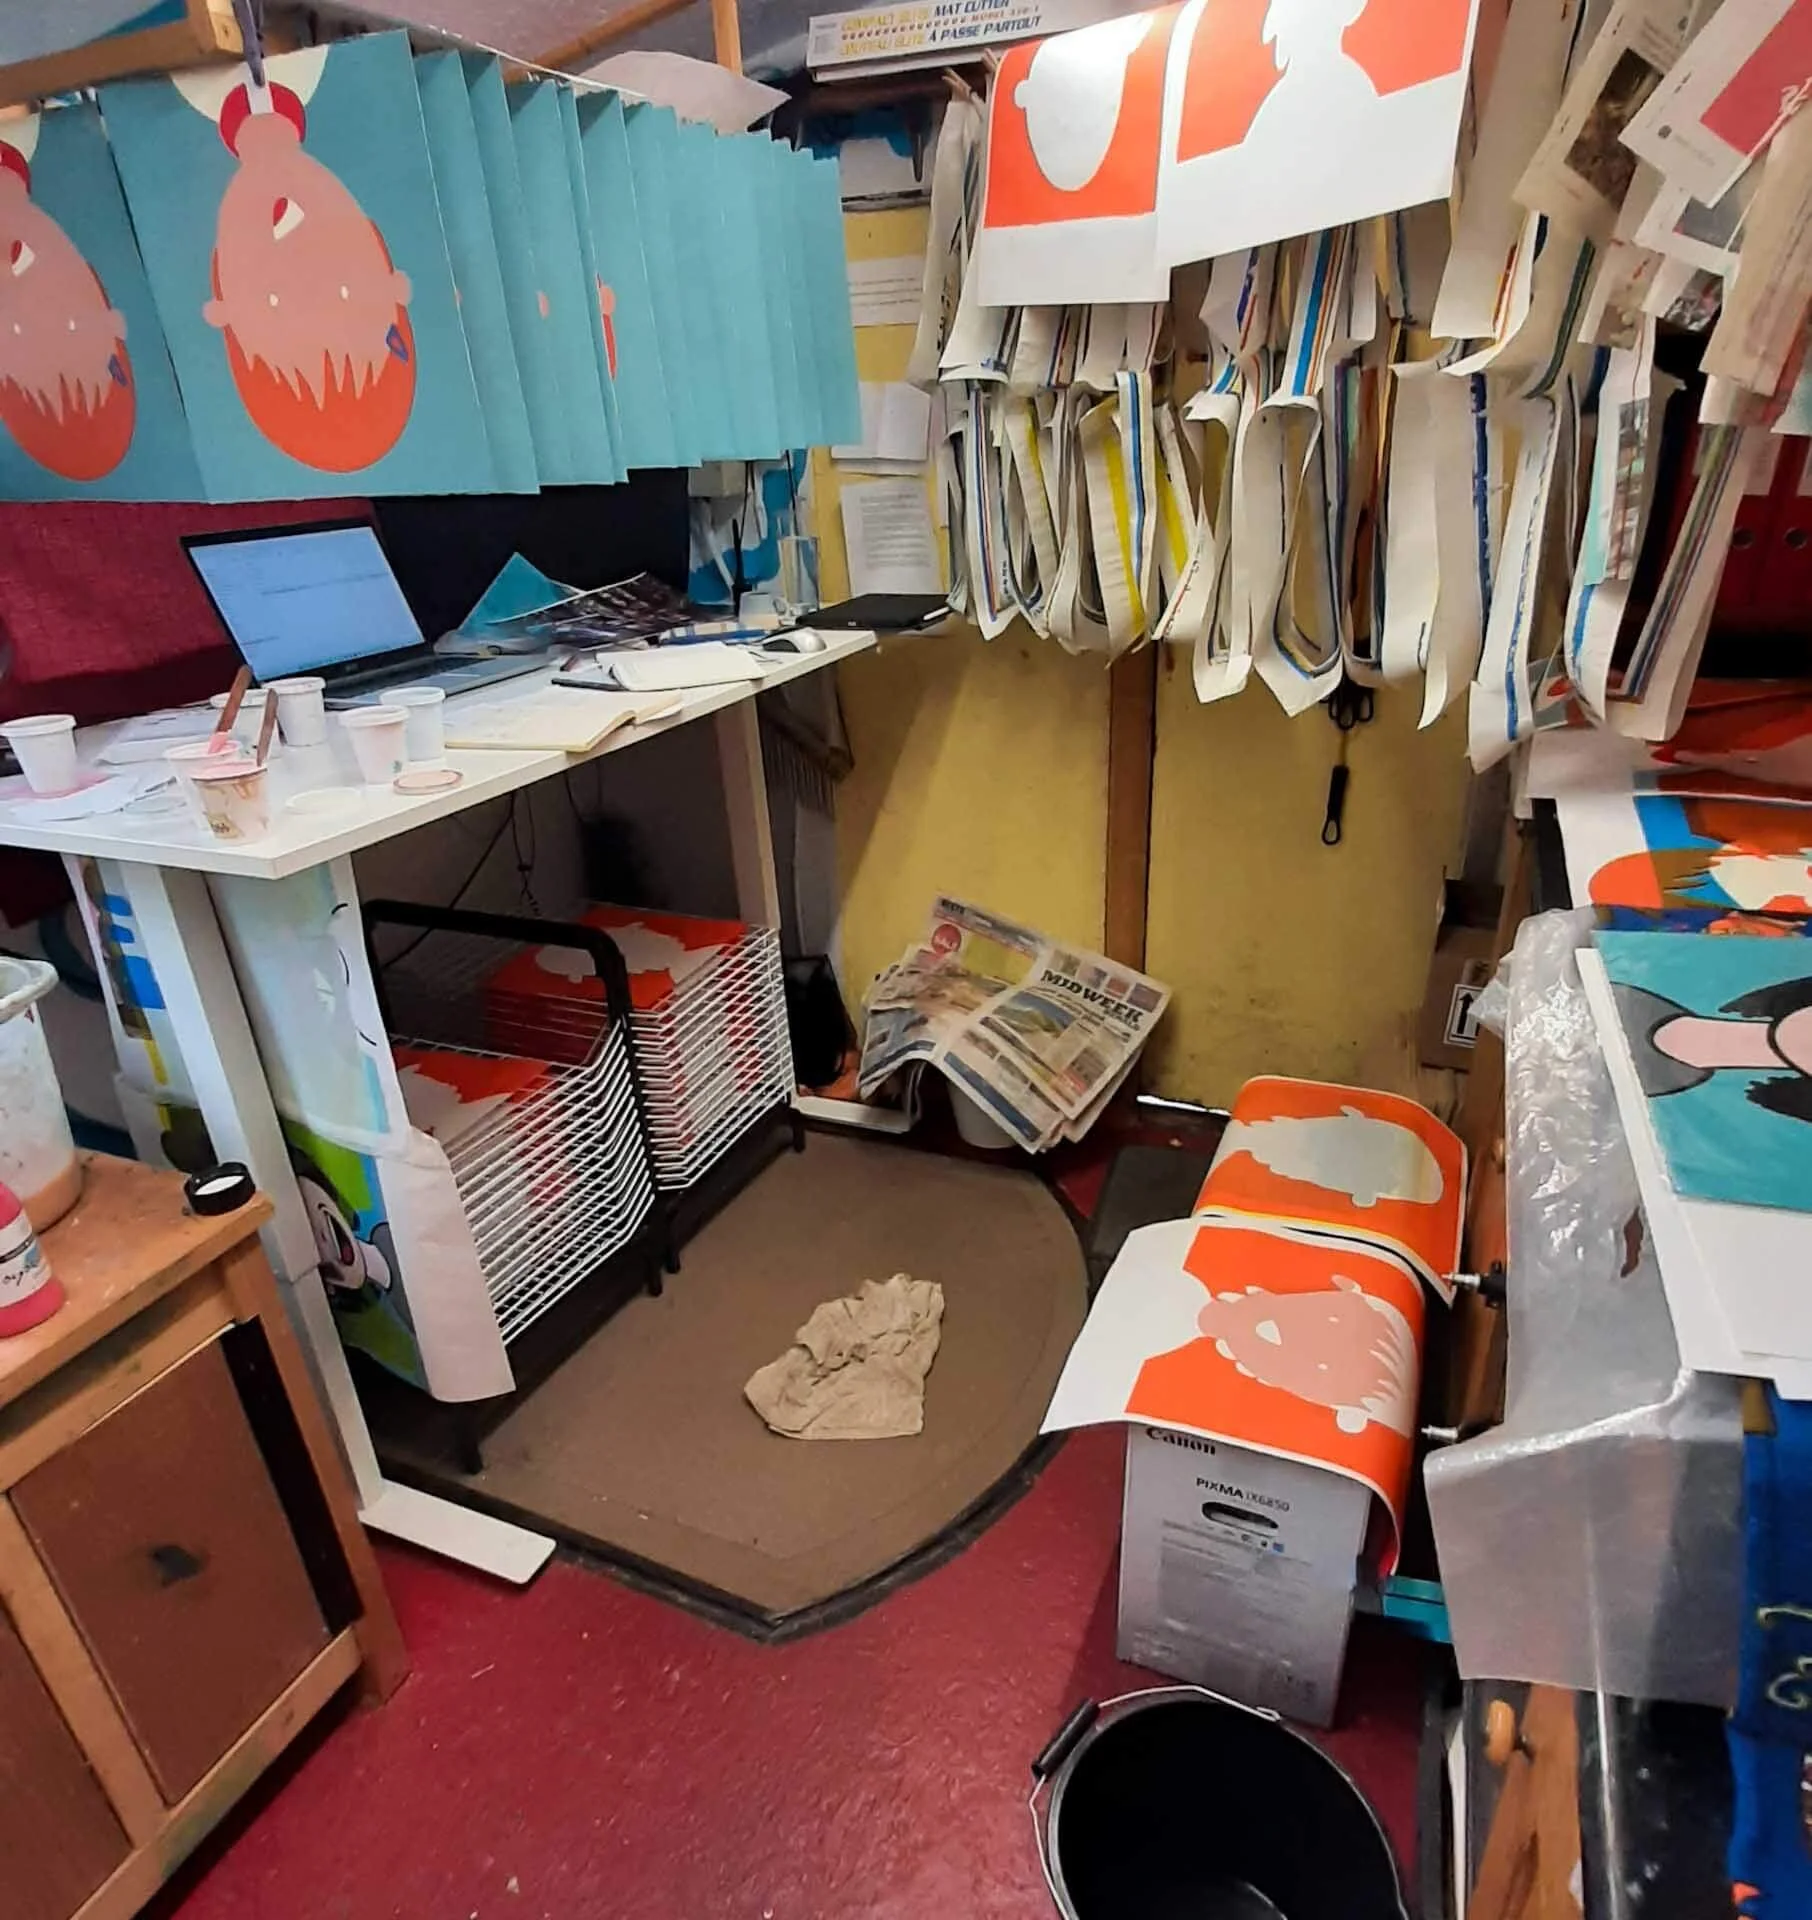
When the studio’s covered in prints, I know it’s been a good day. Every surface becomes a drying surface during a long print run.
Pegs on a Length of Cord
Finally, I have a length of thin black cord with around thirty pegs clipped to it. One end is fixed high on a wall; the other hooks onto a point across the room when needed. It becomes a clothes‑line‑style drying system for newsprint.
Because I often print beyond the edges of the paper, I use a frame‑shaped piece of newsprint underneath to catch the over‑printed ink. It has to be thin paper to avoid ghost impressions, but thin paper is floppy and awkward when freshly printed. The clothes‑line solution is the best home I’ve found for it so far.
And That’s My Drying Setup
So there you go — the full collection of racks, cupboards, sticks and improvised contraptions that keep my screens and prints drying in a tiny shed studio. If you’ve found any clever drying solutions of your own, I’d love to hear them.
---
This post is part of the Print Studio Setup Series:

My exposure unit started life as a simple second‑hand frame with halogen lamps, but a few small changes made it far more flexible for my studio. This post explains how I adapted it to handle larger screens, save space and work more efficiently in a small shed workspace.