Lighting and Electrics in a Garden Studio
(Print Studio Setup Series, Part 4)
Good lighting and sensible electrics aren’t the glamorous parts of a studio, but they’re the things that make daily work possible. When I upgraded my garden studio, I focused on putting power where I needed it and creating bright, even light for printing and design work.
In this post, I’ll take you through the changes I made — from sockets and conduit to LED strips and task lighting — and how they transformed the way the studio feels and functions.
---
Lighting and Electrics in a Garden Studio
When I first moved into the studio, I was lucky: it already had a dedicated power supply running from the house, a legacy of its previous life as a workshop. There were plenty of sockets dotted around the room, but they were connected by exposed grey cables splashed with paint, and several of the sockets were mounted on the wooden beam that ran across the centre of the pitched ceiling. The lighting wasn’t much better — two 4‑foot fluorescent tubes fixed to that same beam, all controlled by a single switch.
Functional, yes. Beautiful, no.
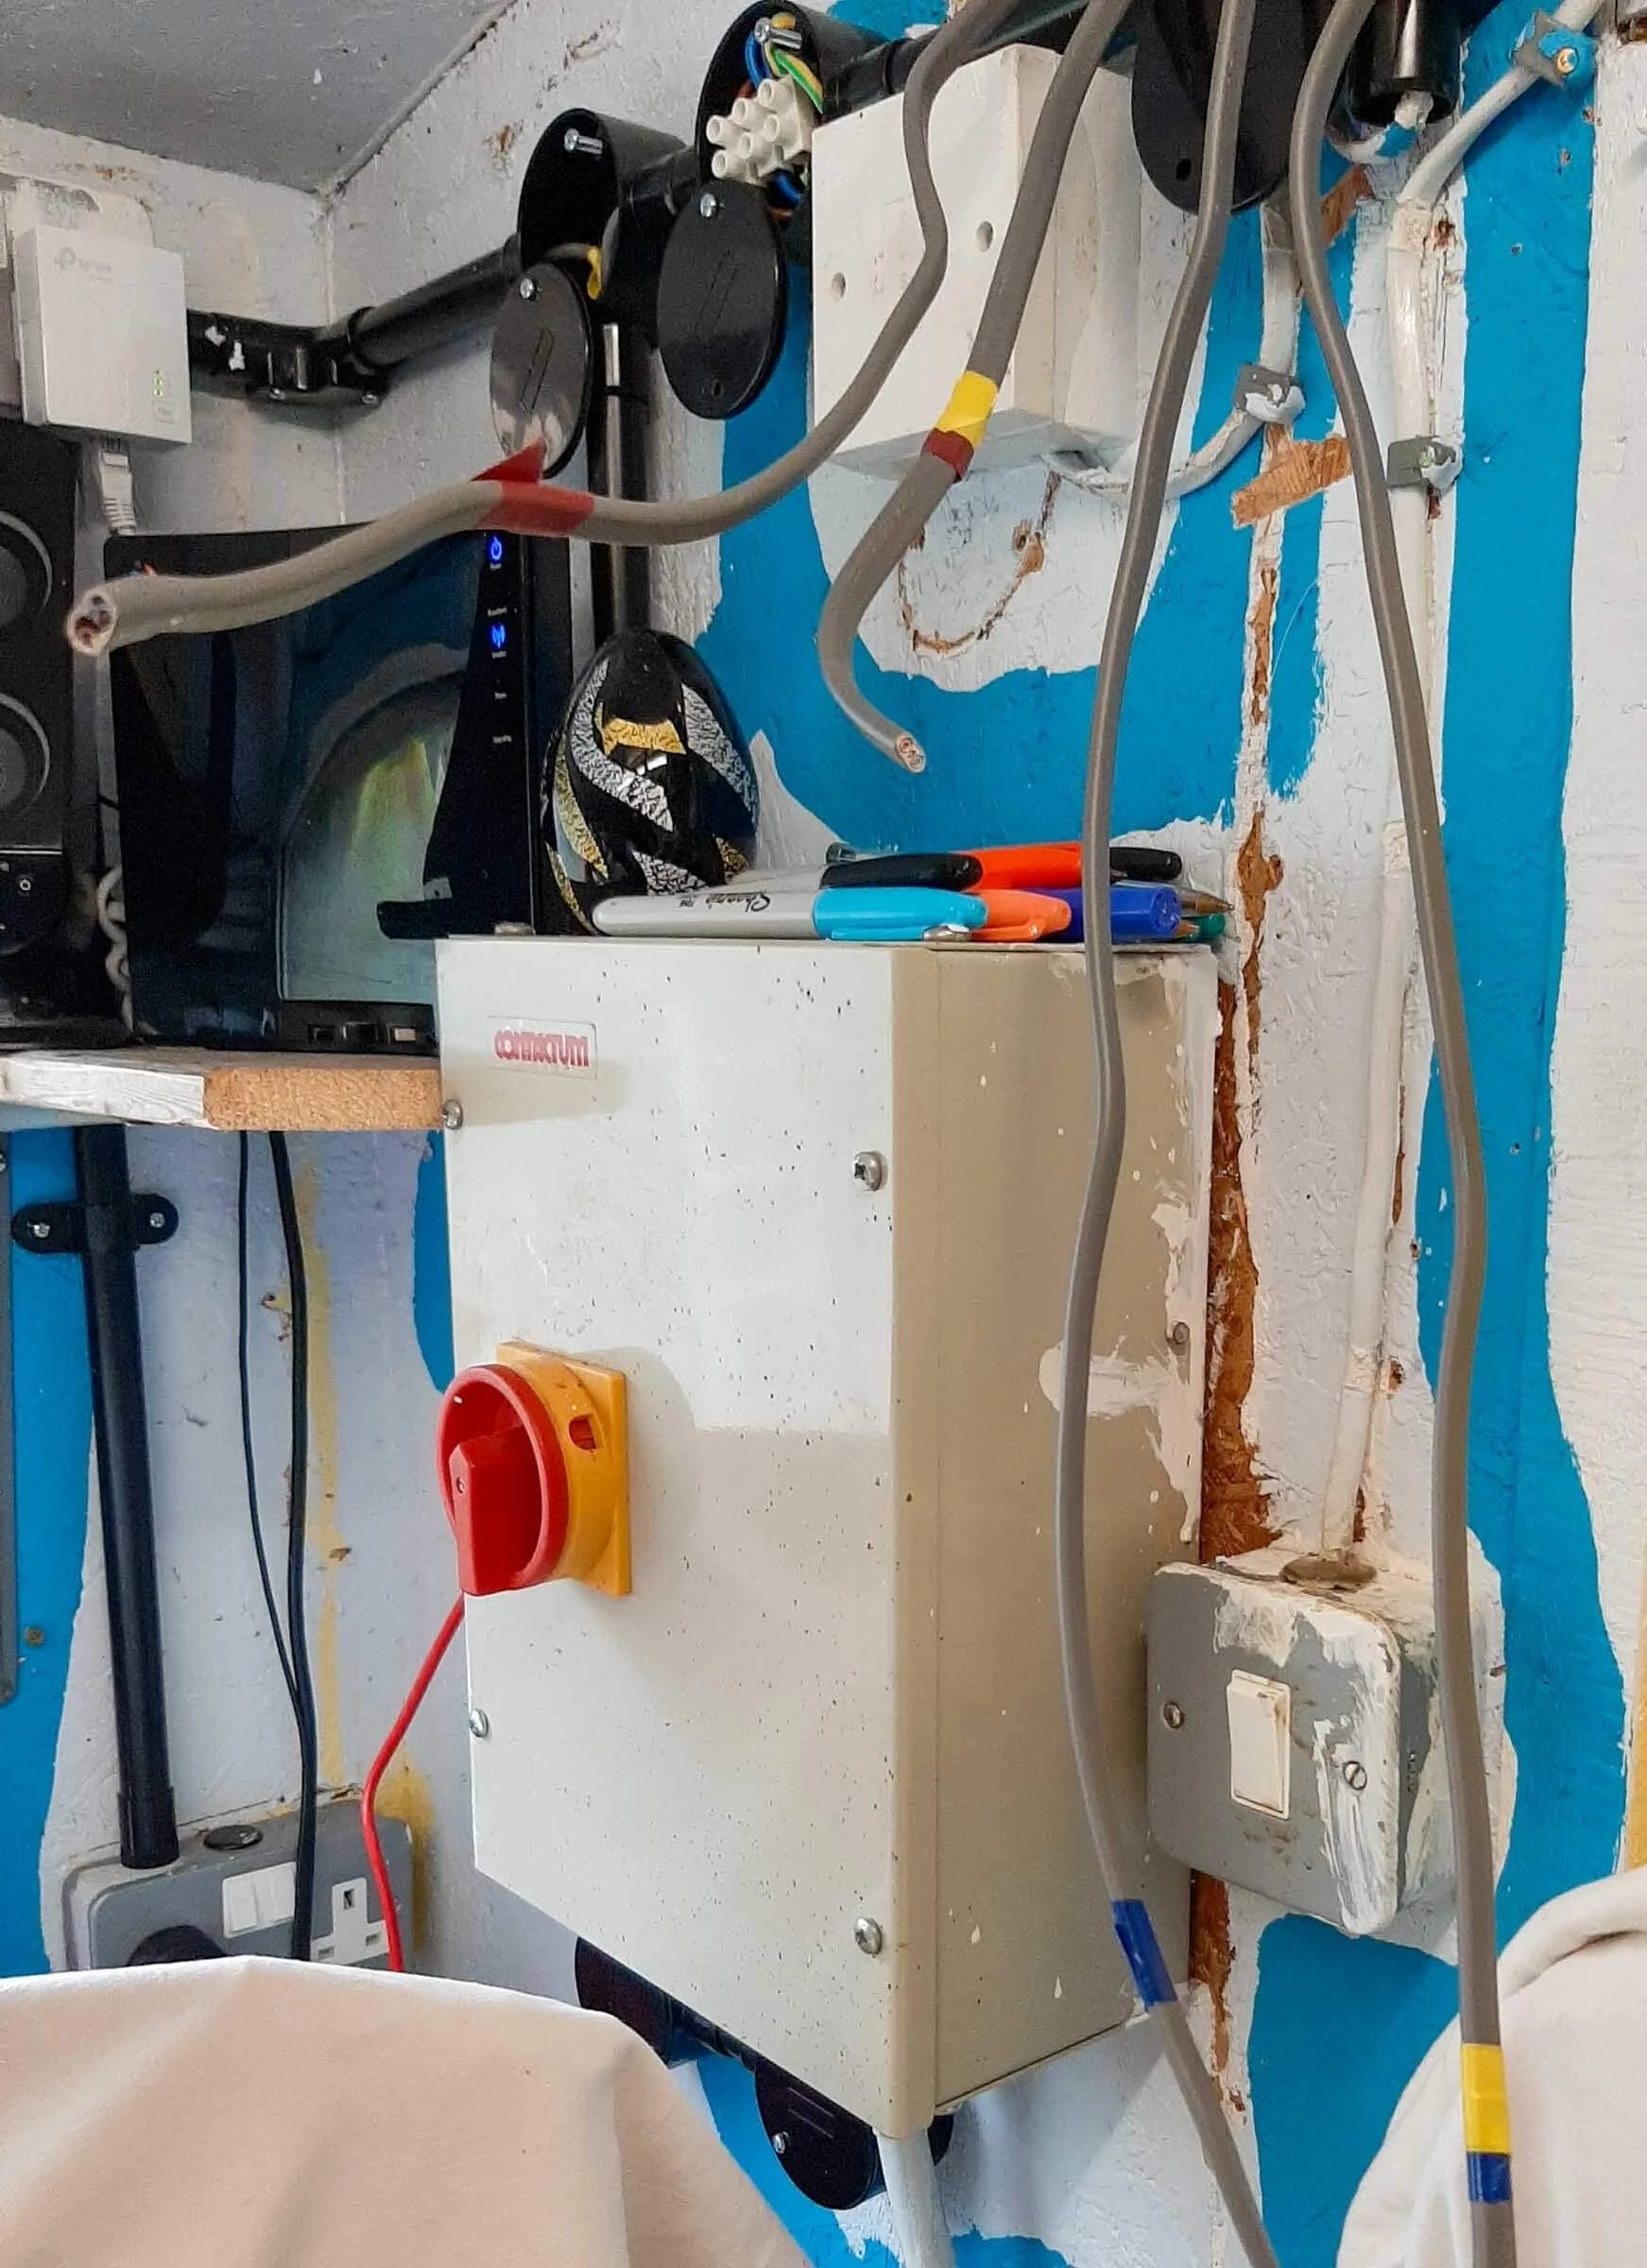
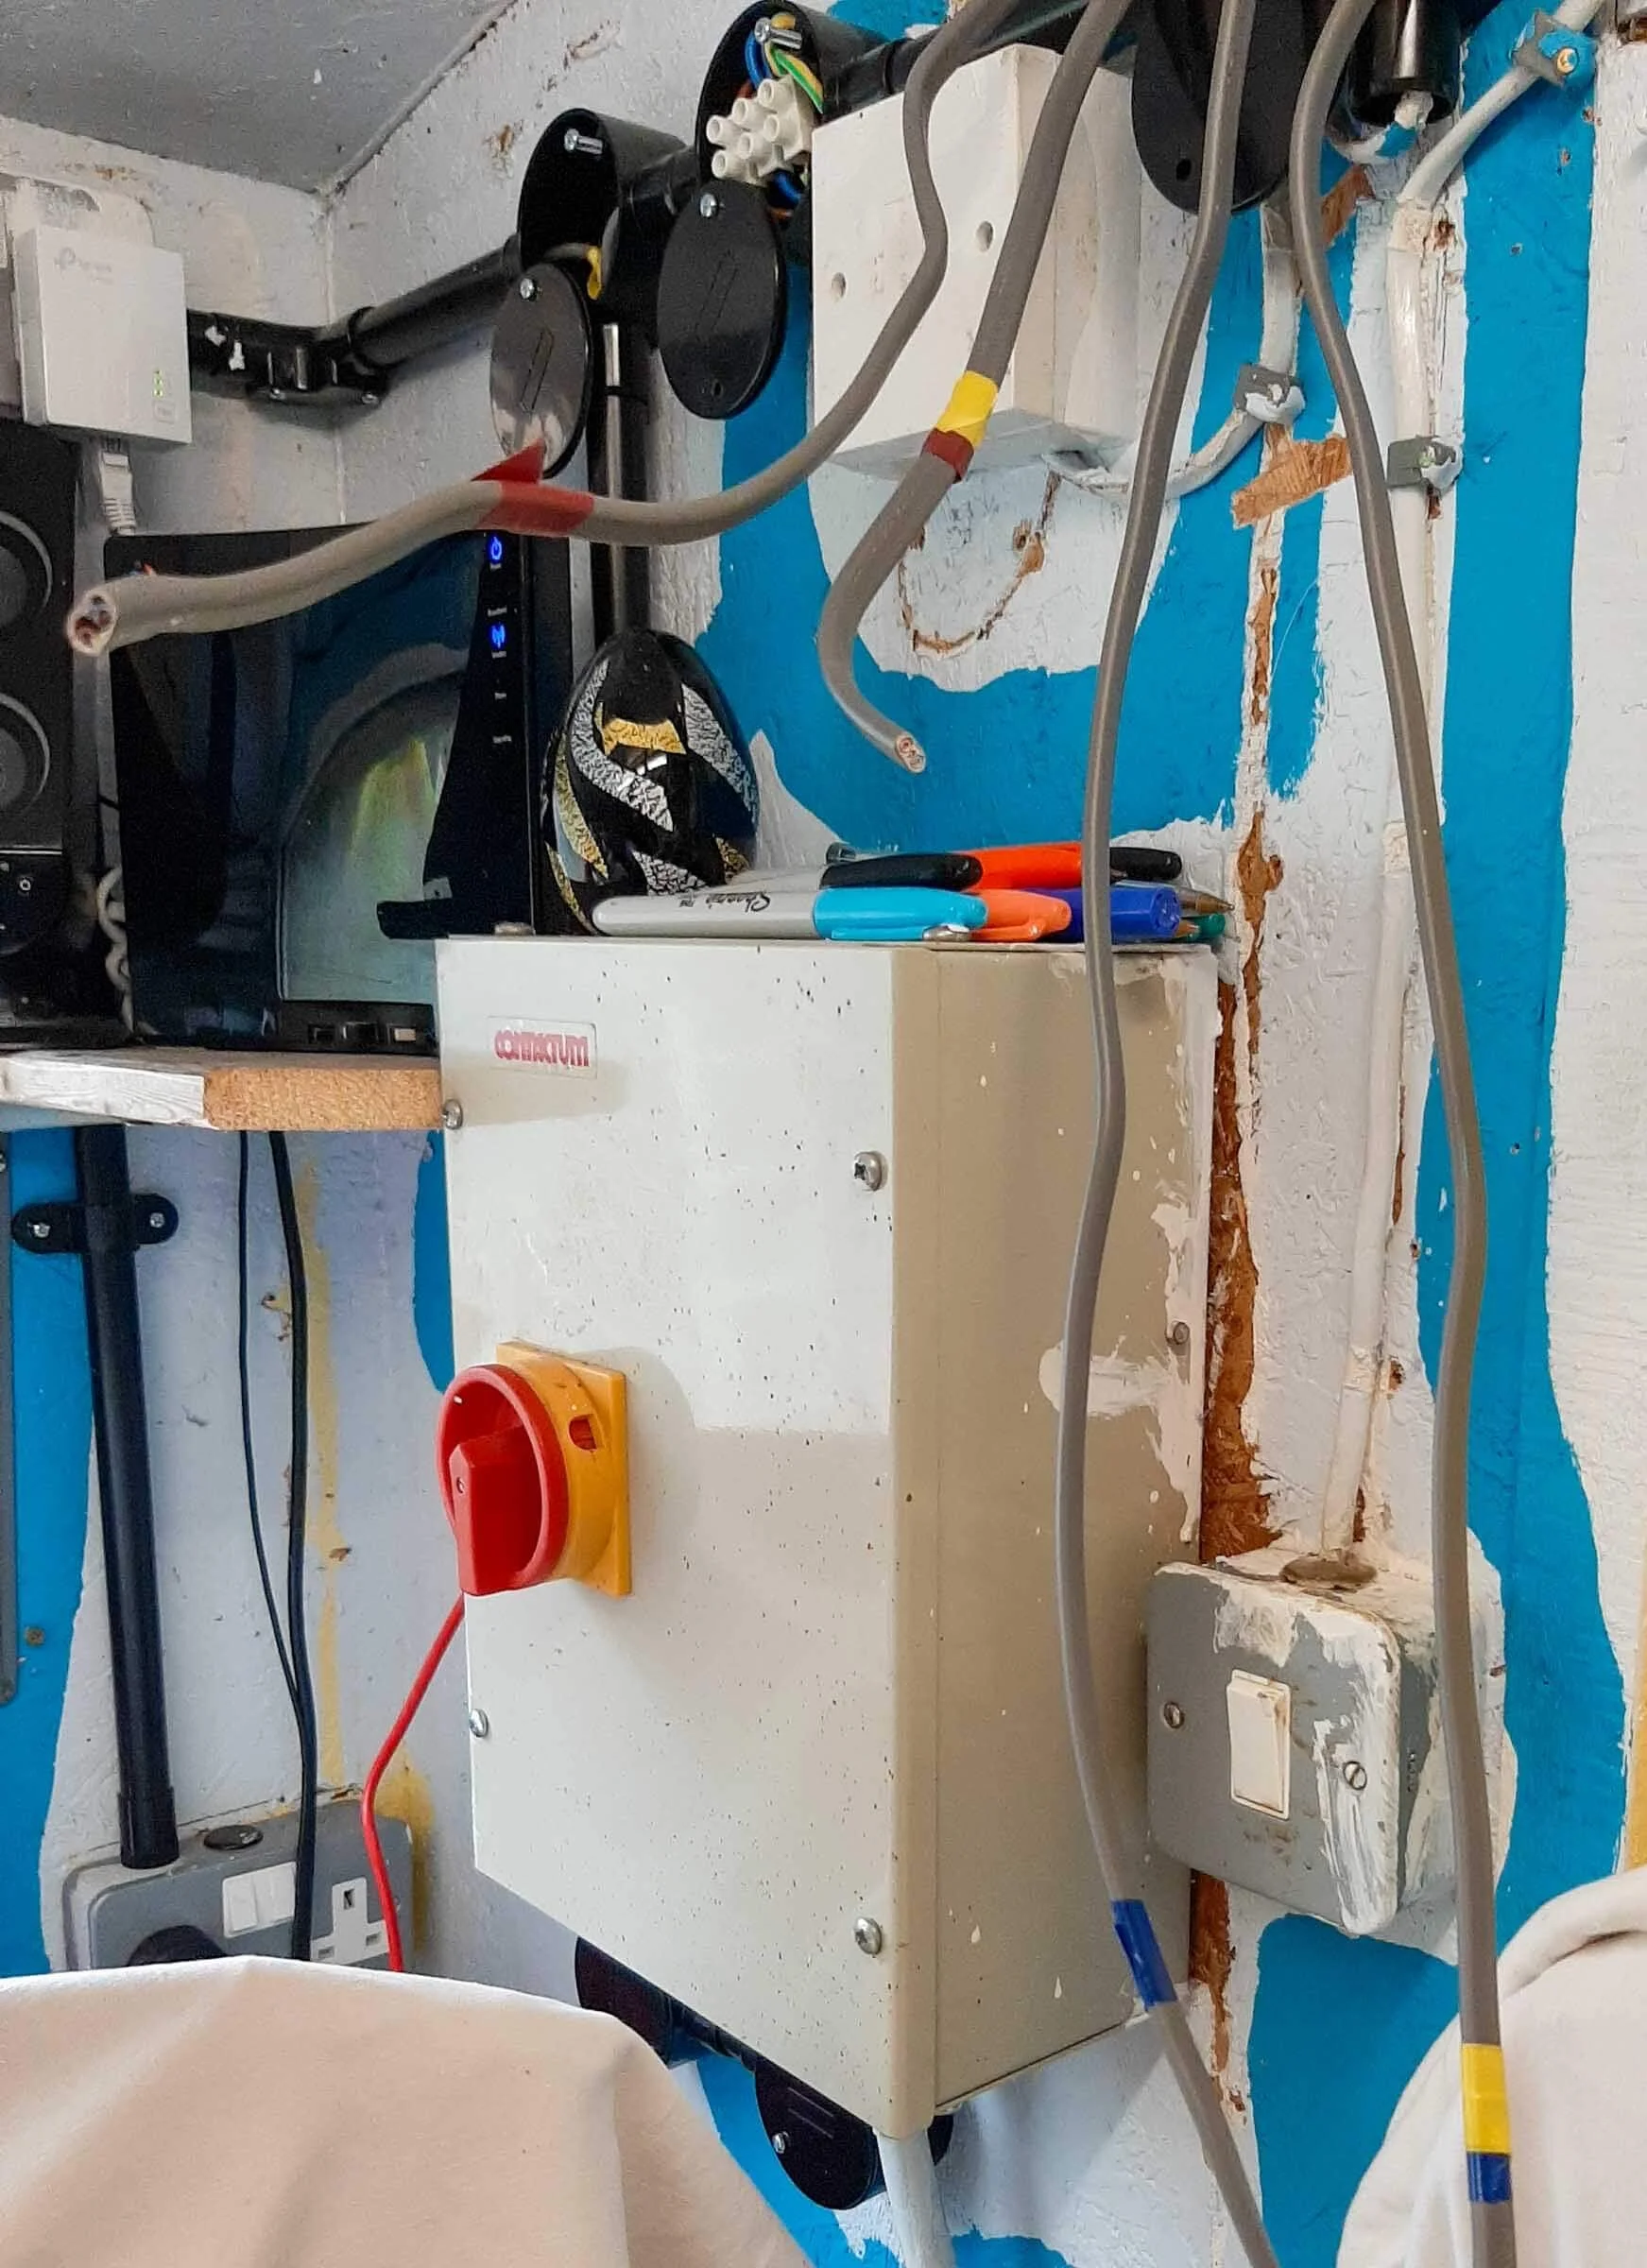
Midway through the upgrade — a tangle of cables, junction boxes and decisions waiting to be tidied up.
A couple of years ago, after giving the shed itself a new lease of life, I decided it was time to tackle the electrics properly. My goals were simple: put sockets where I actually needed them, improve the appearance of the wiring, and keep everything suitably “shed‑proof” — robust, practical and unfussy. I ended up using surface‑mounted metal switch boxes and plates, with black plastic conduit running neatly between them. For the lighting, I wanted to hide the ugly central beam while keeping the even spread of light that strip lights provide.
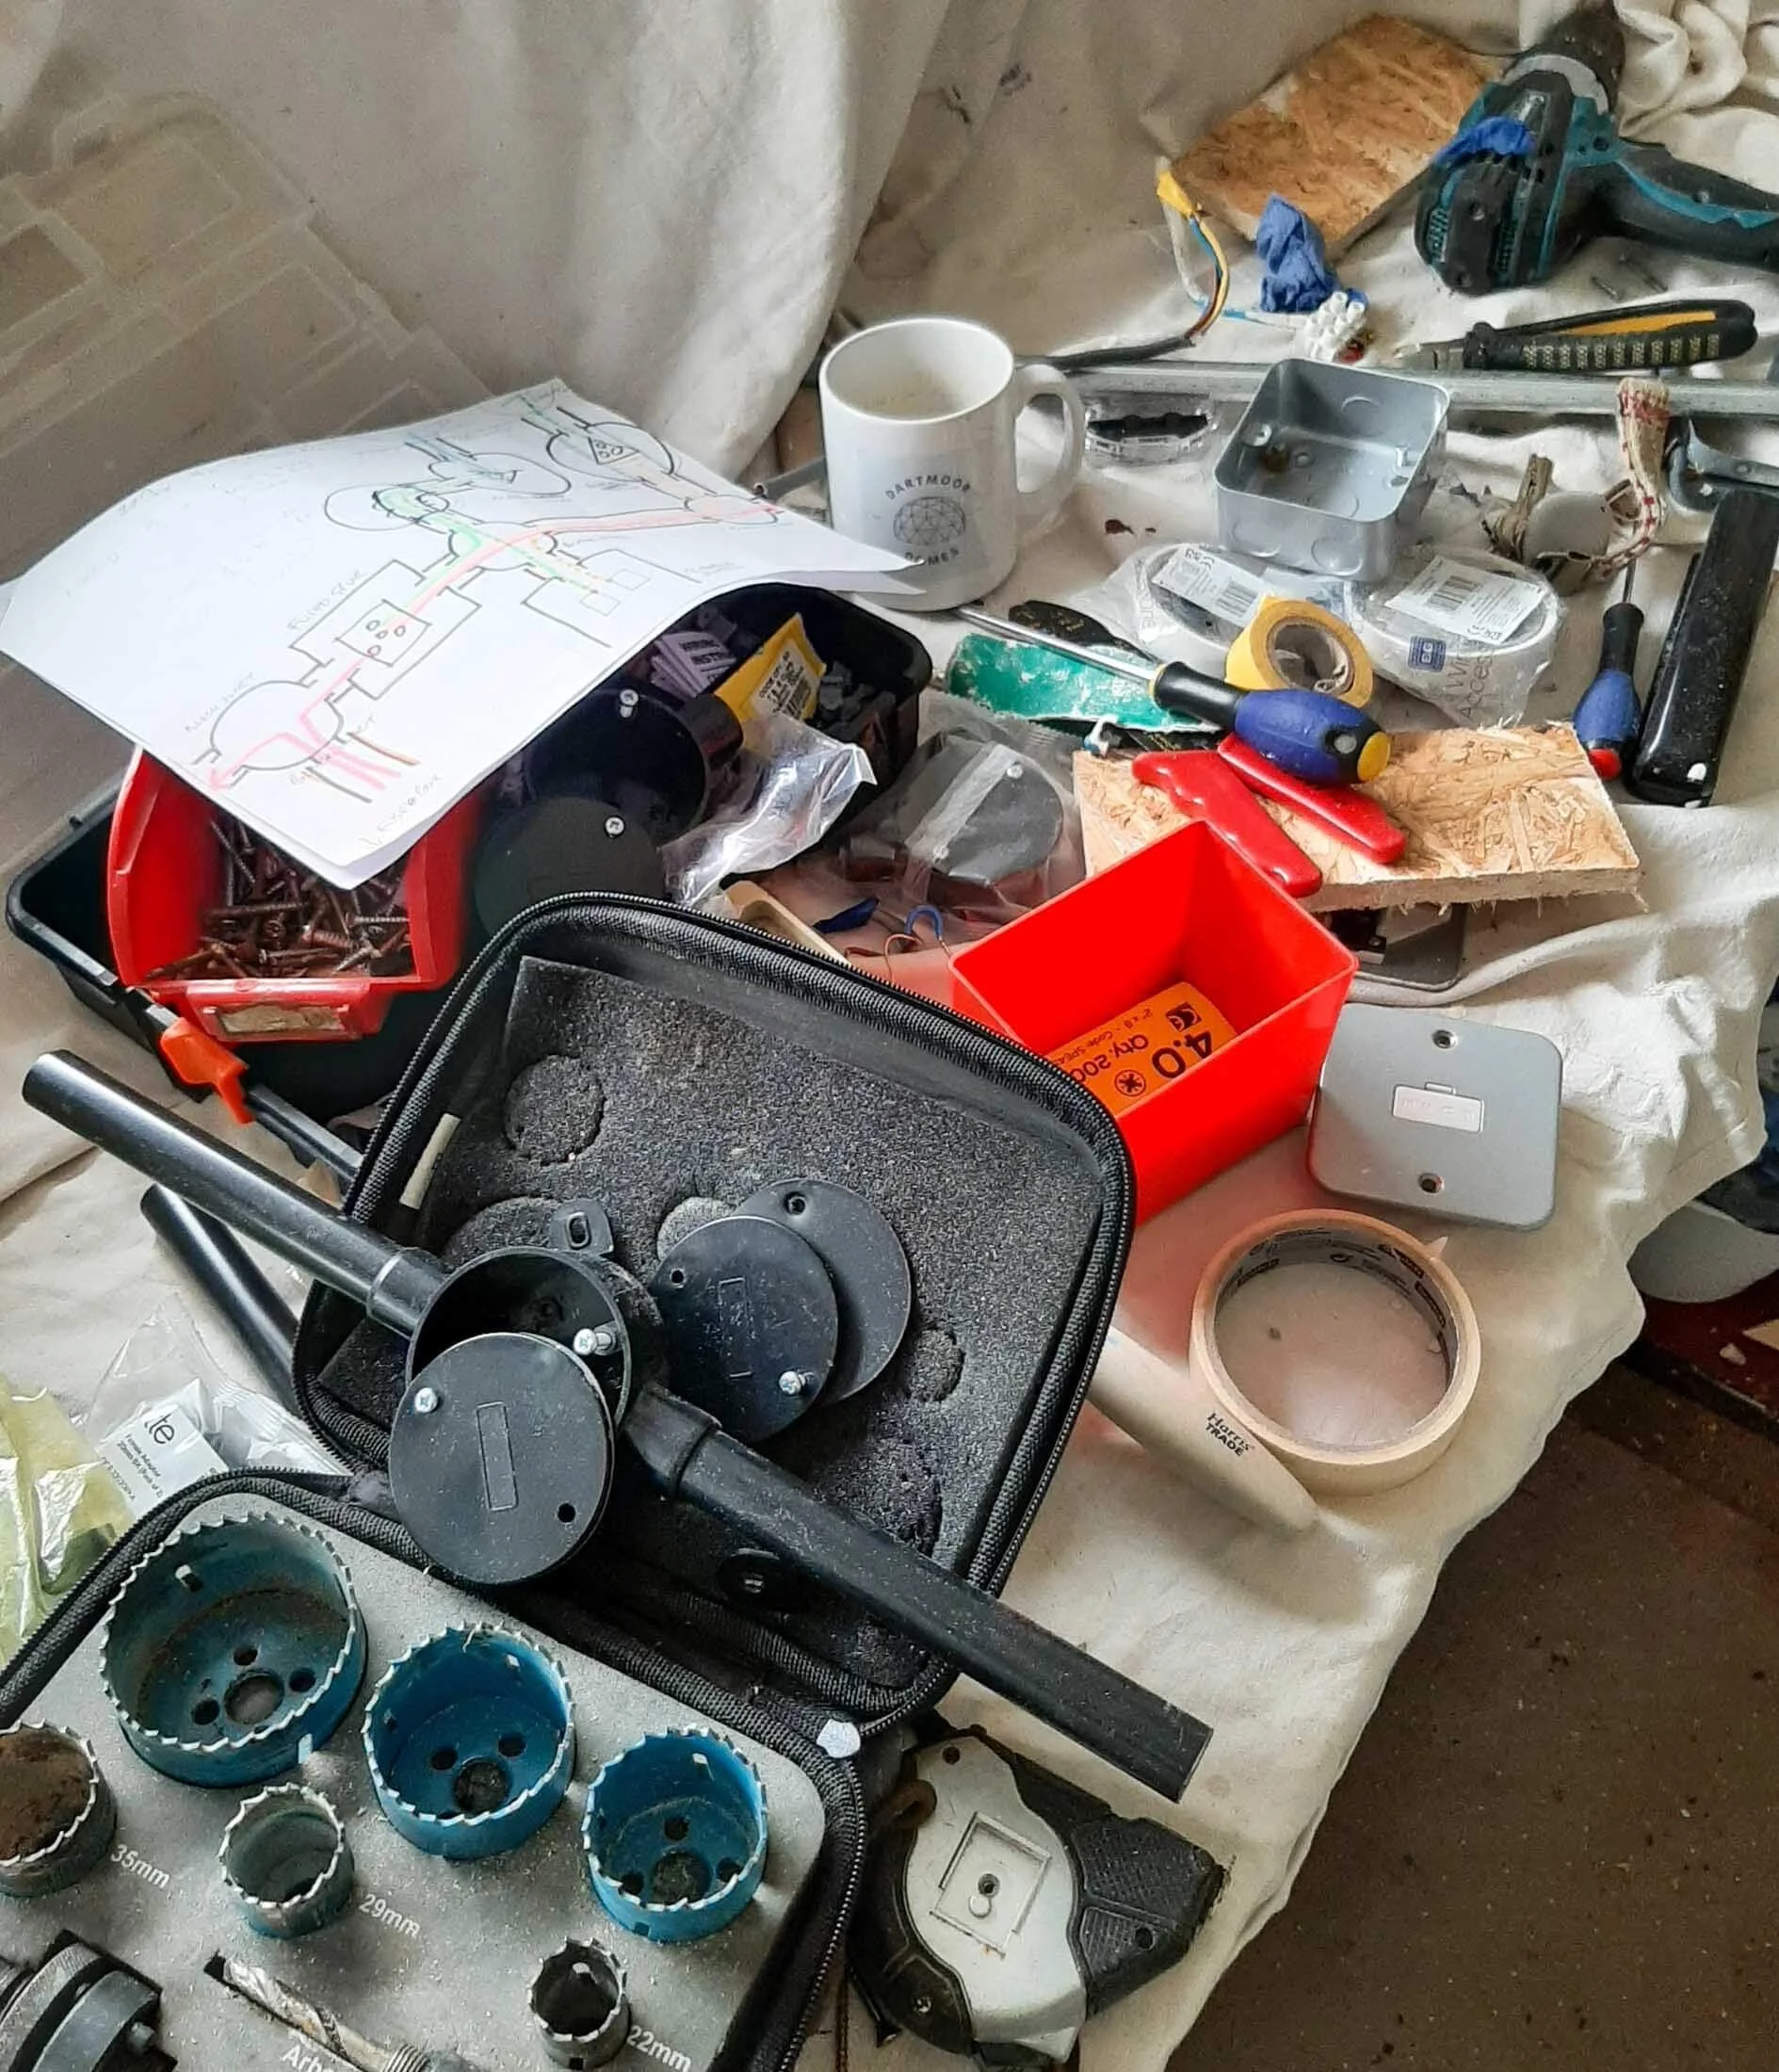
Planning the electrics — tools, materials and layout notes spread across a protected table during the upgrade.
Putting Sockets Where They Belong
By this point, most of my electronic devices had found their natural homes, so positioning the sockets was mostly a matter of common sense. I added enough outlets to power everything permanently plugged in, plus a few extras for incidentals. This meant sockets at different heights — some below desk level, others high up for shelf‑dwelling devices like the printer, router and speakers. Building the conduit maze to connect them all was a bit of a puzzle, but it came together nicely.
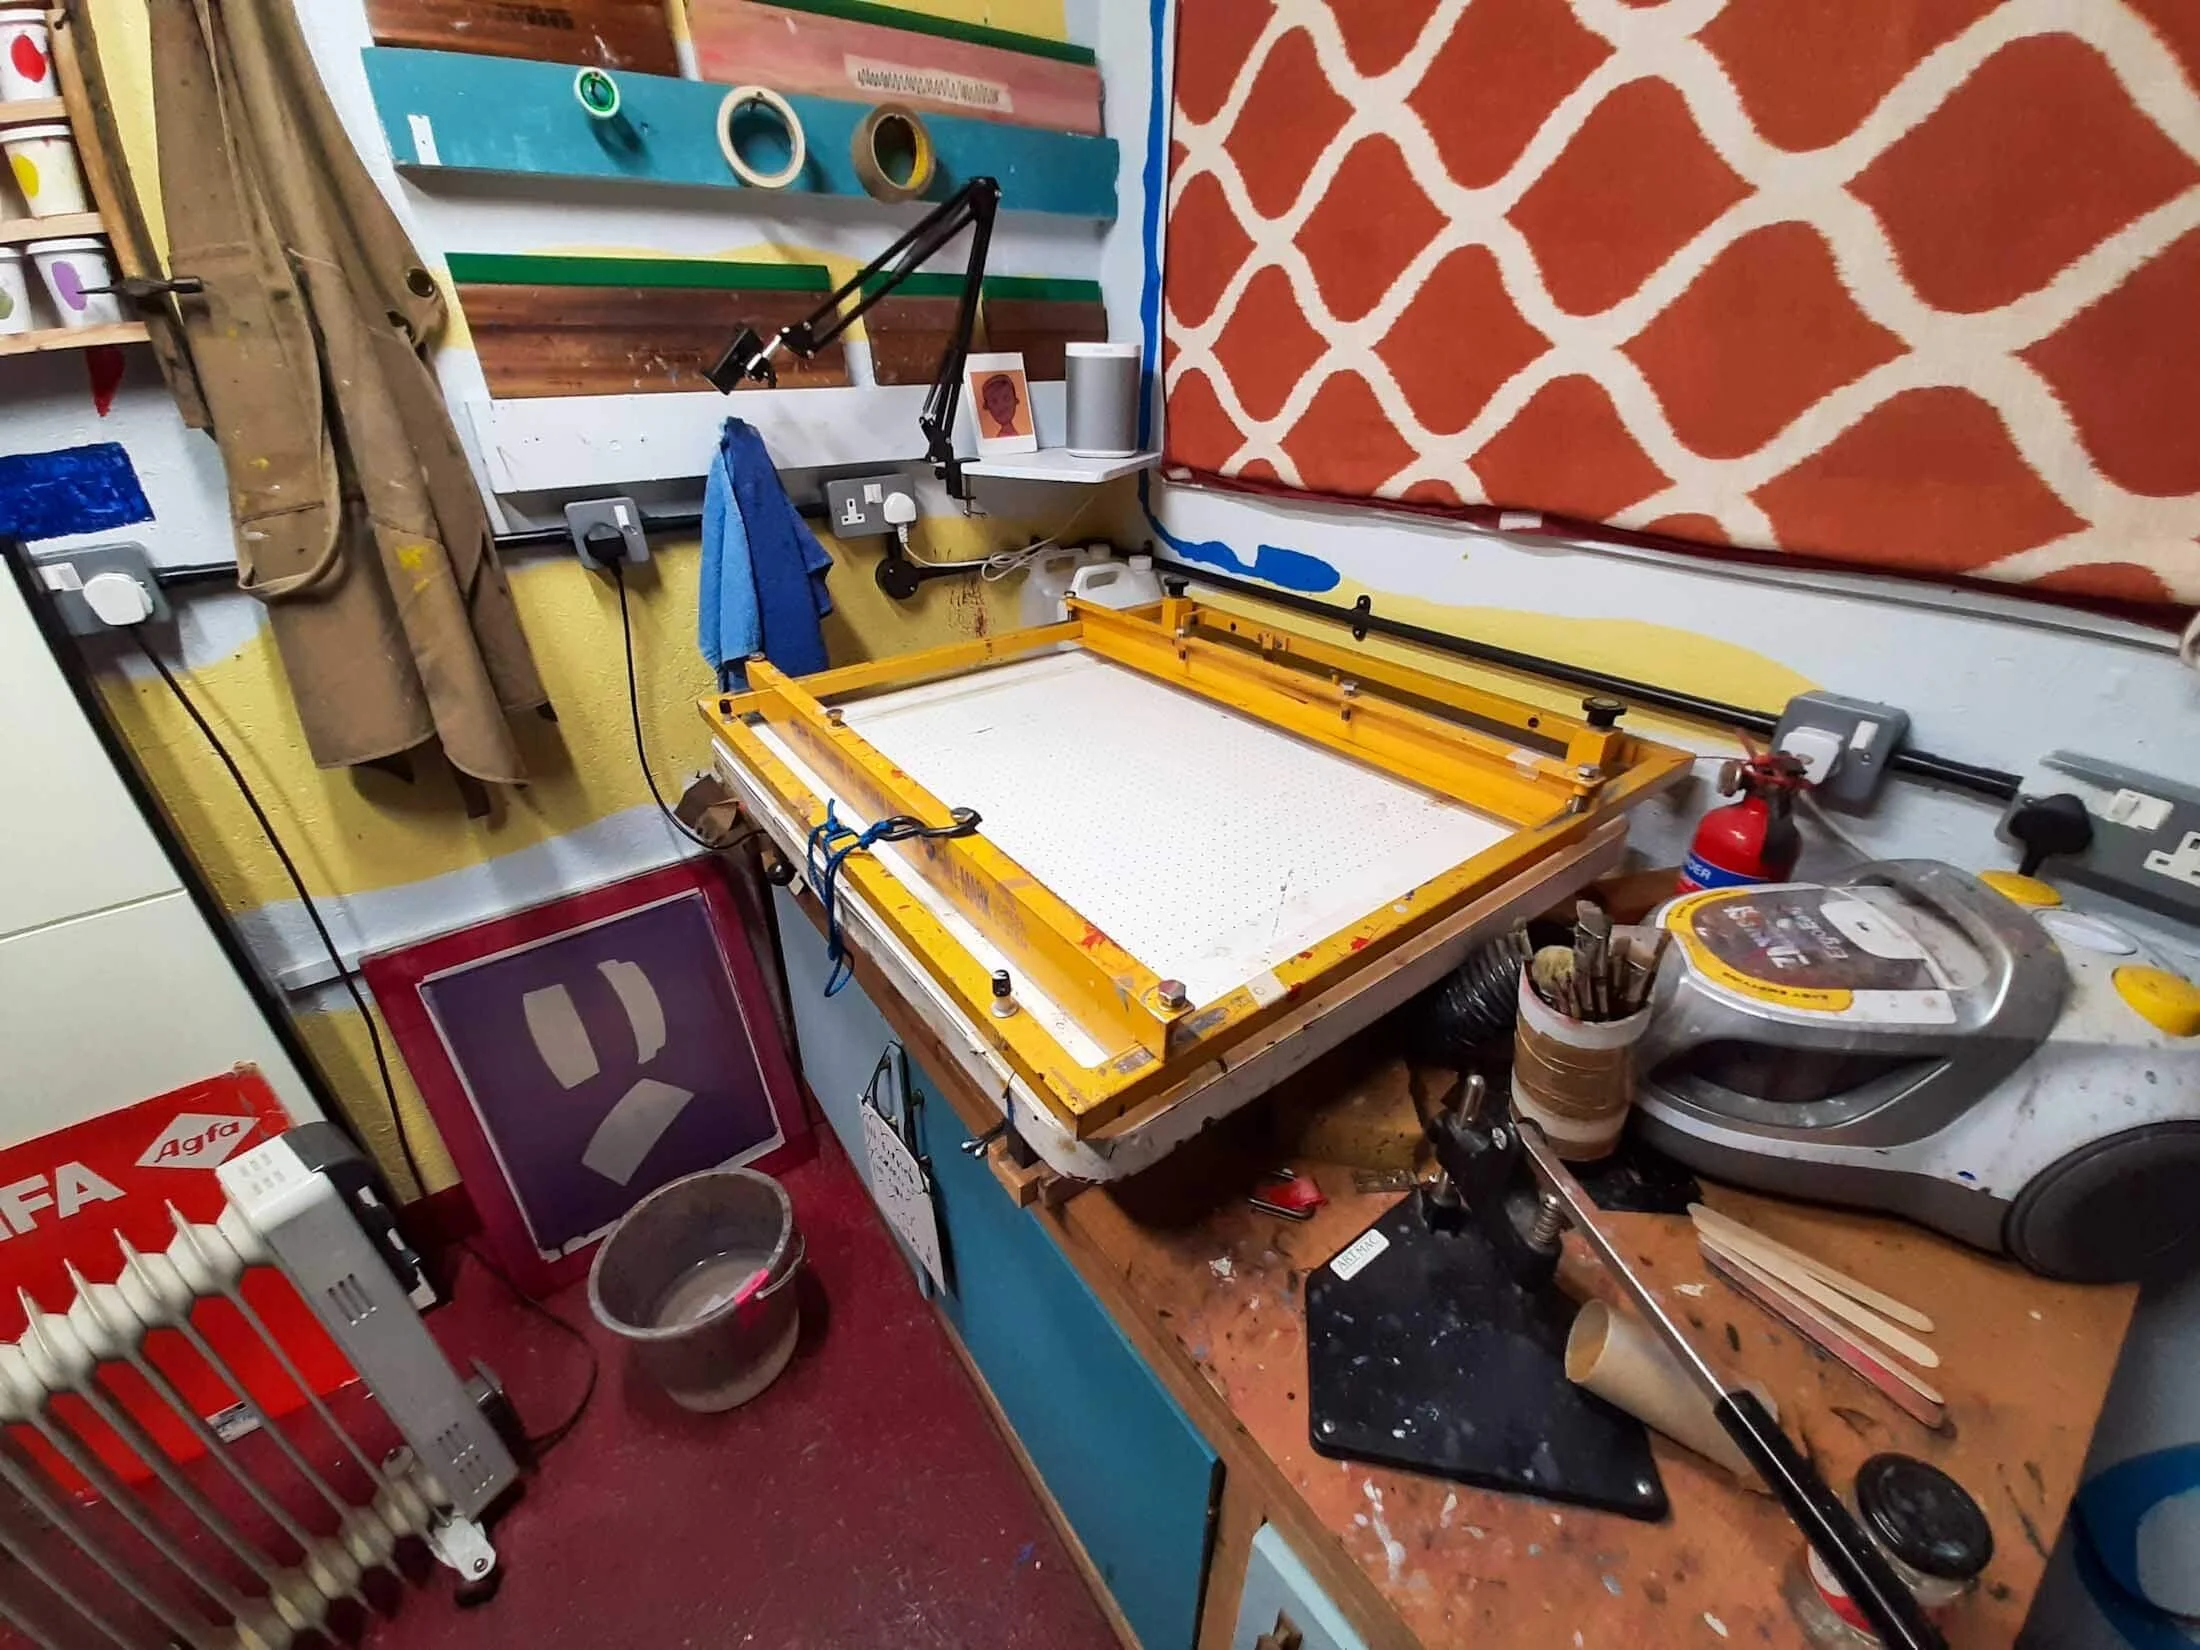
Sockets placed where they’re actually needed — powering devices around the vacuum table, with conduit connecting it all.
One of the biggest wins was adding sockets beside the vacuum table and drying cupboard. For years I’d had to reach across the table to switch the vacuum on and off. Now the switch is right next to where I stand, and it gives me a small, disproportionate smile every time I use it. Convenience is underrated.
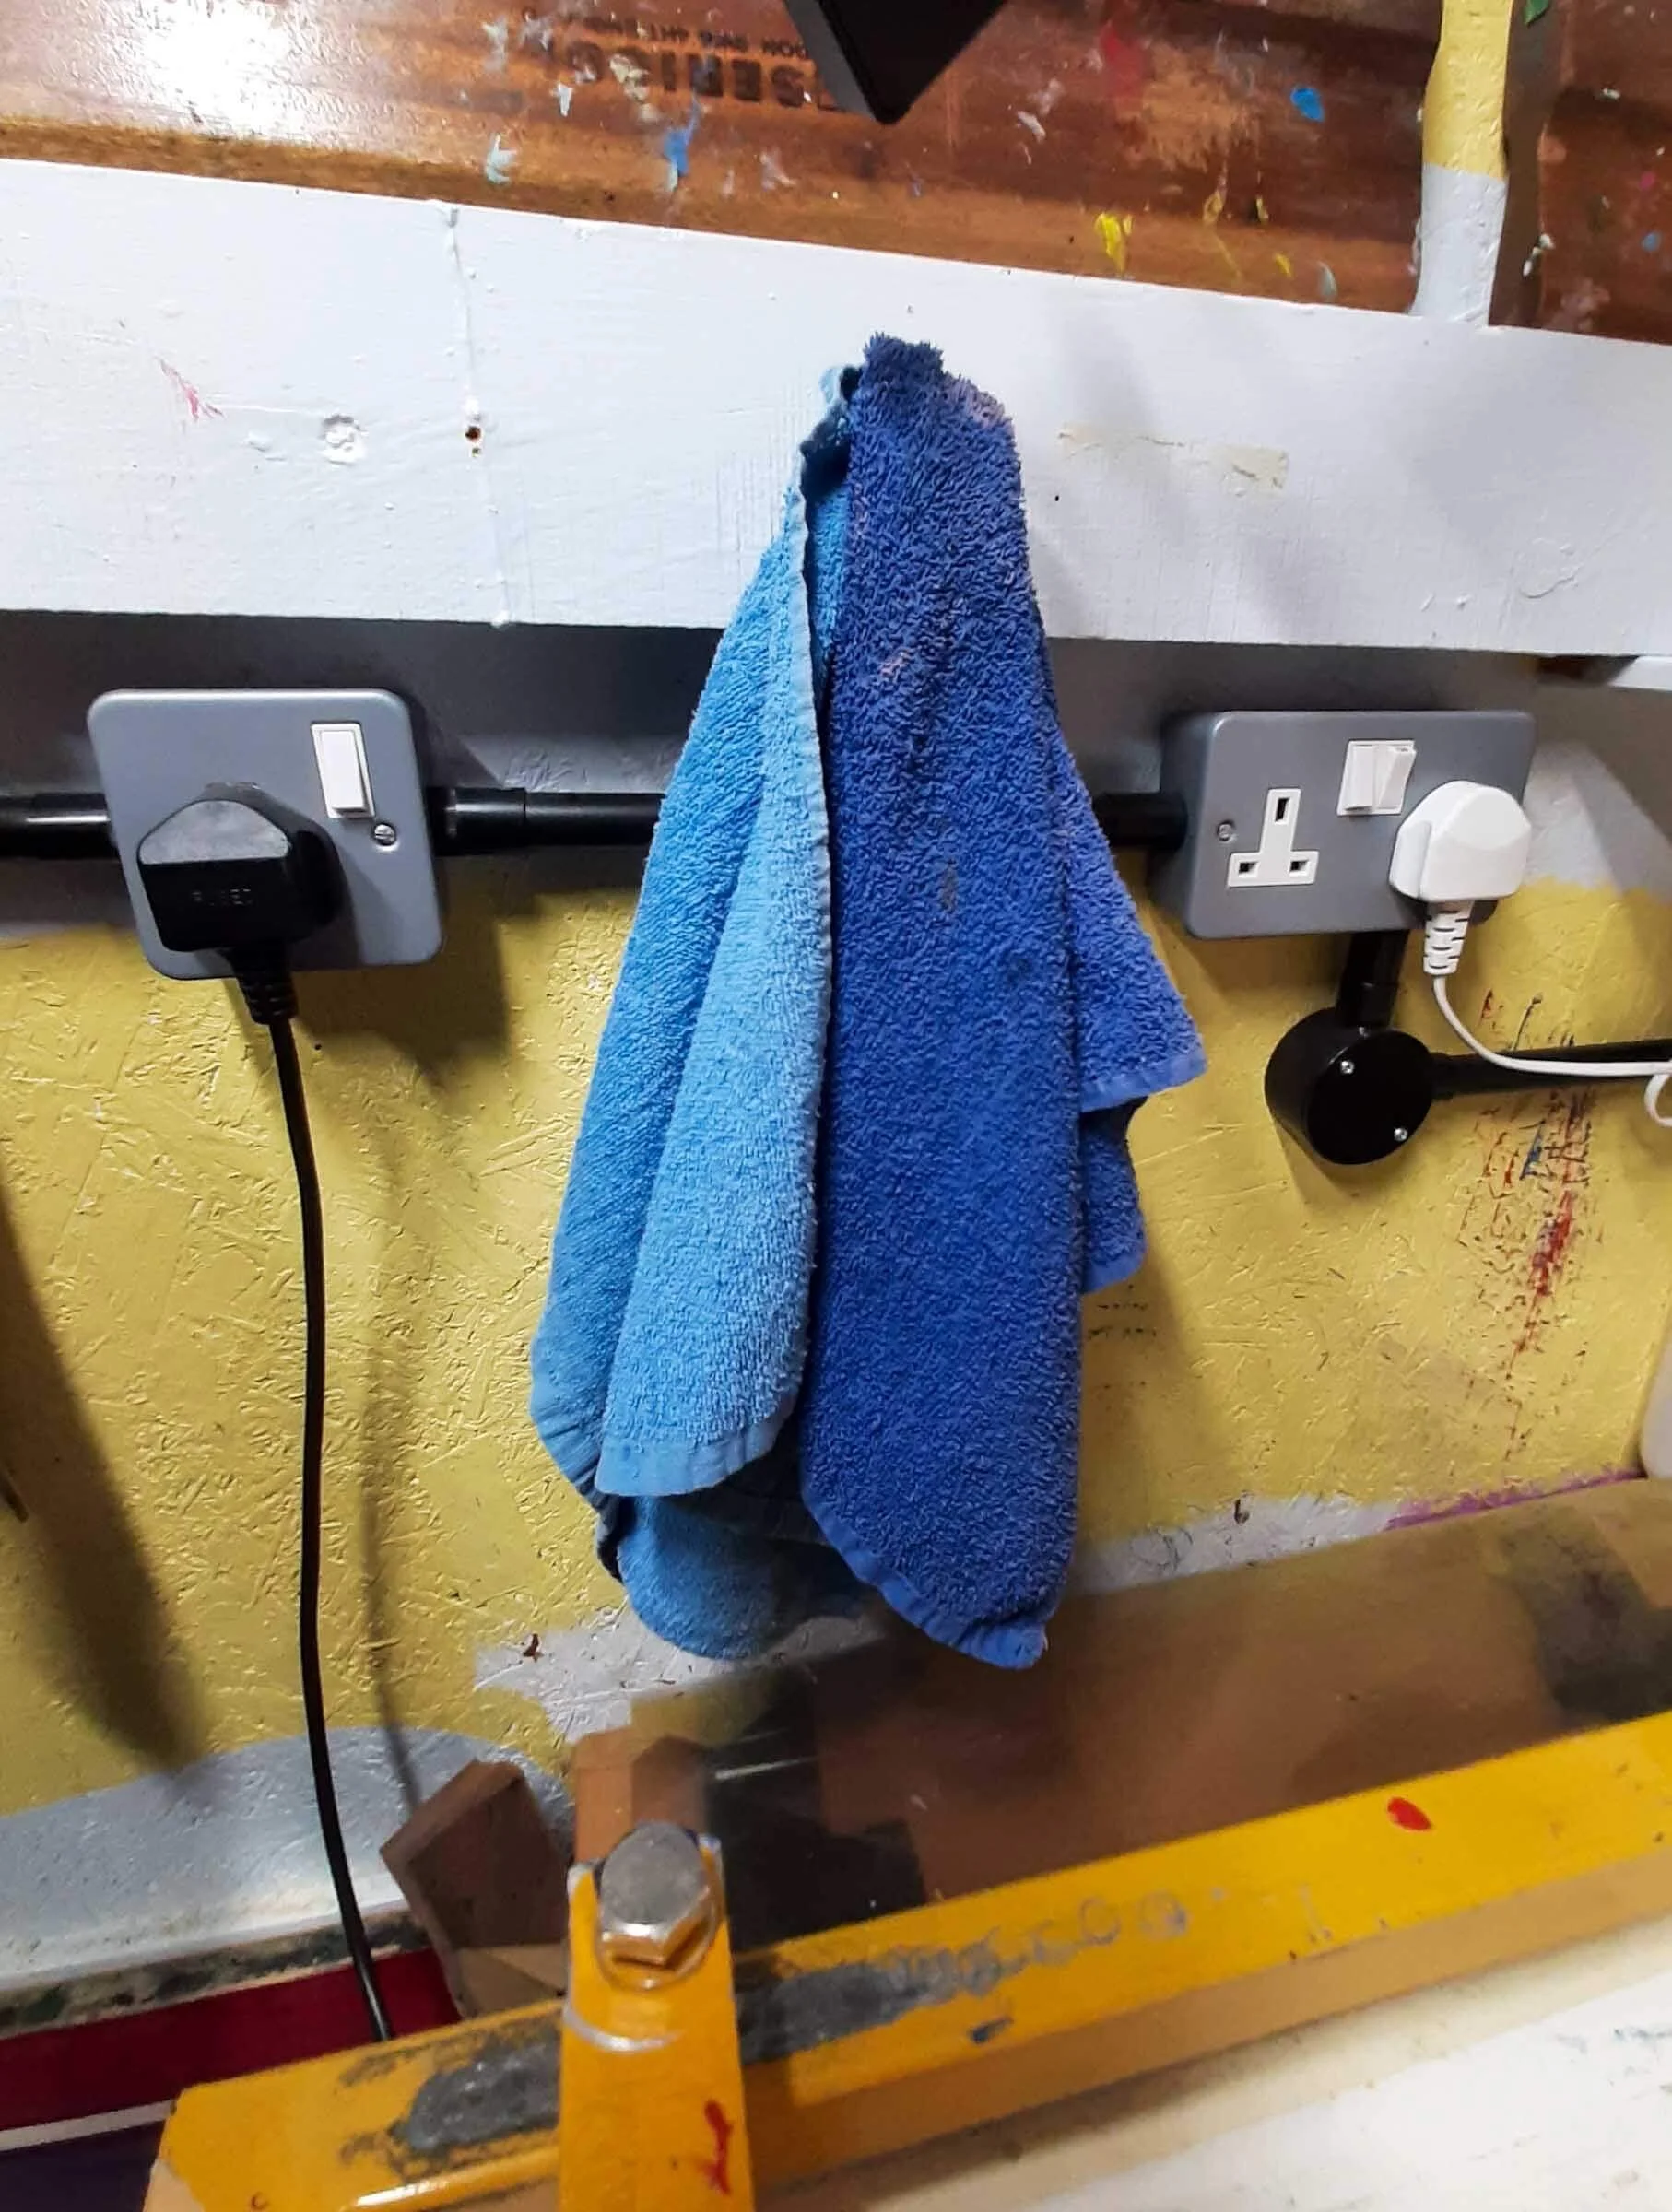
A small but satisfying upgrade — a socket placed right where I stand at the vacuum table, making switching effortless.
Choosing the Right Lighting
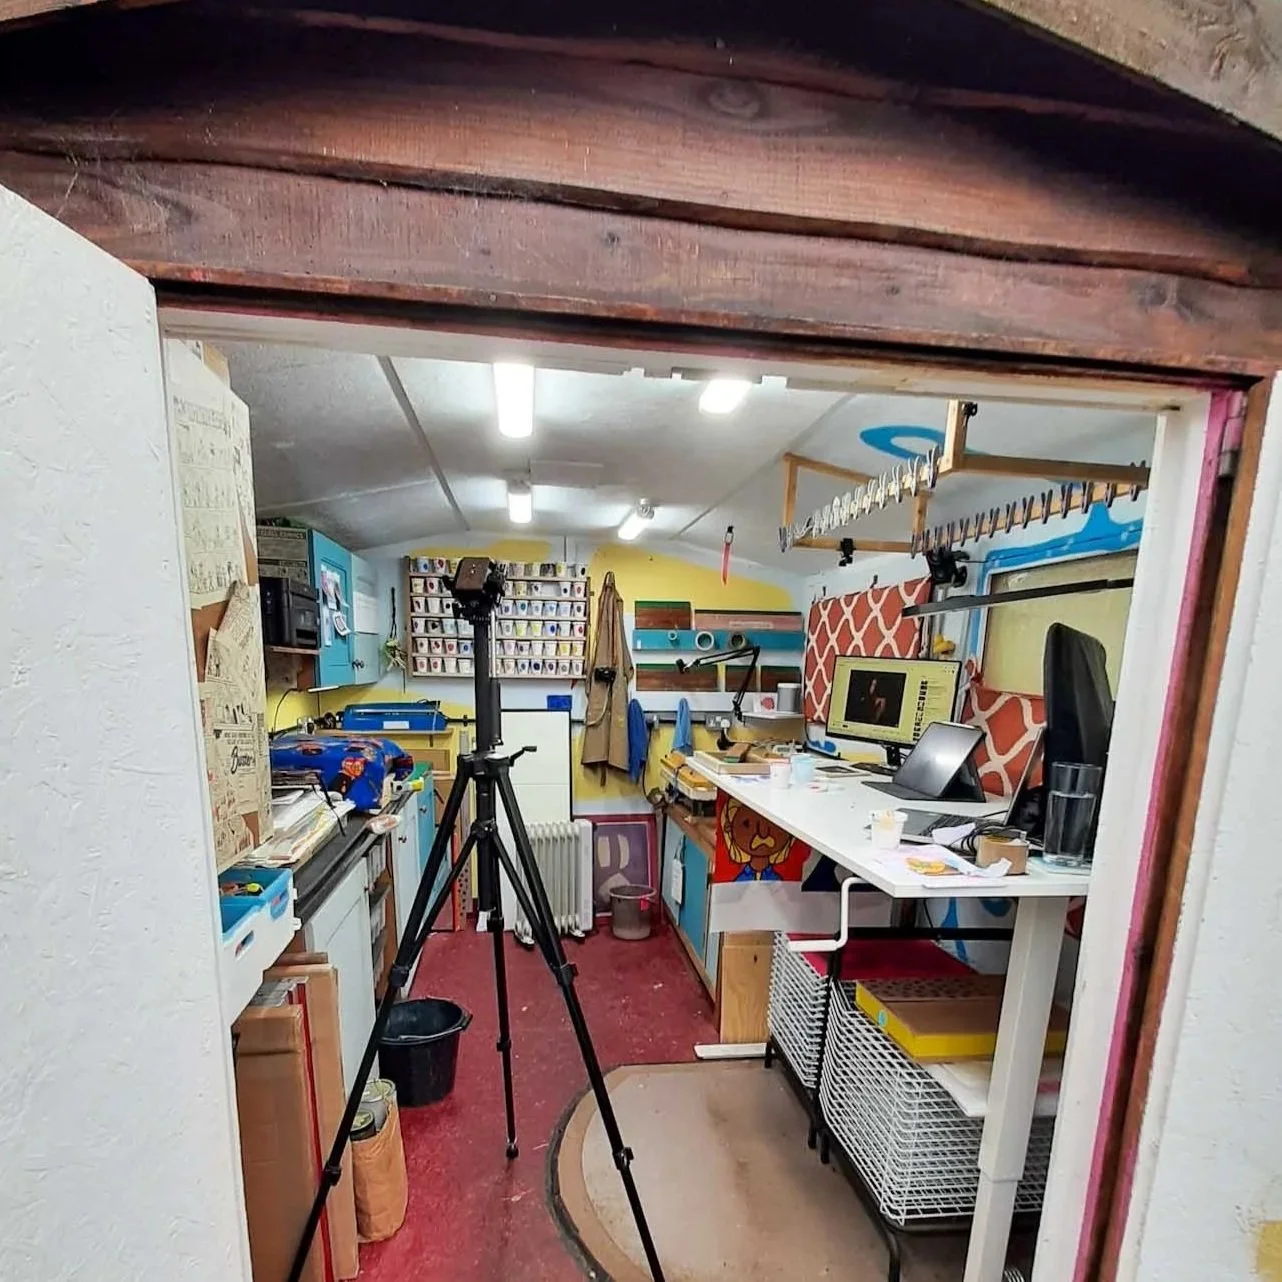
Headroom is precious in a garden studio, especially after lowering the ceiling slightly to hide the central beam. I needed lighting that was unobtrusive but bright enough for detailed work. I considered recessed lighting for far too long, but eventually ended the procrastination and installed four 2‑foot LED daylight strips, staggered along the length of the studio.
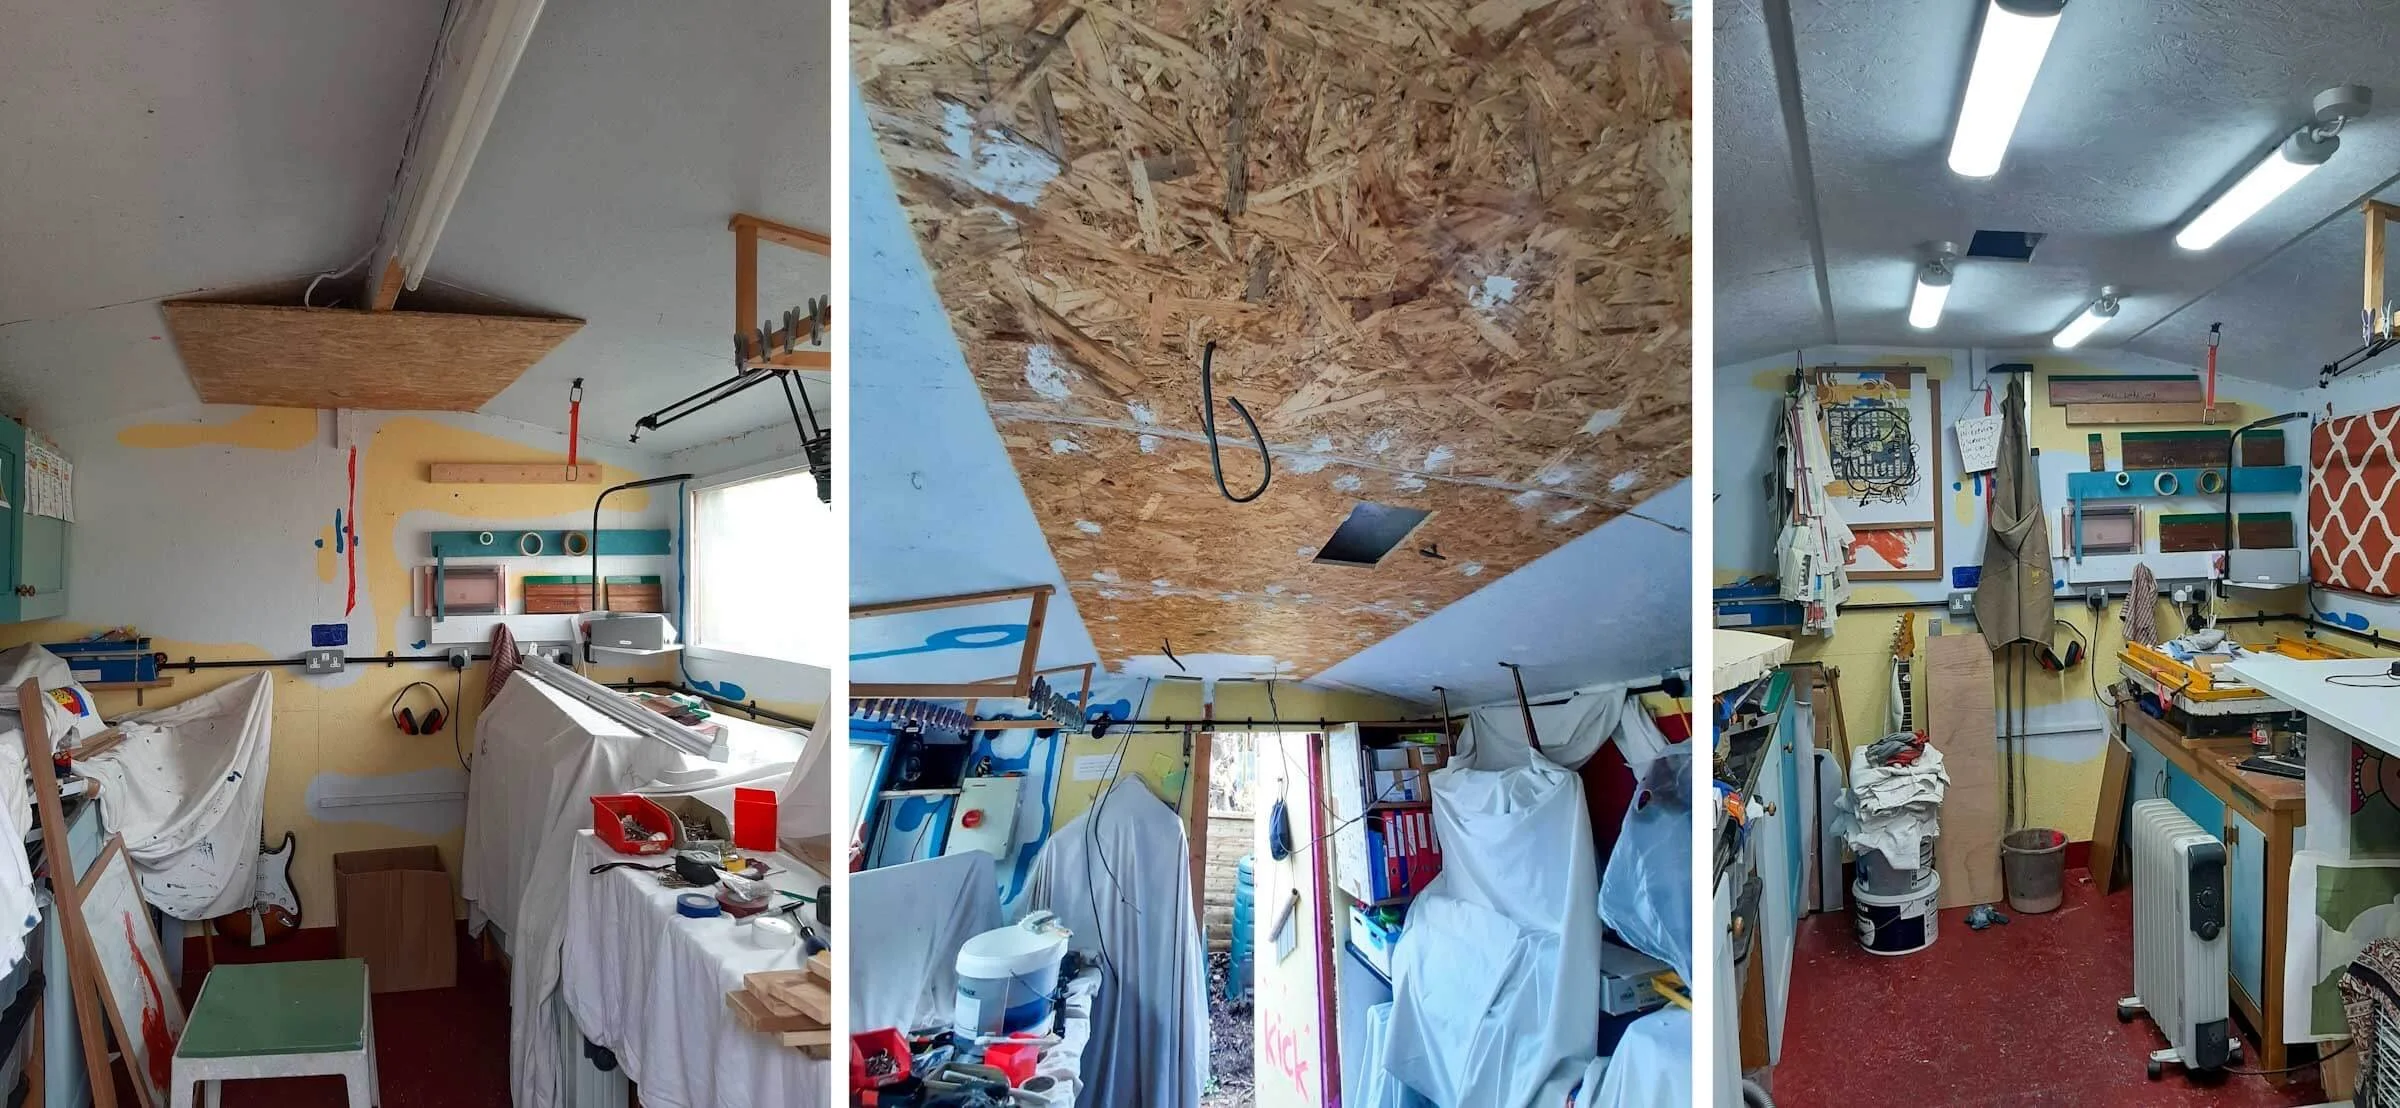
The ceiling upgrade in progress — from exposed beams and patchwork paint to a clean OSB finish and new lighting.
I positioned them with care — particularly around my desk — so the light falls over my shoulder rather than being blocked by my head. They’re controlled by two switches, each operating a pair of strips at opposite ends of the room. When I’m working at my desk, I only use the lights at that end; when I’m printing and using the whole space, all four strips come on and the brightness is exactly what’s needed. Daylight bulbs are essential if you want colours to look the same outside the studio as they do inside.
Task Lighting Where It Matters
Alongside the overhead lights, I have a small strip light mounted under a wall cupboard, giving essential illumination to the cutting mat. I also have a dimmable desk lamp attached to — unsurprisingly — the desk. It’s perfect as a low‑level light when positioning screens on the exposure unit.
The Unseen Essentials
So that’s my lighting and electrics setup — not the most glamorous part of the studio, but absolutely essential to its daily operation. Good lighting and sensible electrics don’t shout for attention, but they quietly make everything else possible. And in a tiny garden studio, that’s worth celebrating.
---
This post is part of the Print Studio Setup Series:
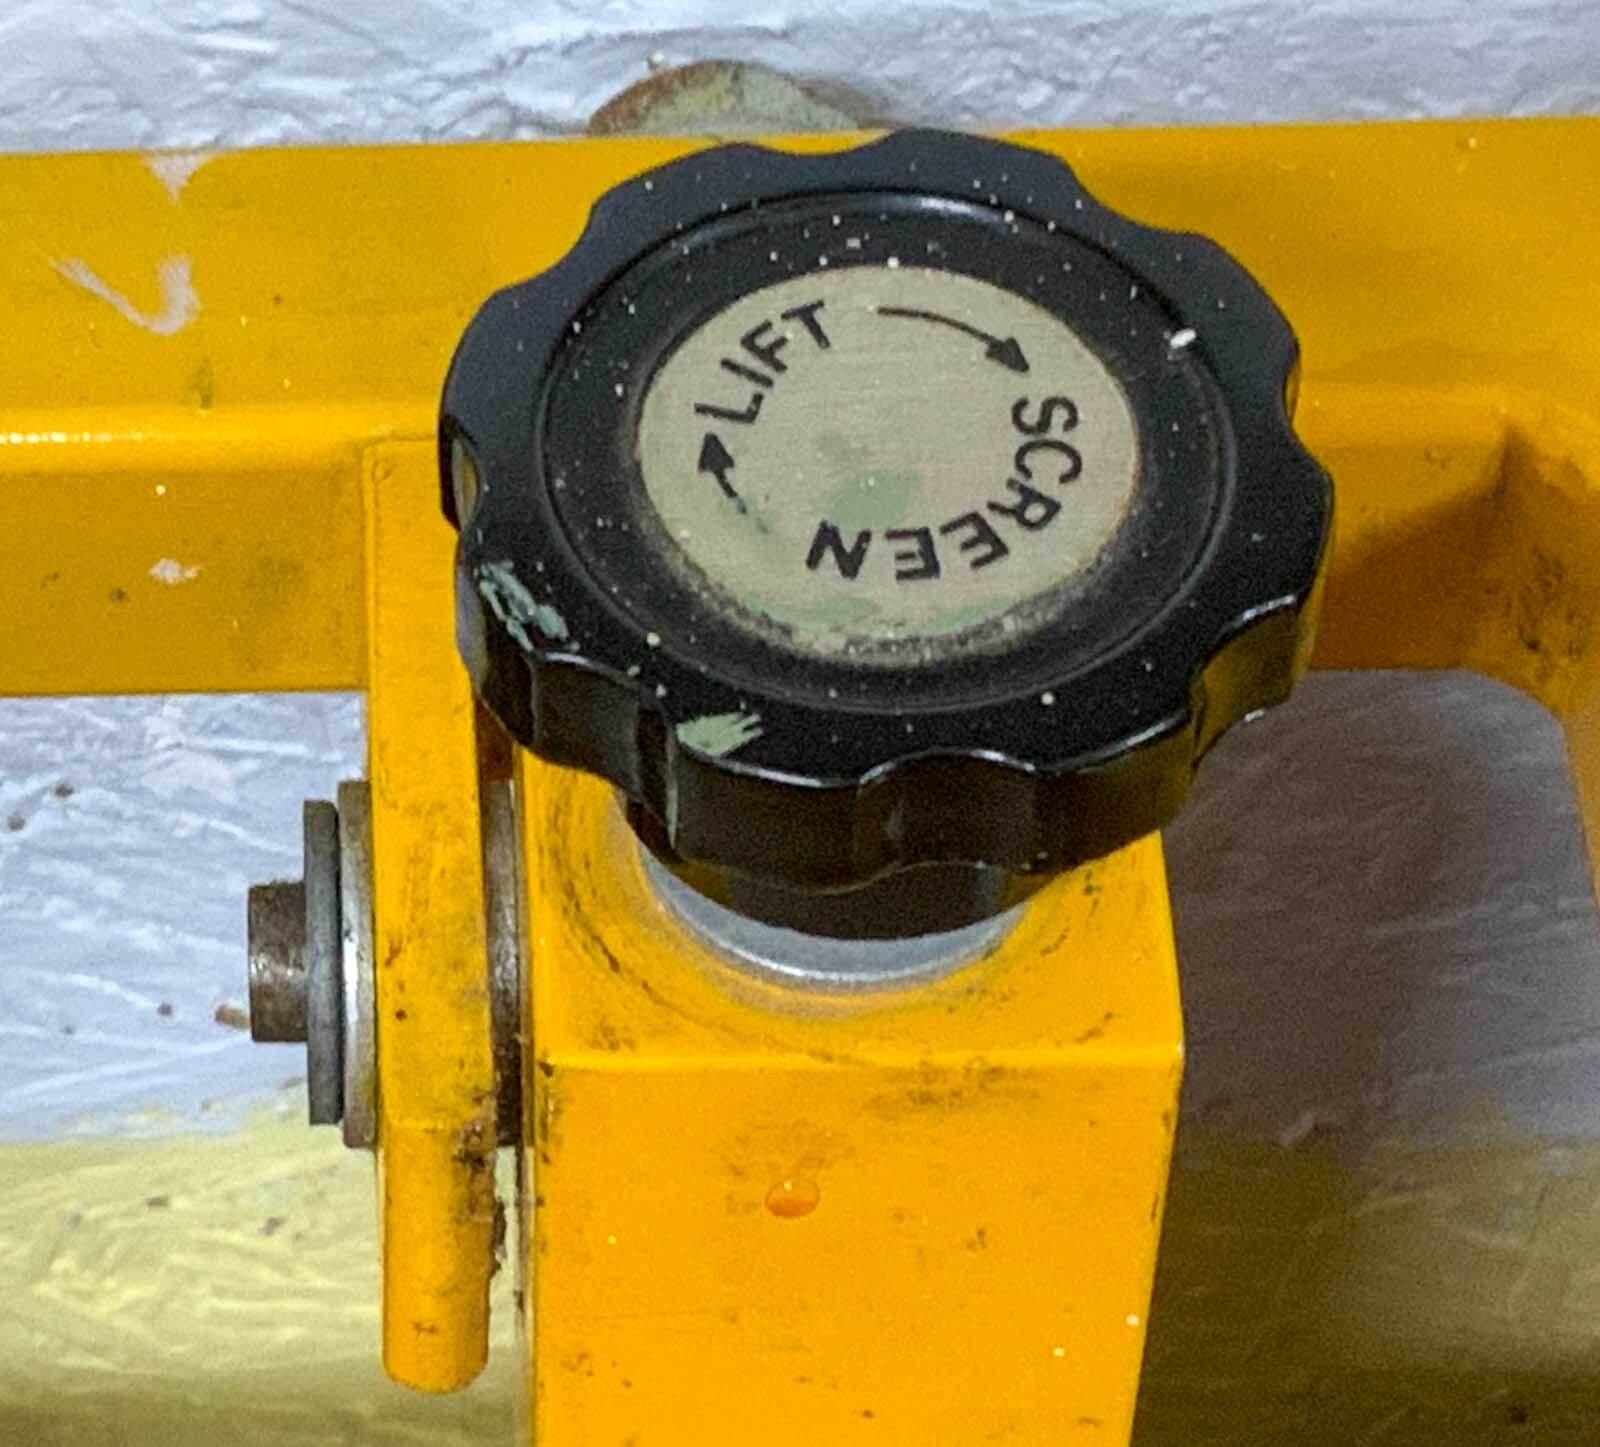
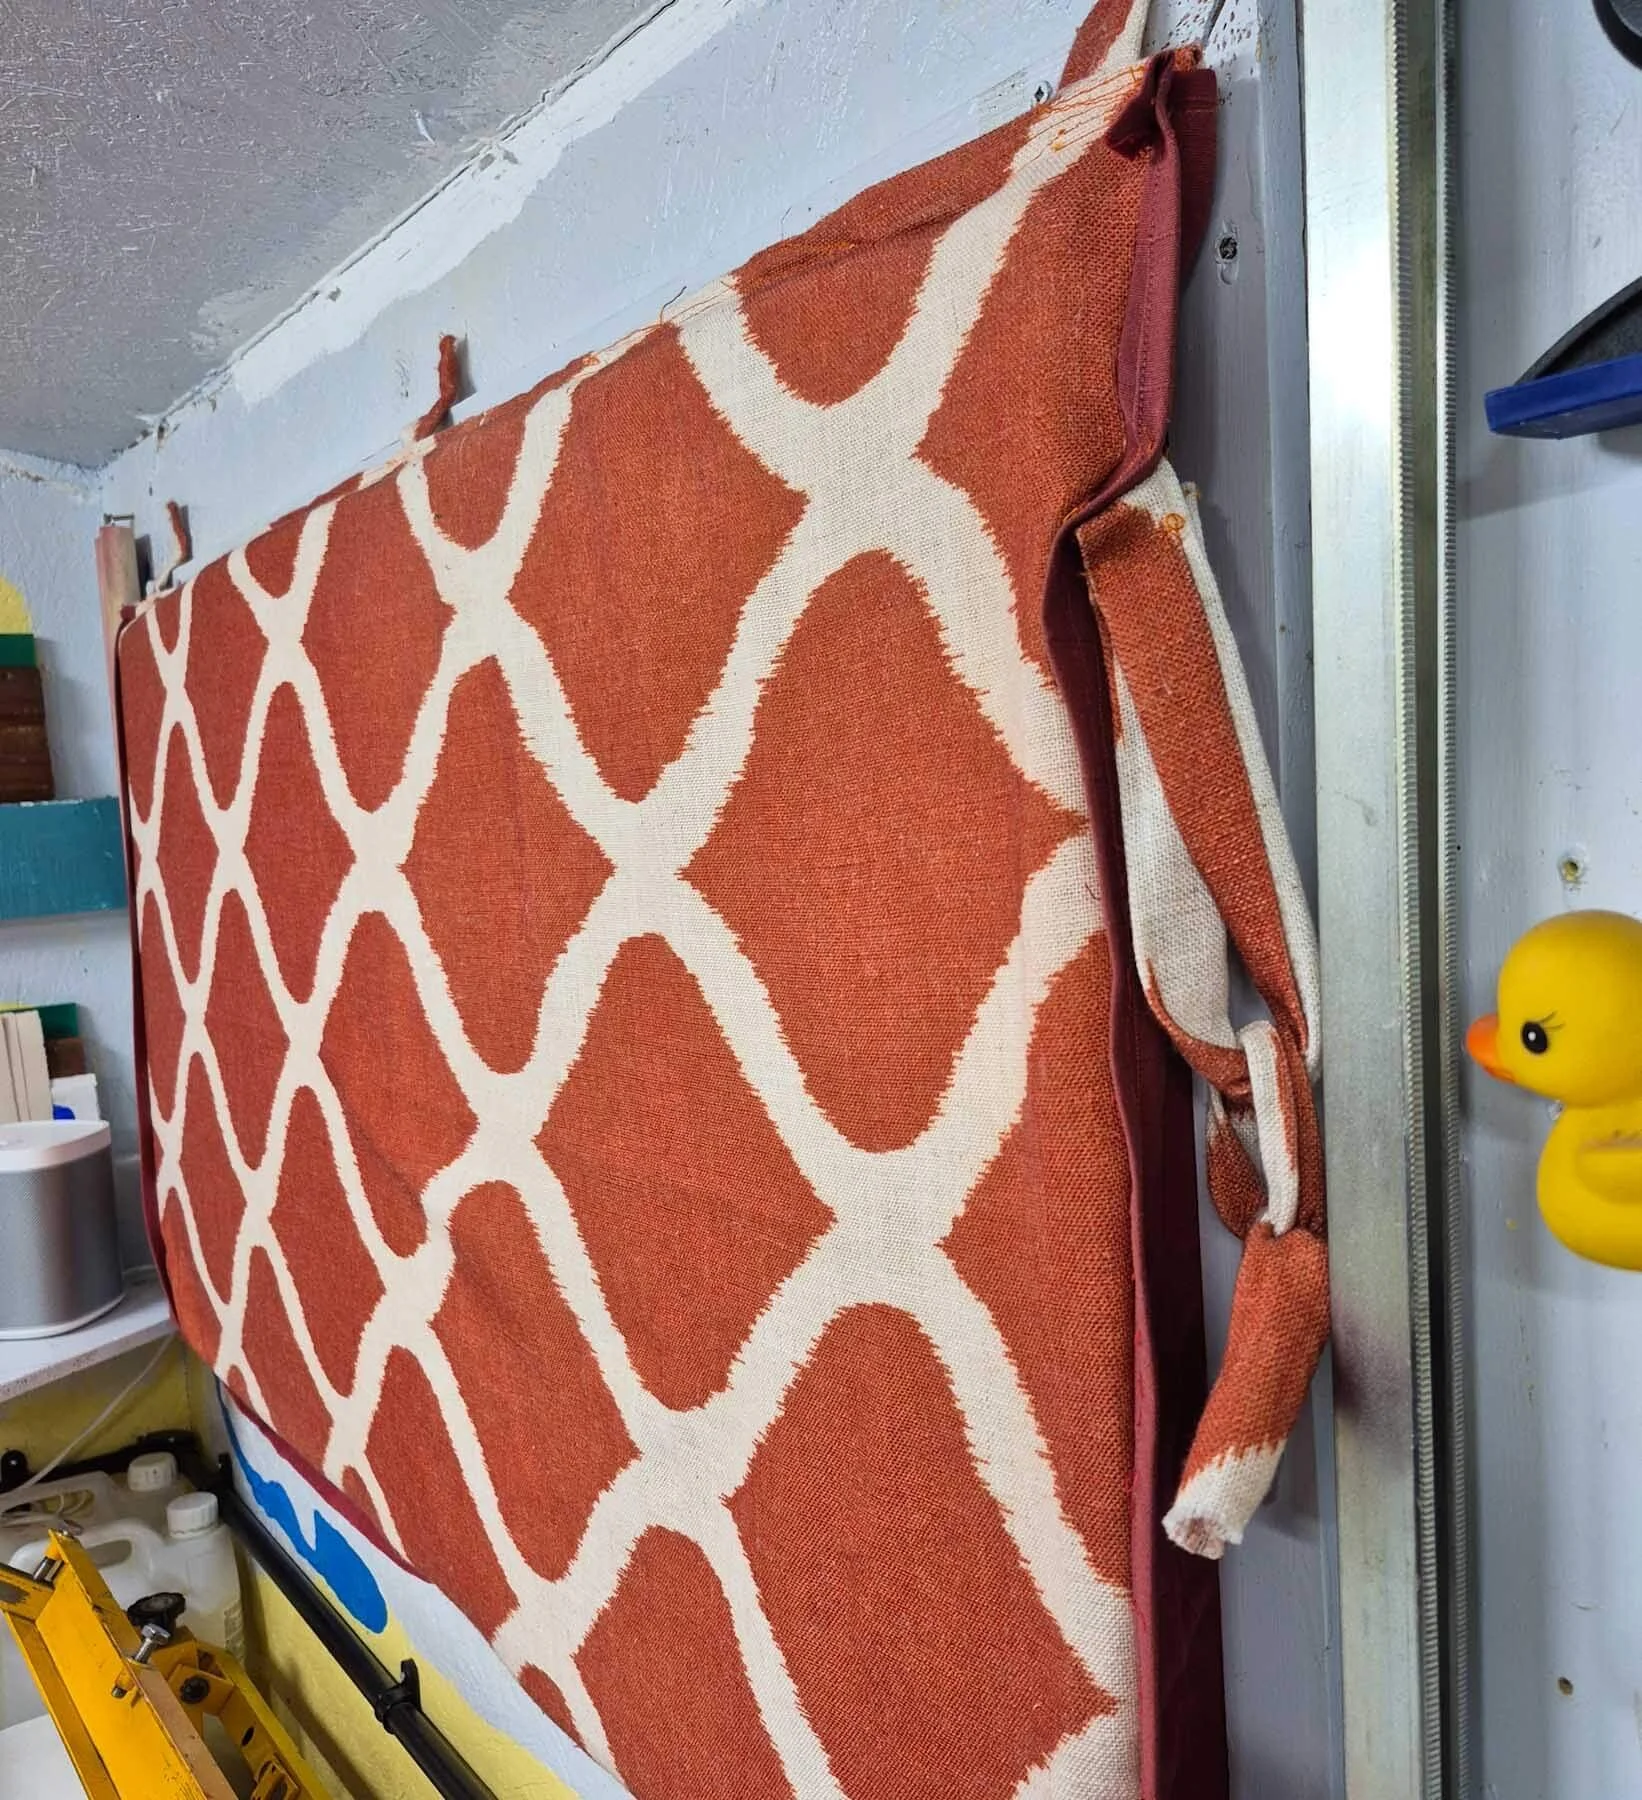

My exposure unit started life as a simple second‑hand frame with halogen lamps, but a few small changes made it far more flexible for my studio. This post explains how I adapted it to handle larger screens, save space and work more efficiently in a small shed workspace.