Essential Tools for Silkscreen Printing
(Screen printing Tools & Materials series, Part 1)
This is the first post in my Tools & Materials series, where I run through the various tools and materials you will need to set up your very own screen printing studio.
Introduction
Silkscreen printing relies on a handful of simple tools. Some you’ll hold in your hands every day, others are supporting essentials that keep the process flowing. In this post, I’ll walk through the basics I use in my shed studio — the tools that make printing possible in a small space. By the end, you’ll know exactly what’s worth having to get started.
Core Hand Tools (the ones you hold)
Squeegees
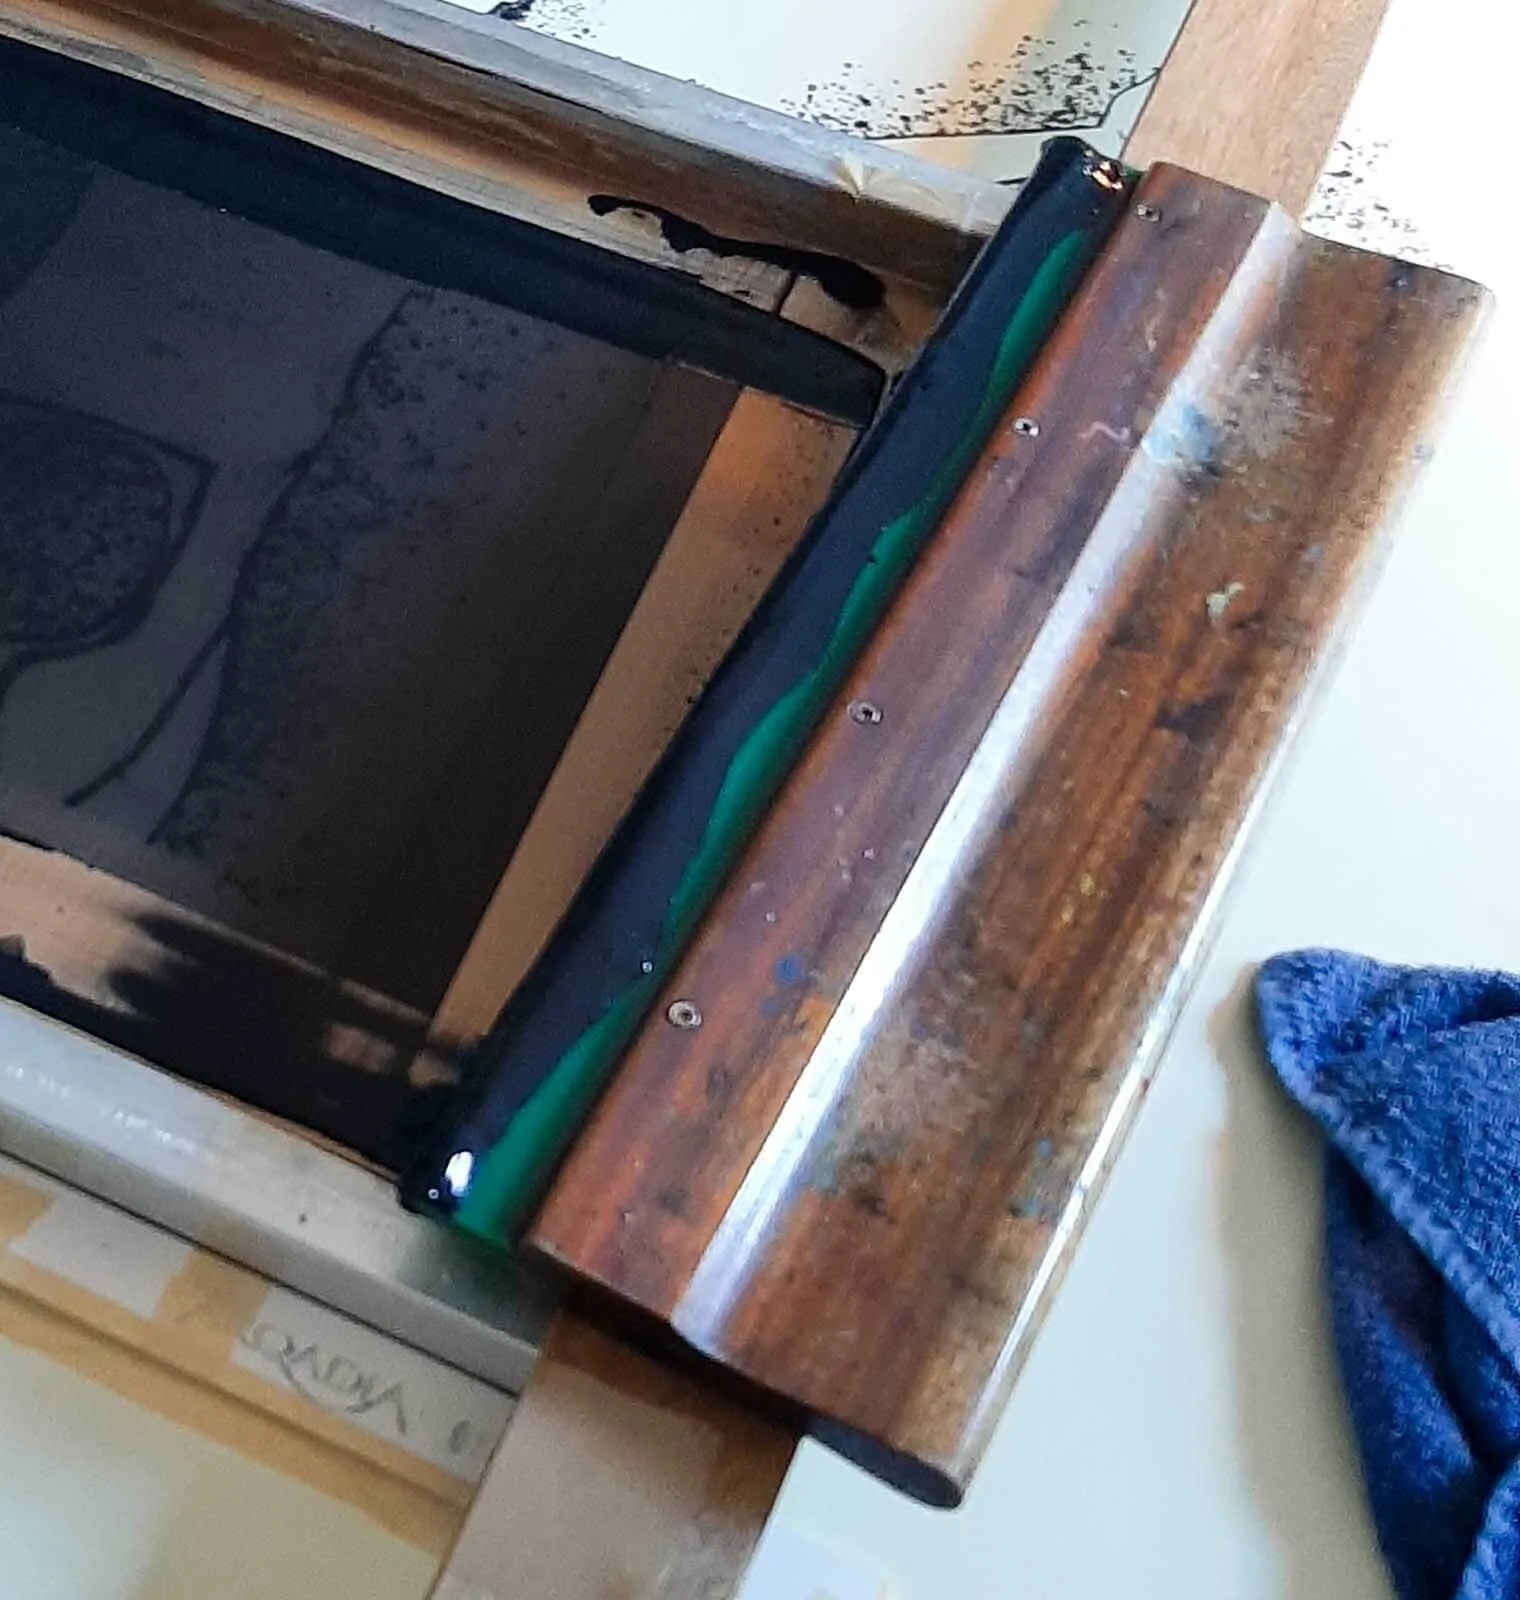
I have half a dozen wooden‑handled squeegees. A printmaking friend gave me a couple of longish squeegees made by Sericol which I cut to various lengths - they have a wonderful weight to them — the dense wood feels great in your hands. I also have an aluminium squeegee and a cheaper wide one I use occasionally for bigger prints, though neither is as satisfying as those old Sericol ones. If you can, try to get some second‑hand — they’re often better made.
For the blades, I use a medium‑hardness, square‑edged blade. I bought a 2.4-metre coiled length of it from the excellent art2silkscreen and replaced all the busted blades that came with those old squeegees. They’ve lasted brilliantly. Medium hardness matters because it balances flexibility and control — soft blades can flood too much ink, while hard blades can feel scratchy and unforgiving.
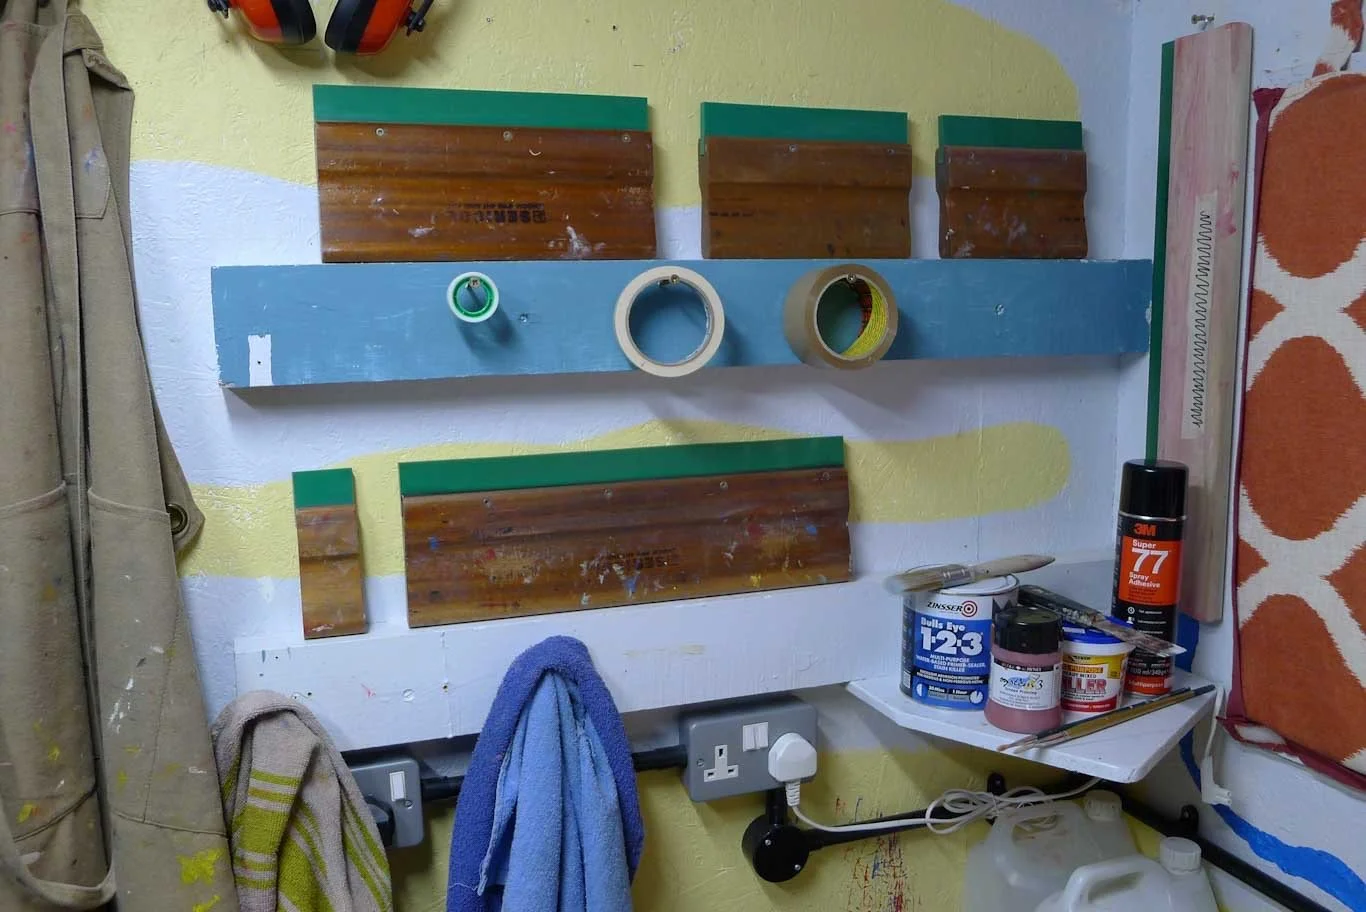
The humble squeegee — the heart of every print.
Coating tray
If you’re using the photo‑stencil process to create your screen, you’ll need a coating tray (sometimes called a scoop coater or coater trough) to apply photo emulsion. Coating trays are made up of an aluminium trough with two removable end caps.
Mine is 15 inches — not quite wide enough to coat my larger screens in a single pass, but you can overcome that by applying adjacent overlapping strokes.
First, don some gloves (I use marigolds to protect my forearms) — you’ll want to avoid getting emulsion on your skin, if only because it stains yellow. The trick is to apply a smooth, even coating. Emulsions come with differing instructions, but I tend to apply one wet coat to the printing side of the screen, then one to the squeegee side.
After coating, remove one end cap and use a spatula to scrape the remaining emulsion back into its container — that stuff isn’t cheap. Wash the tray, end caps, and spatula thoroughly with water before it dries, because once emulsion hardens it’s rock solid.
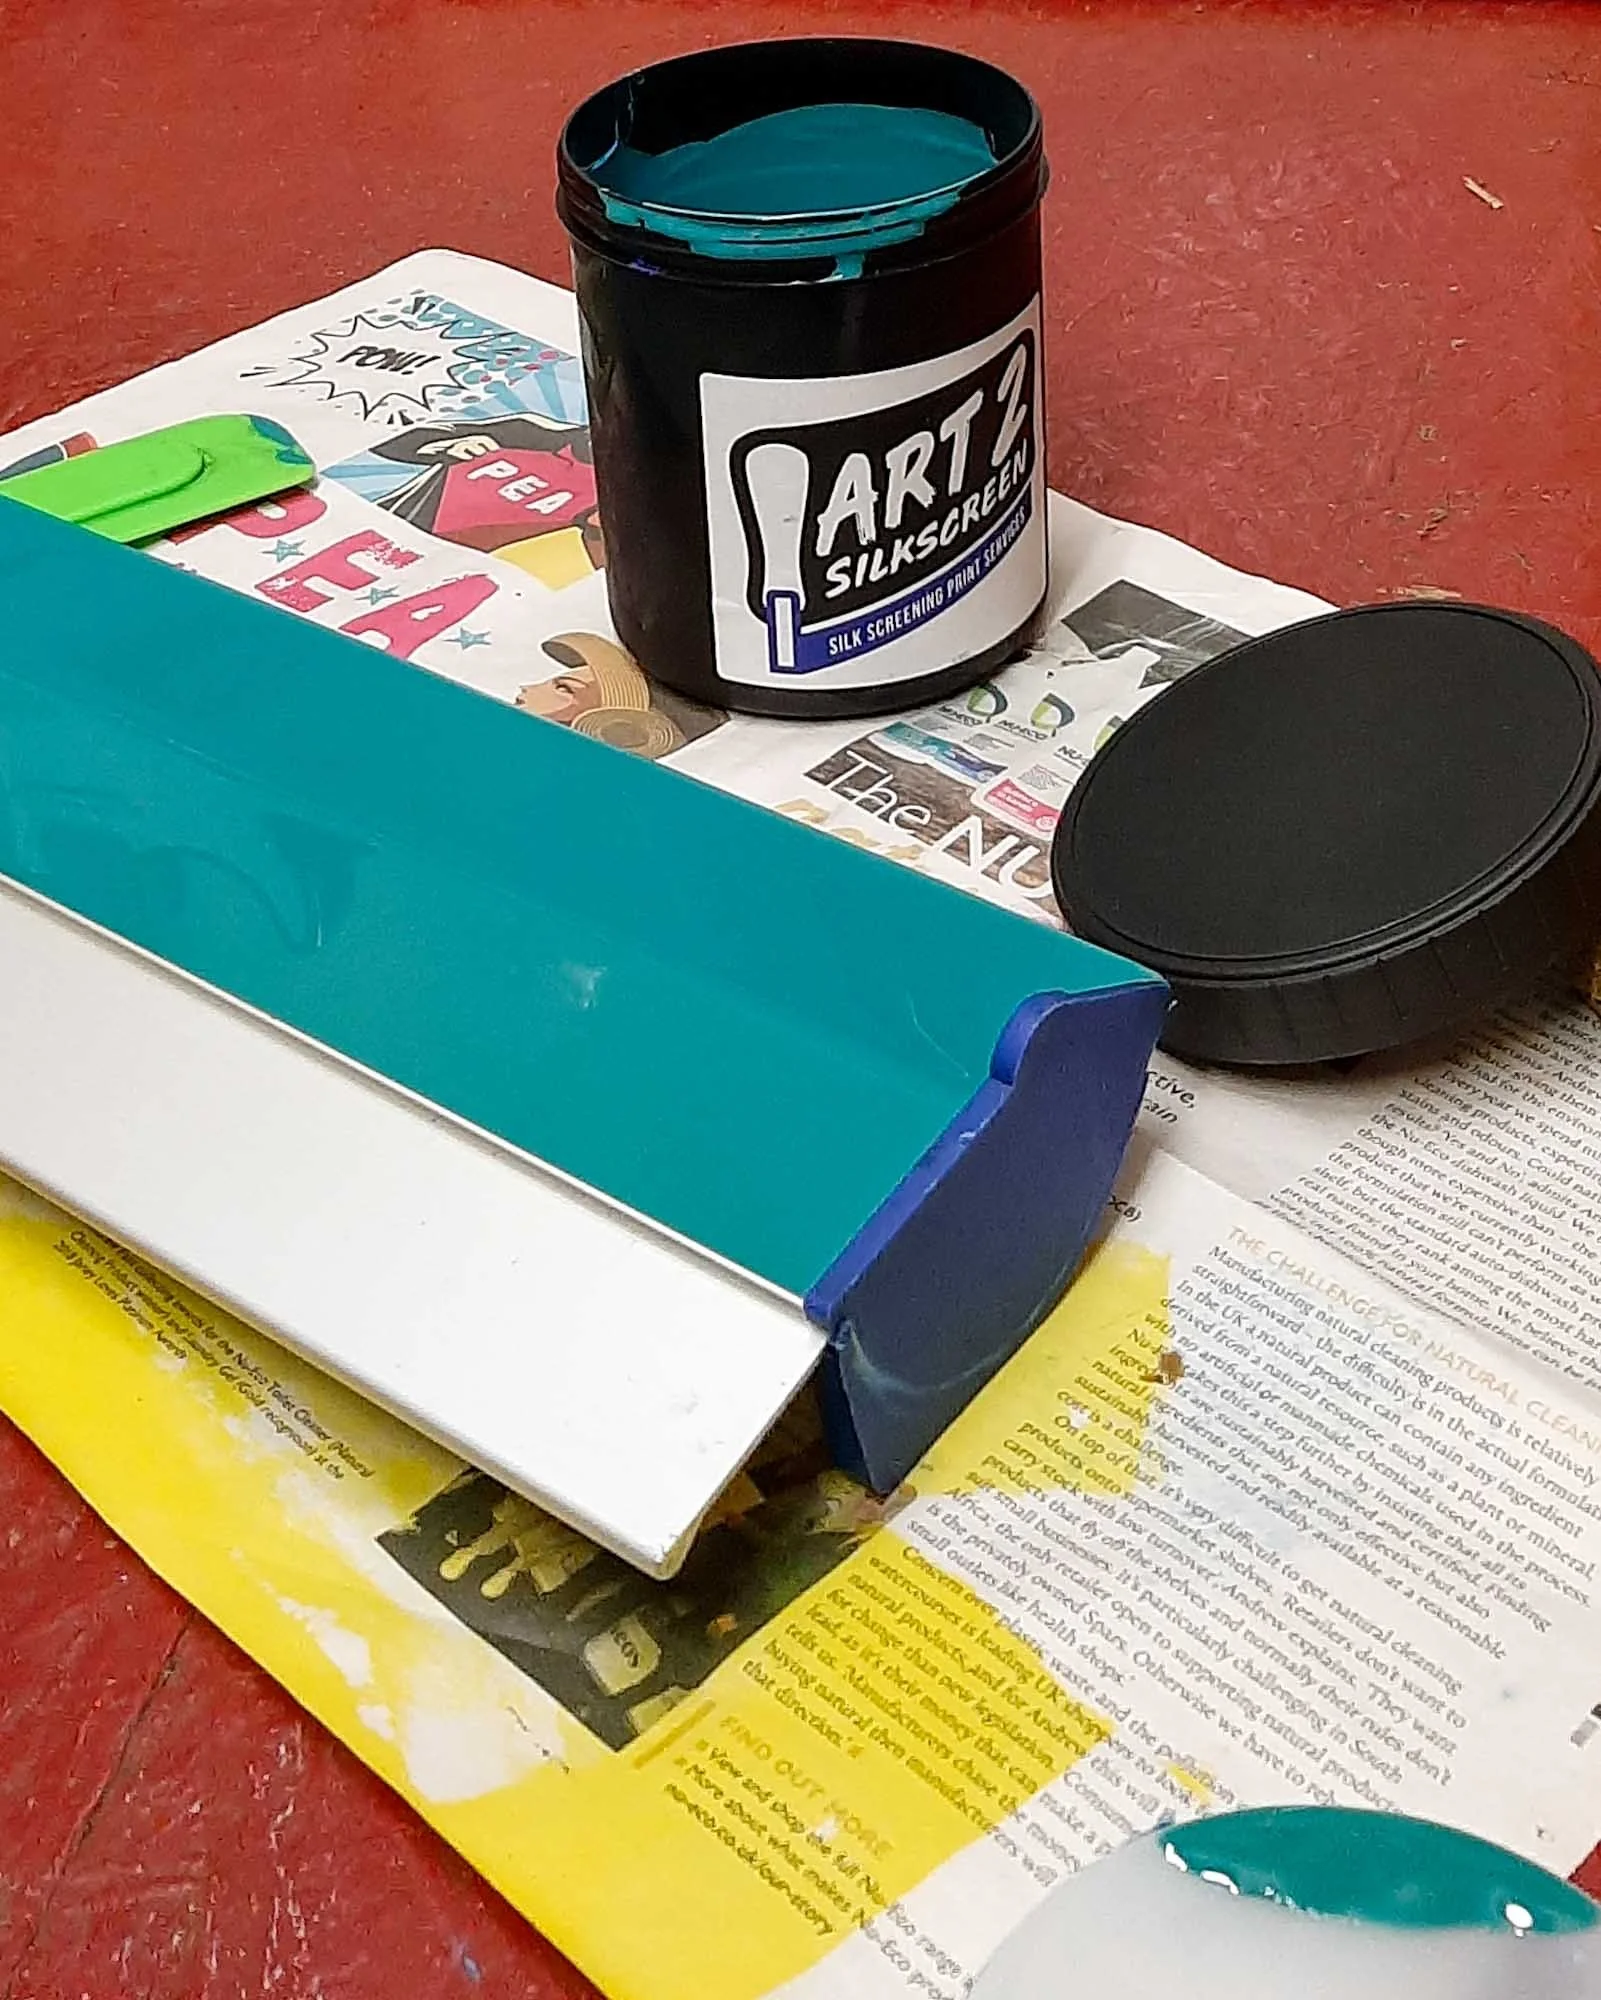
A coating tray makes applying emulsion smooth and consistent.
Mixing sticks
For mixing, applying, and reclaiming ink, I use 148mm x 18mm wooden mixing sticks. Mine have been with me for years, and each one tells a story in the layers of colour it’s touched.
One caution: if a spatula snaps at the wrong moment, you can rip through your screen — annoying and expensive. Go easy when working close to the mesh, and if a spatula feels brittle, retire it before disaster strikes.
Utility Knife / Scissors, plus a long serrated knife
I keep one utility knife and one pair of scissors, and they’re immensely useful. A cutting mat is essential — the bigger the better — plus a stash of replacement blades. Nothing’s more frustrating than tearing paper because your blade has gone blunt.
You’ll use knife and scissors for all sorts of jobs: trimming positives, cutting registration sheets and tidying tape edges.
I use my serrated knife for ‘tearing’ my paper to size. traditionally a hand-torn paper edge would have been achieved by tearing paper against a straight edge however several years ago I was taught a technique whereby the paper is folded and cut with a knife, and I’ve not looked back since.
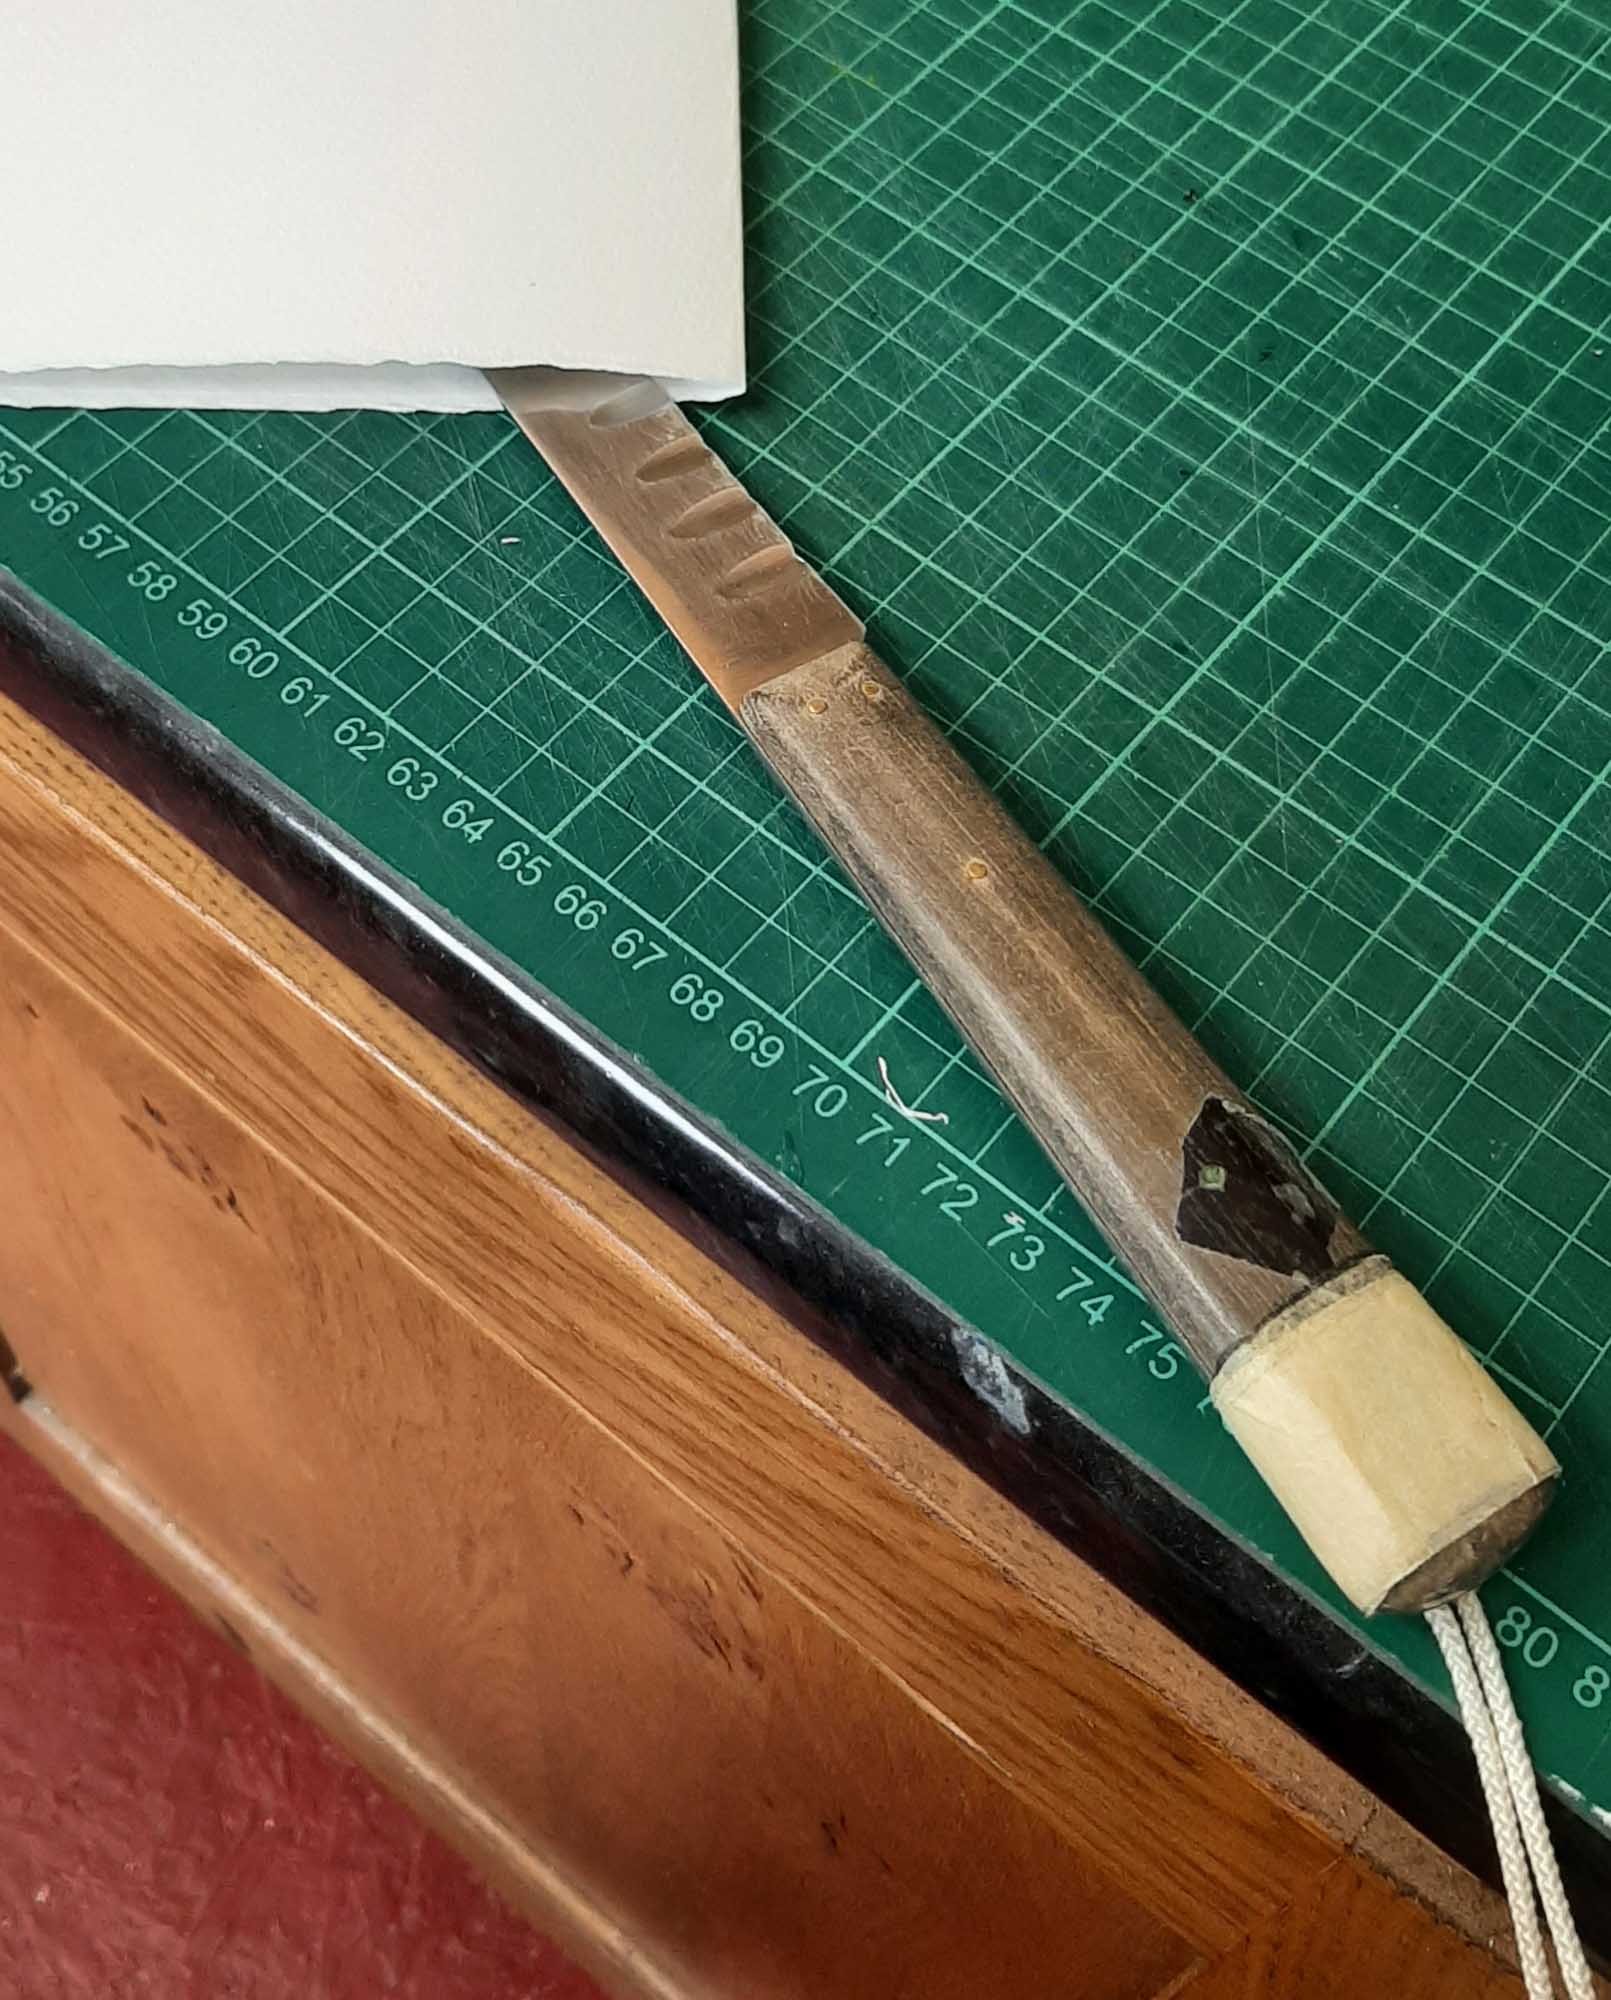
A serrated knife gives a clean, hand‑torn edge to paper.
Rulers / Straight Edges
A metal ruler is indispensable for measuring, aligning, and trimming. I keep two — a long one (1 metre) and a shorter 50am version. Both get plenty of use.
Tip: choose hard metal. Softer alloys can end up nicked by your utility knife, which ruins the straight edge (as is the case with my shorter ruler)
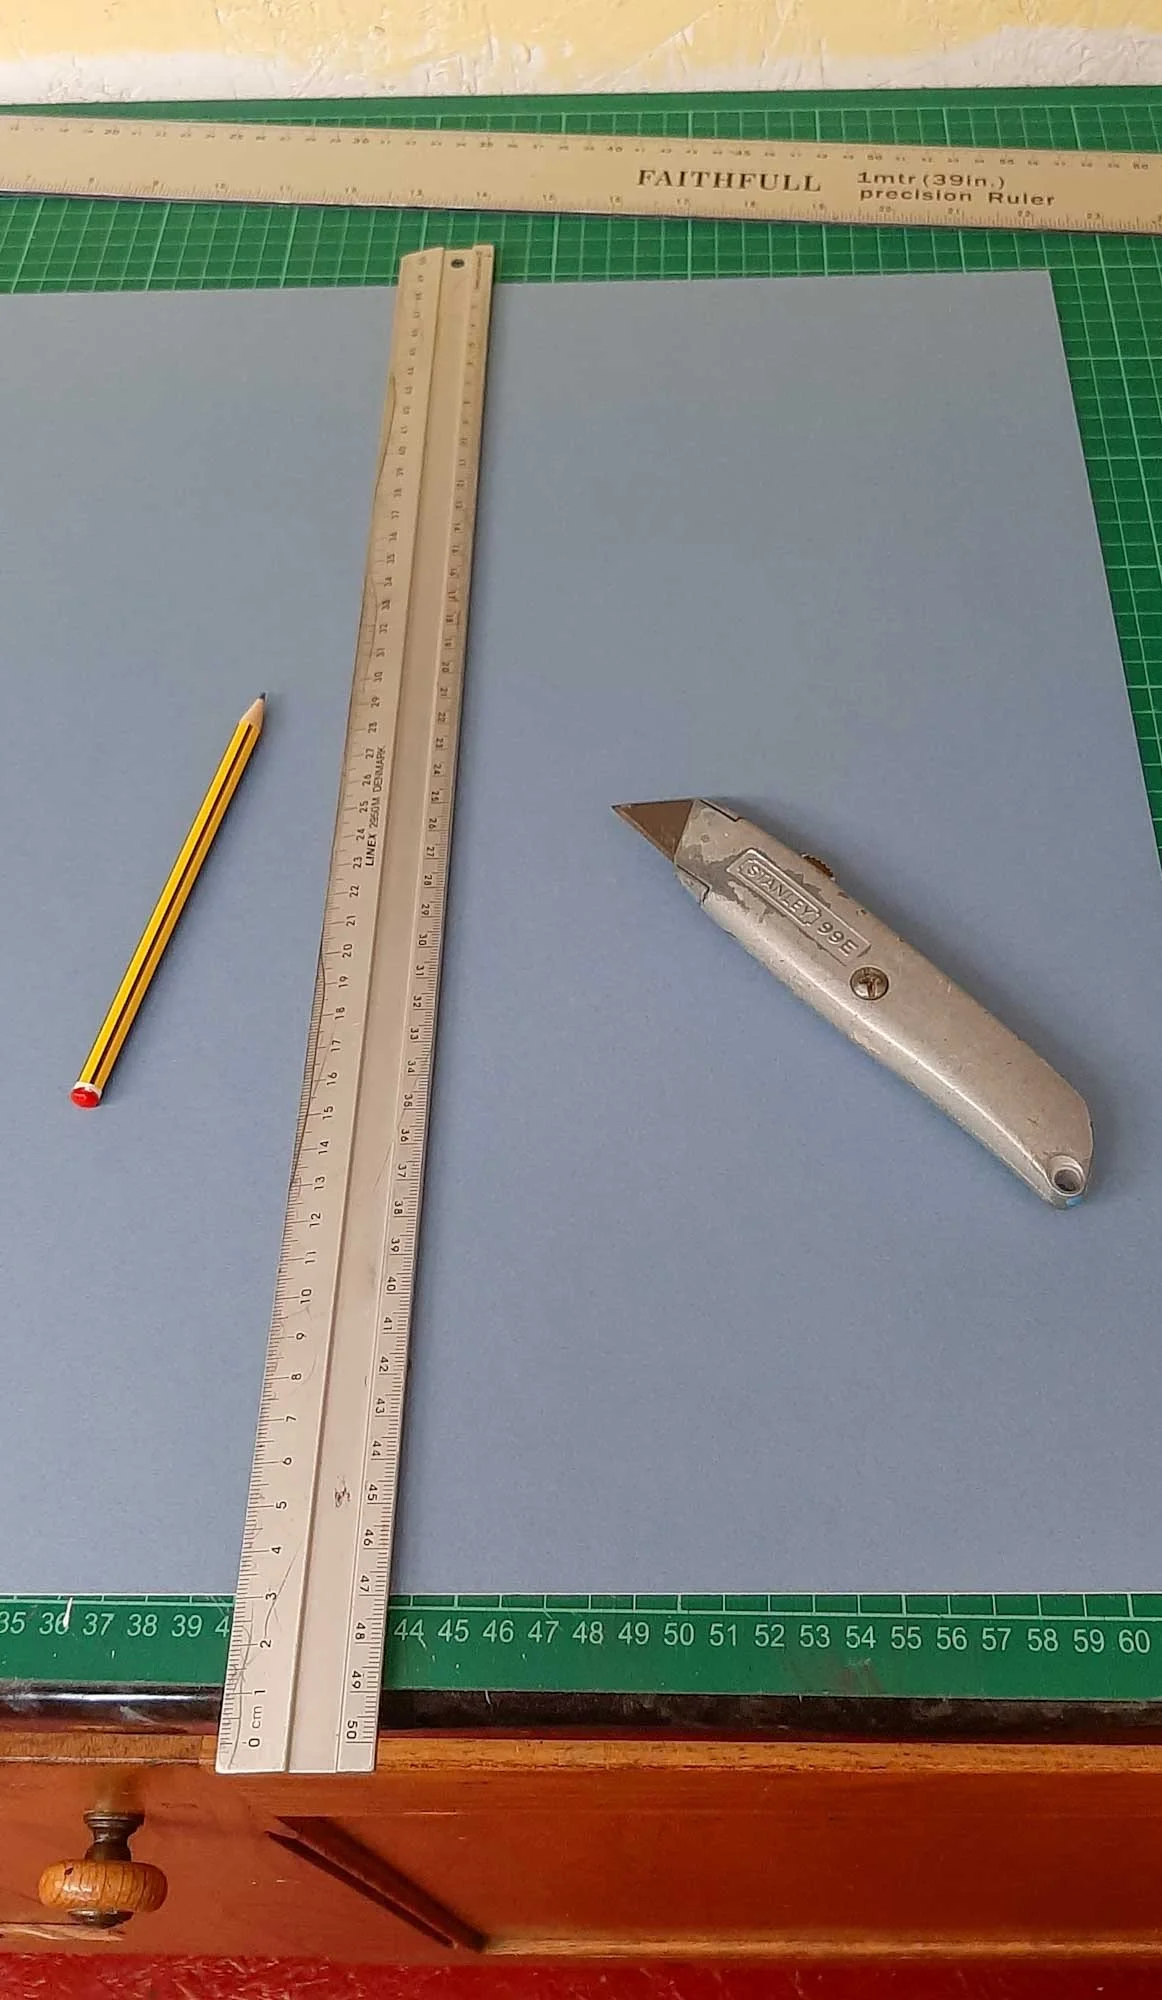
Metal rulers keep cuts straight and measurements precise.
Supporting Essentials (consumables + protective gear)
Tape
I keep three types of tape on hand: parcel tape, masking tape, and invisible tape.
Parcel tape: for sealing the inside edges of screens and covering pinholes in dried emulsion.
Masking tape: for aligning prints, securing registration sheets, and general studio jobs.
Invisible tape: perfect for joining positives together — its superpower is letting light pass through cleanly during exposure.
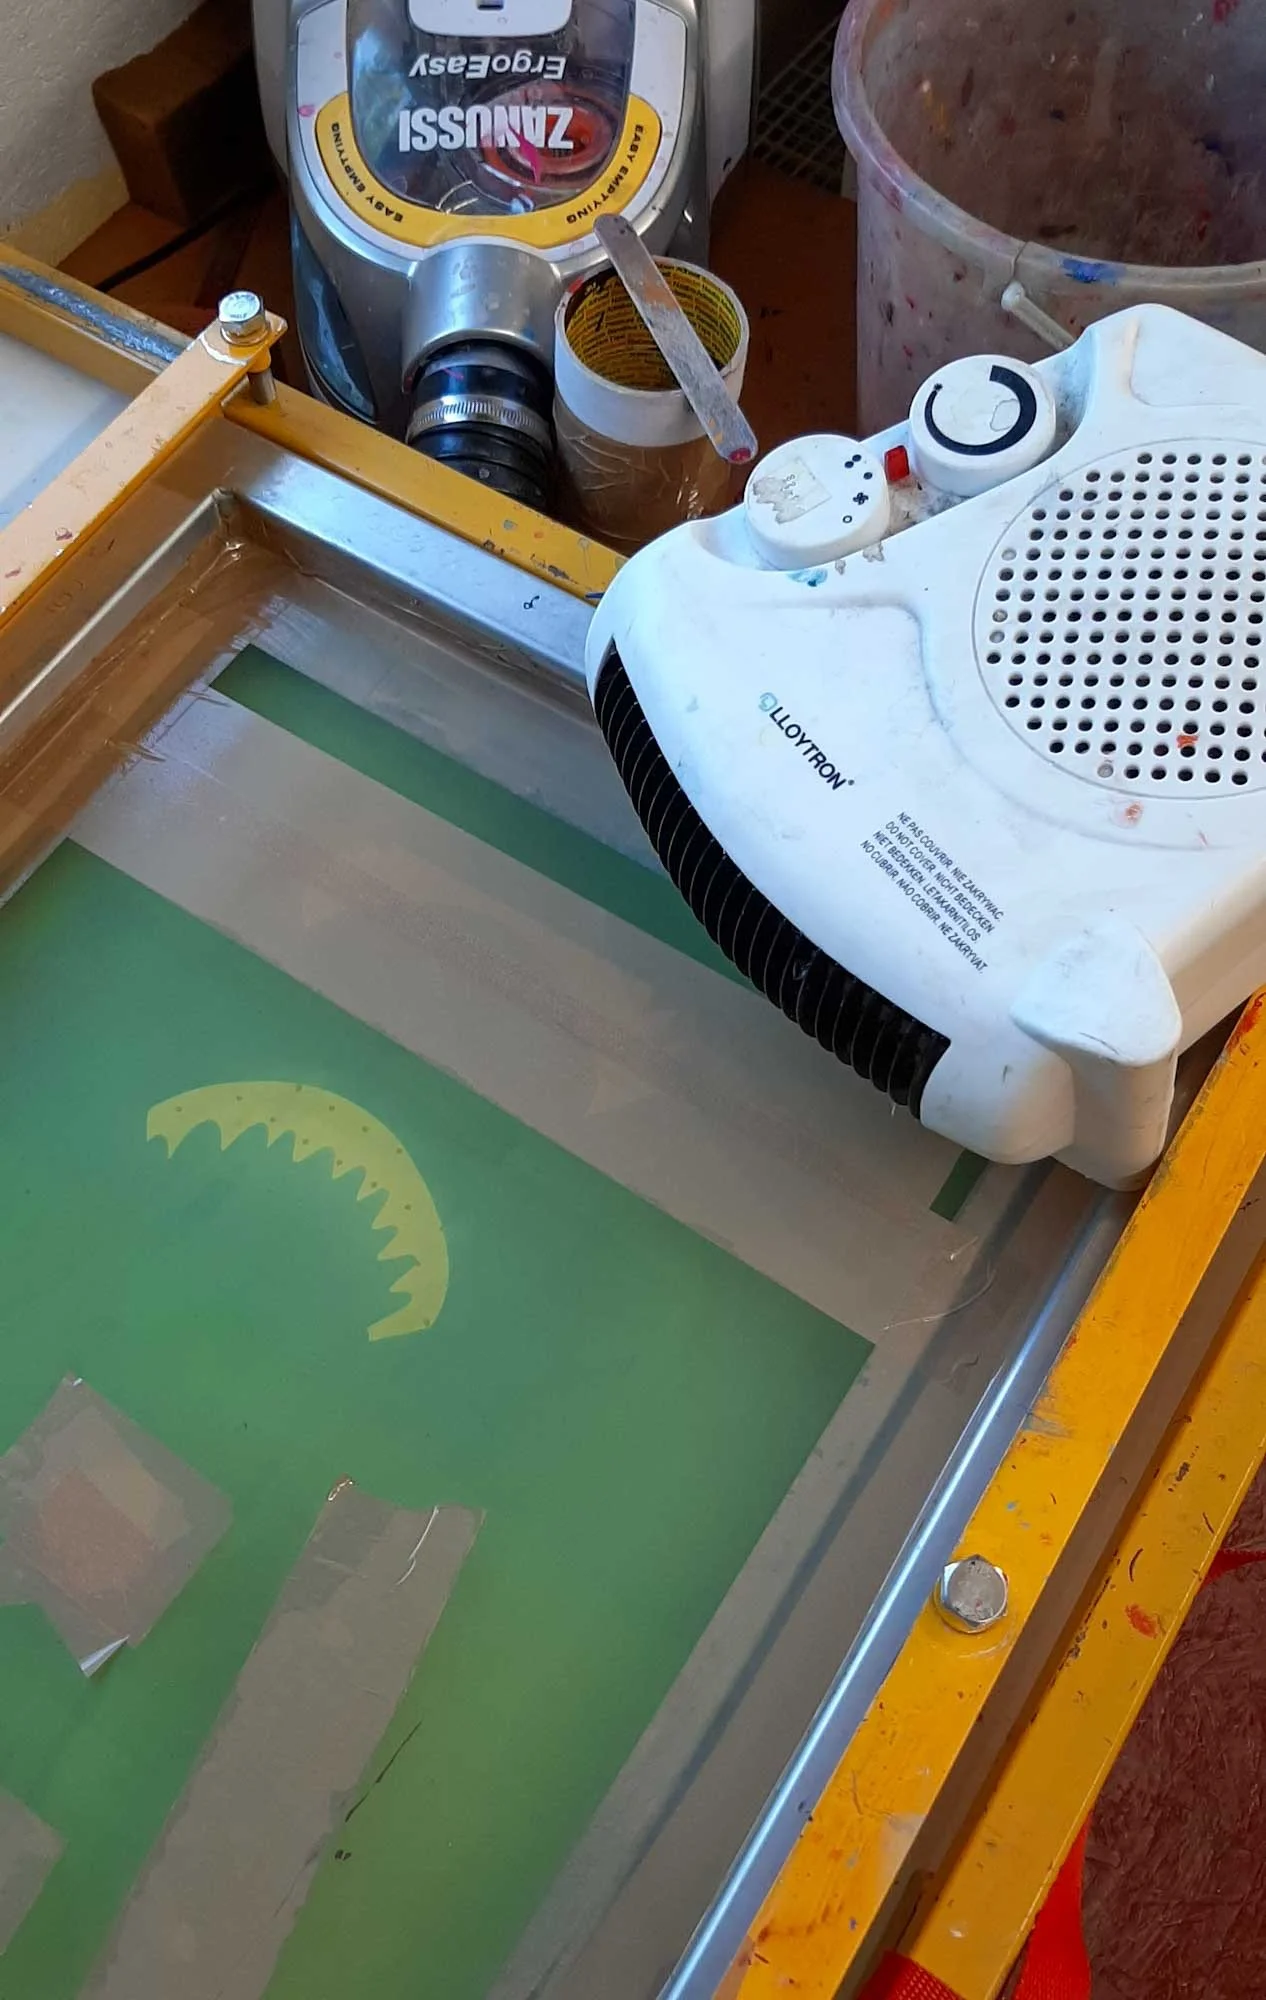
Tape is your best friend for masking areas and preventing leaks.
Cloths / Rags / Sponges
You’ll need a decent sponge for cleaning screens (assuming water‑based inks, which is all I cover here). I cut up a large car‑cleaning sponge into palm‑sized pieces — good quality avoids disintegration.
I also keep a couple of old tea towels for wiping and drying. They’re sturdier than torn rags, which can shed fibres and cause problems.
Ink Containers / Tubs
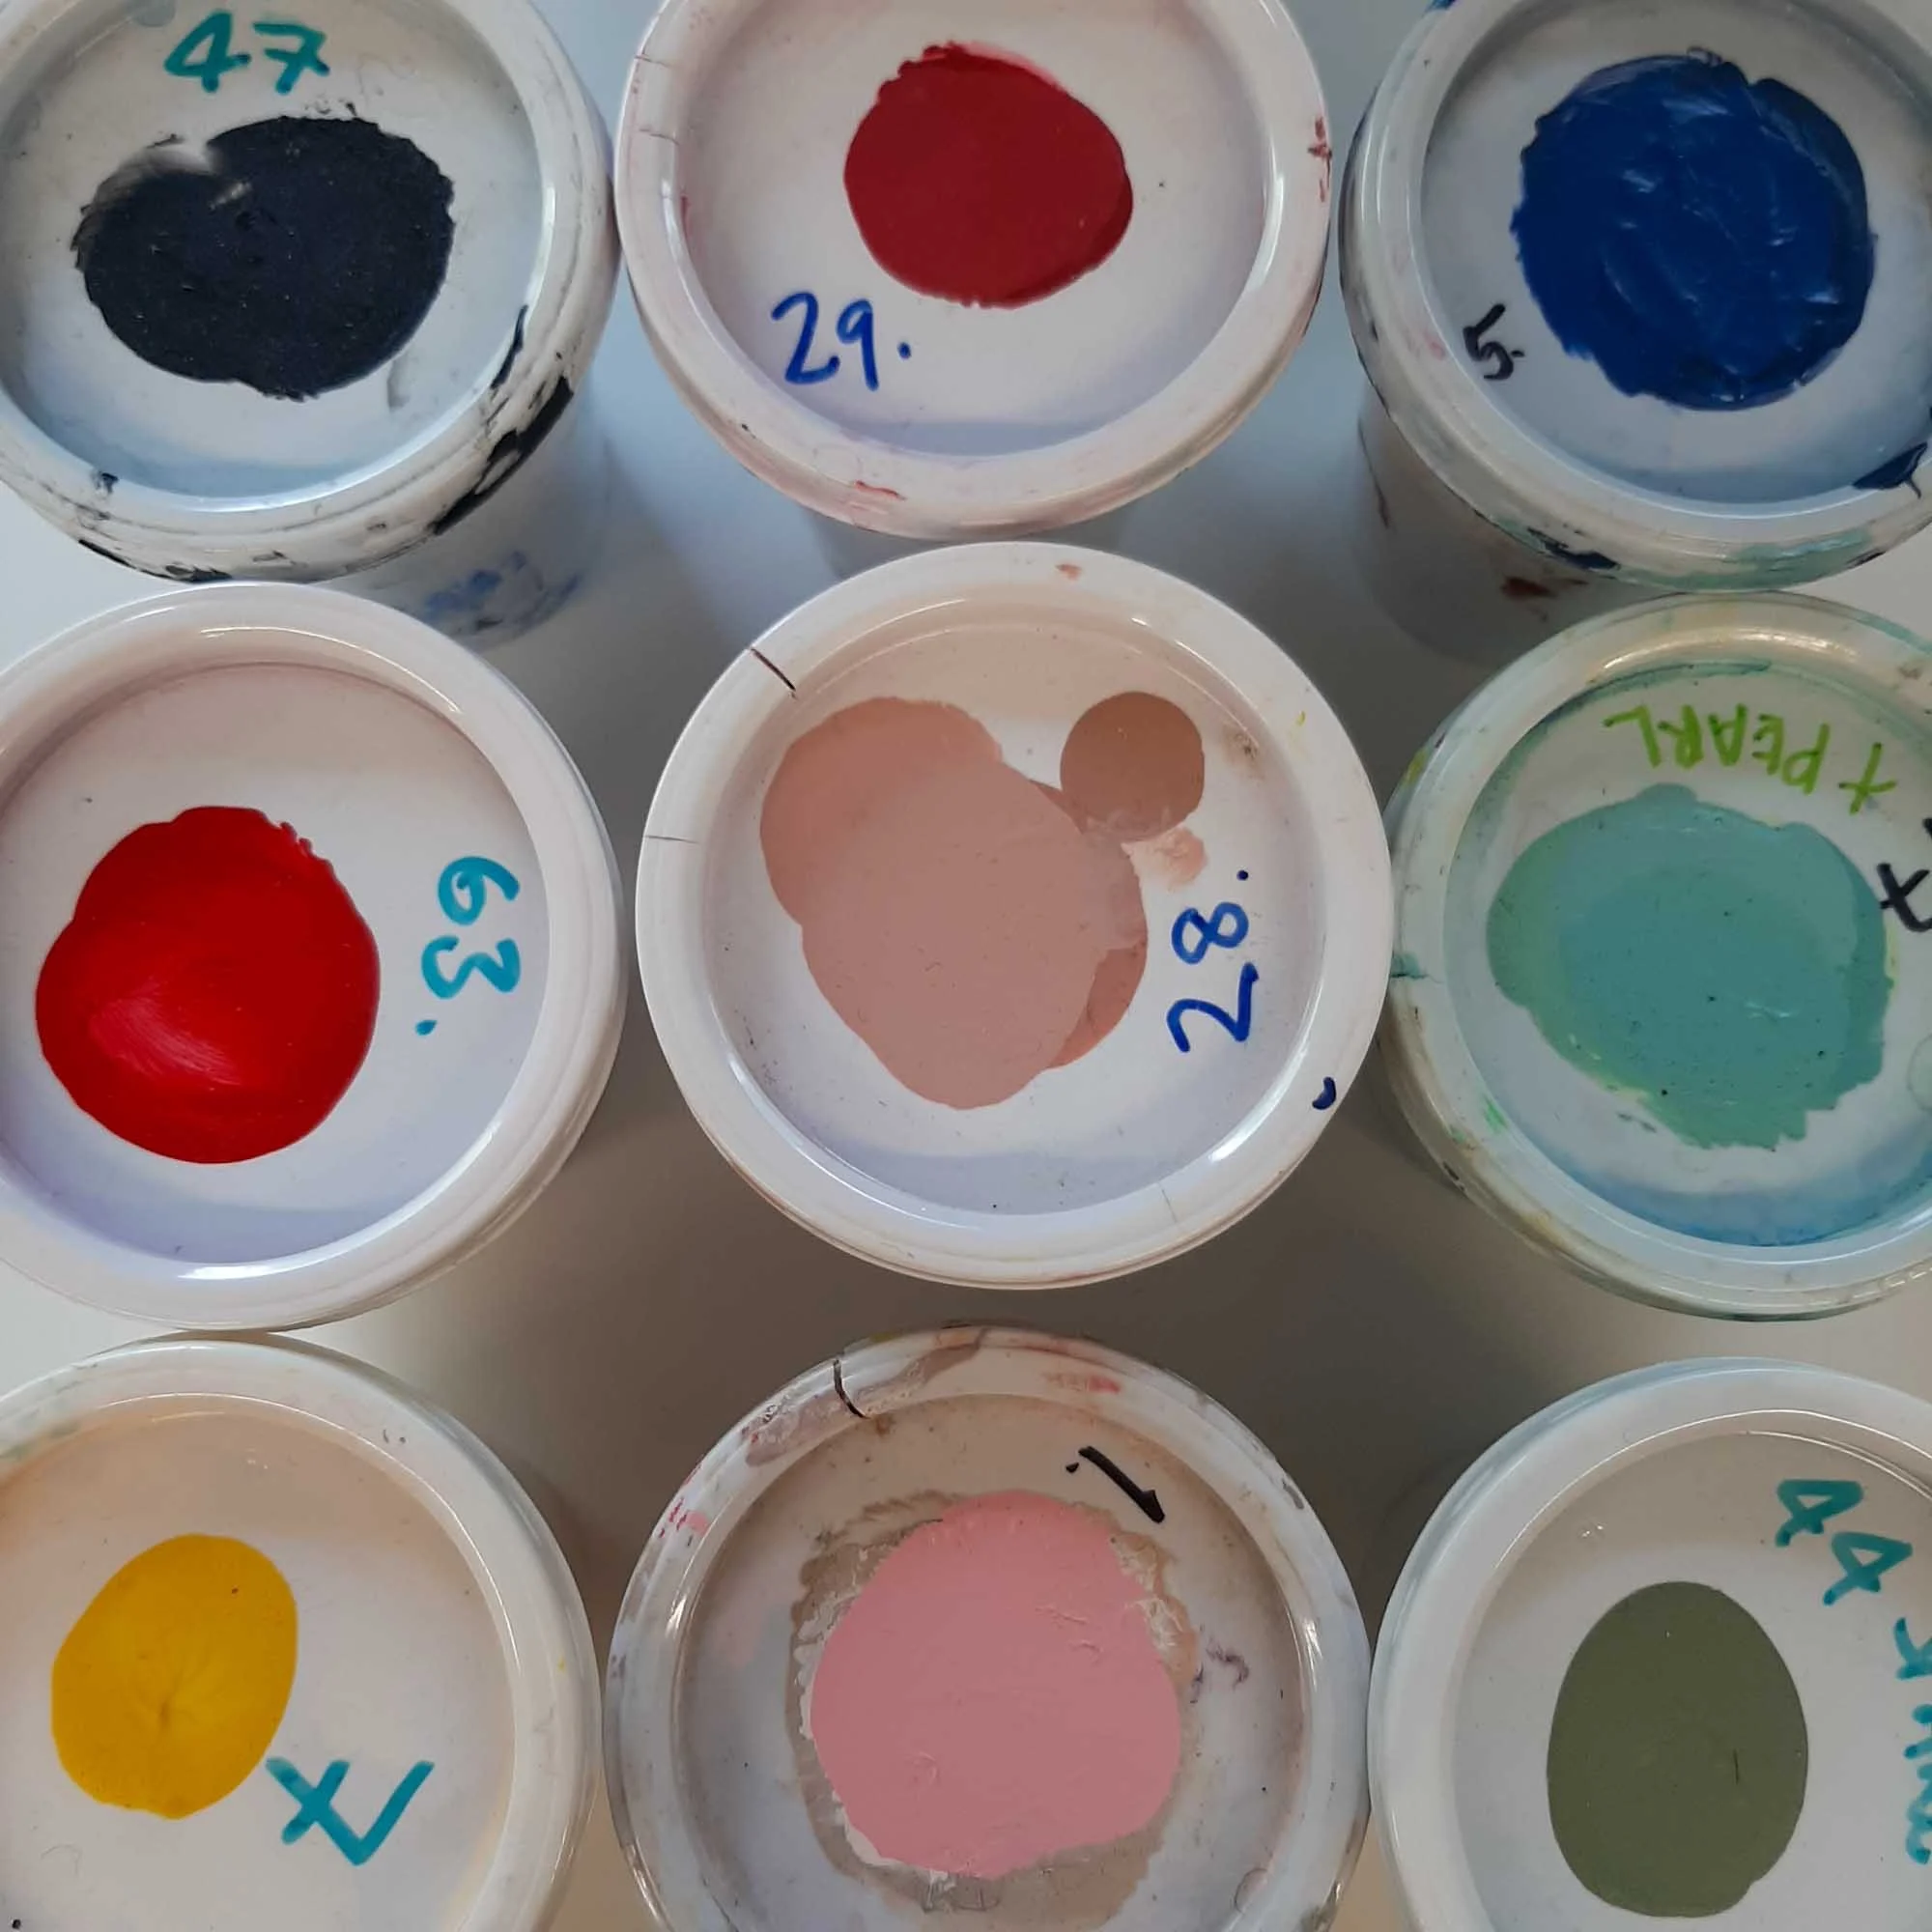
I use two types of container: mostly lidded yoghurt pots sourced from industry suppliers, plus larger tubs for mixing bigger batches. Ink stays usable for years in these, though sometimes it needs a splash of water and a good stir.
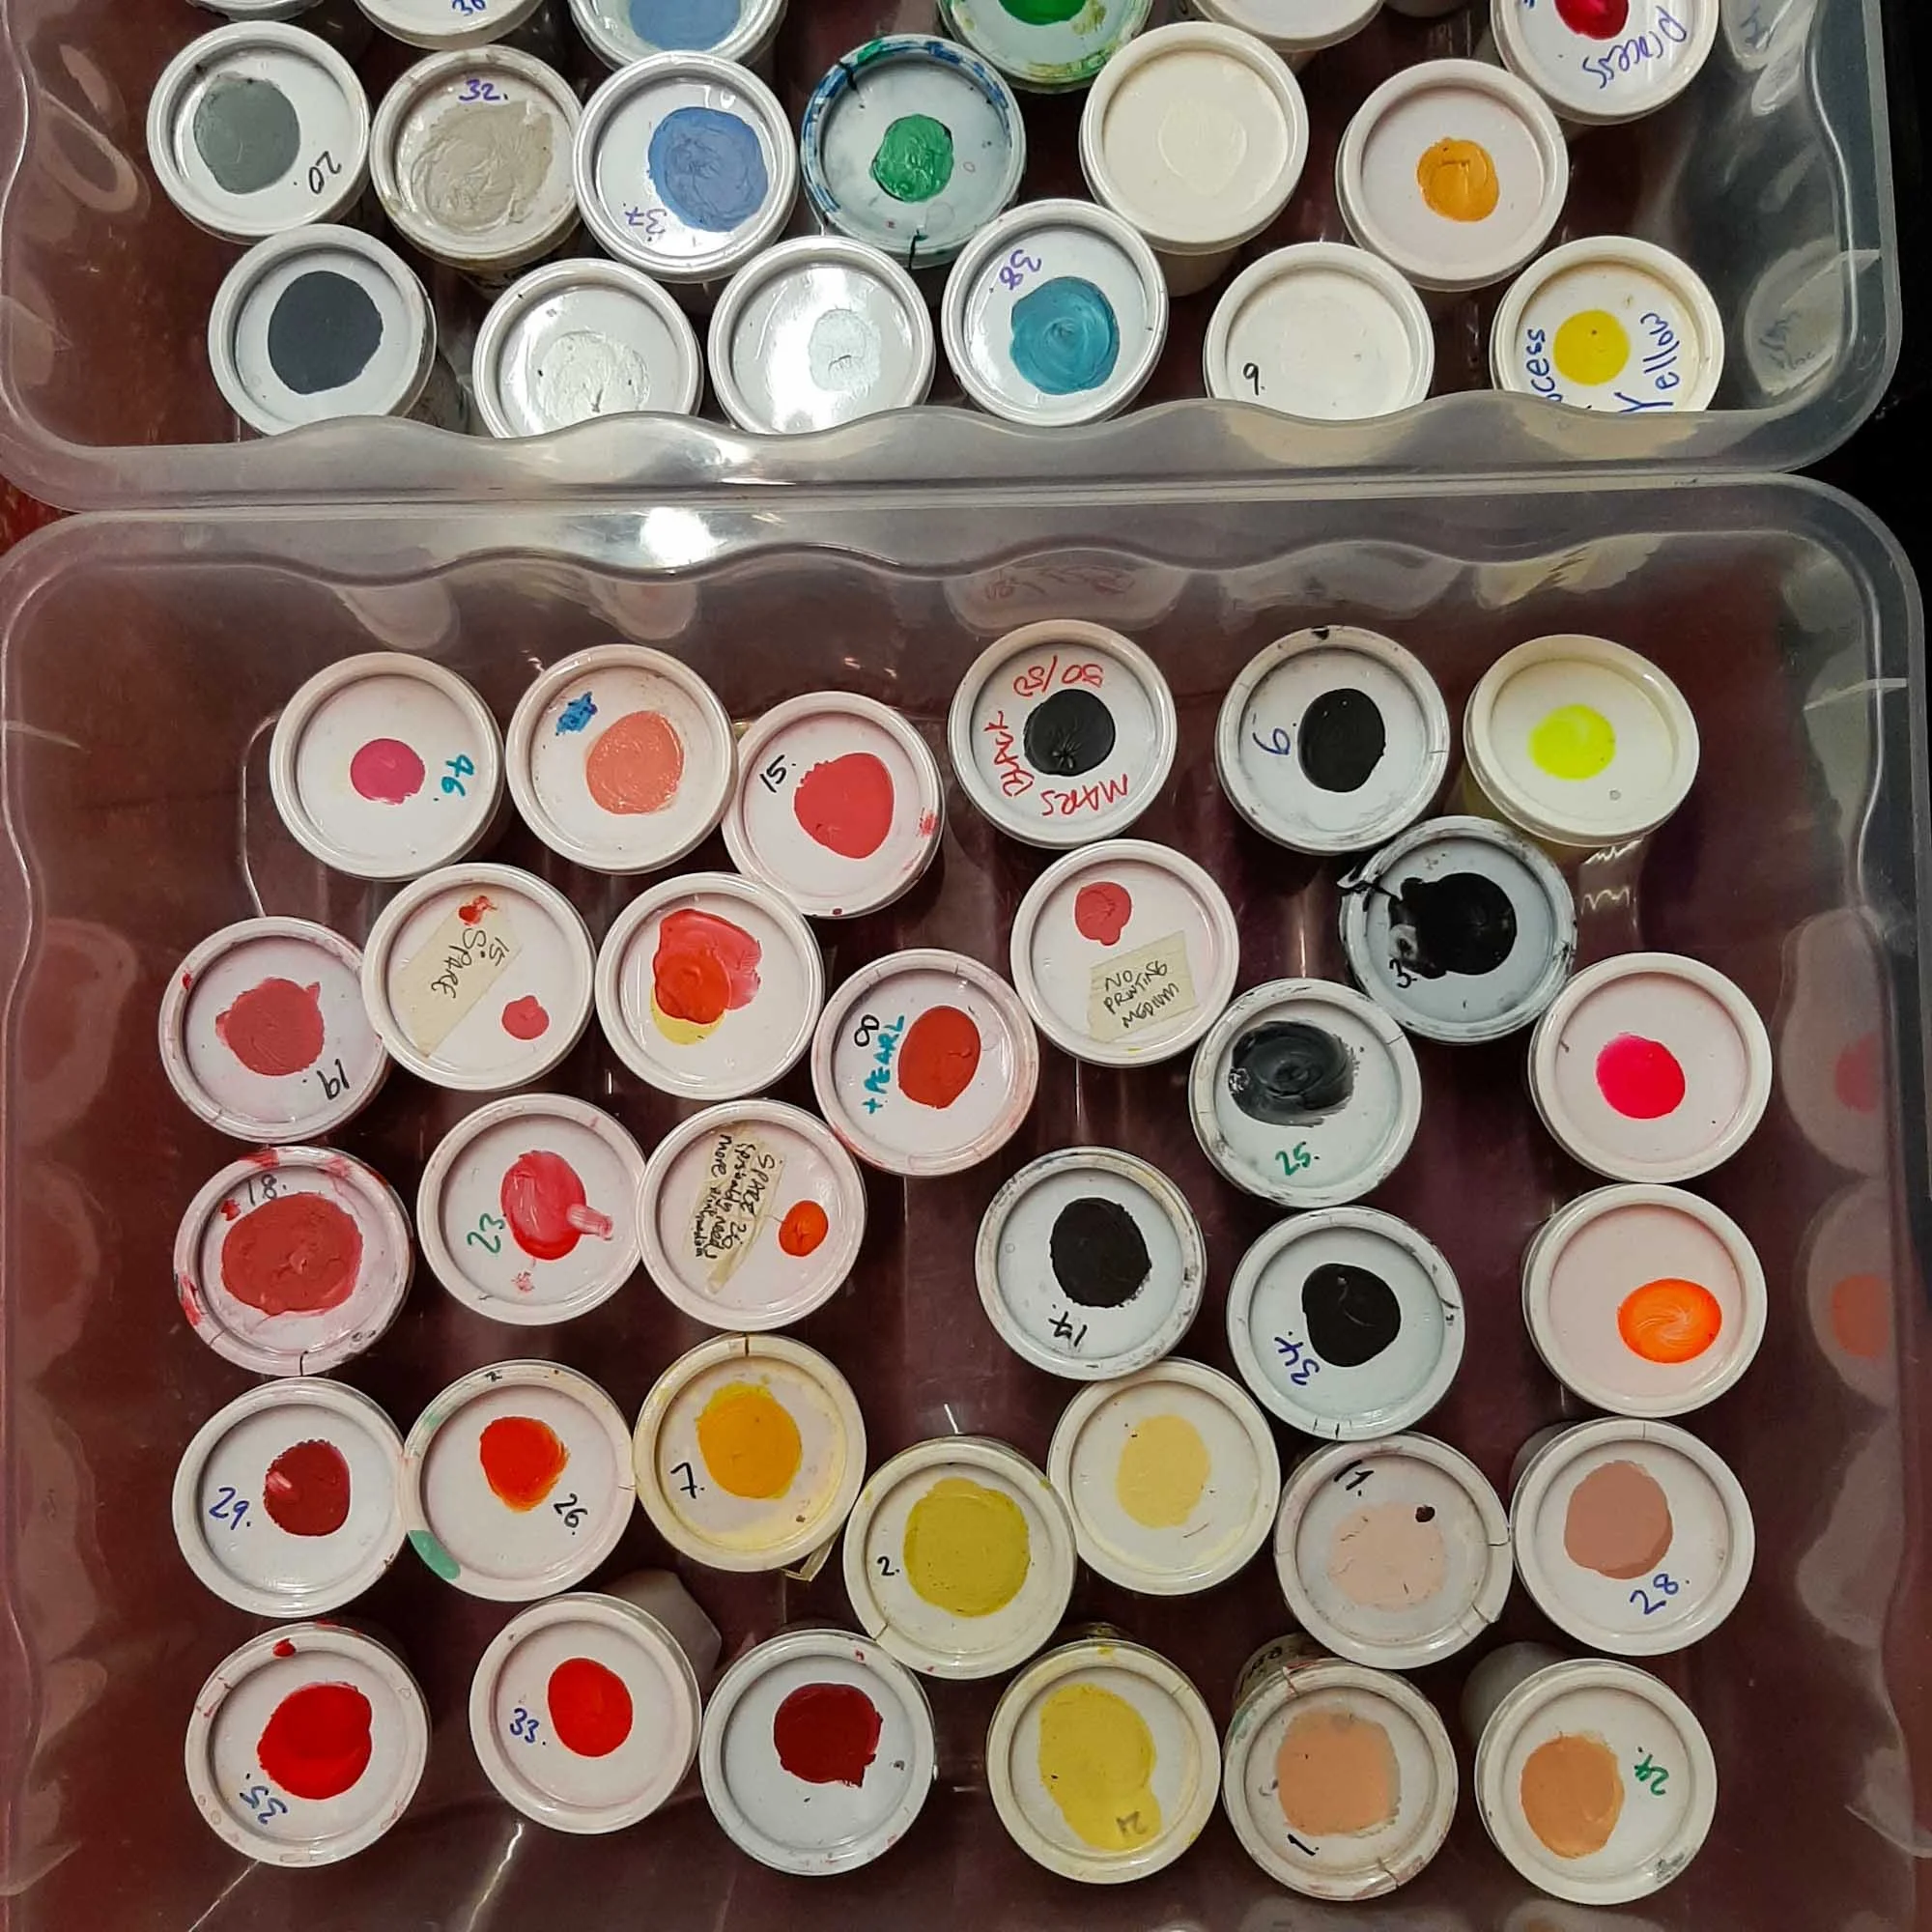
Reusable tubs keep inks organised and ready for mixing.
Gloves & Apron
For gloves, I stick with marigolds. For clothing, a printmaker’s apron is worth it — unless you’re happy wearing ink splodges from chest to thighs.
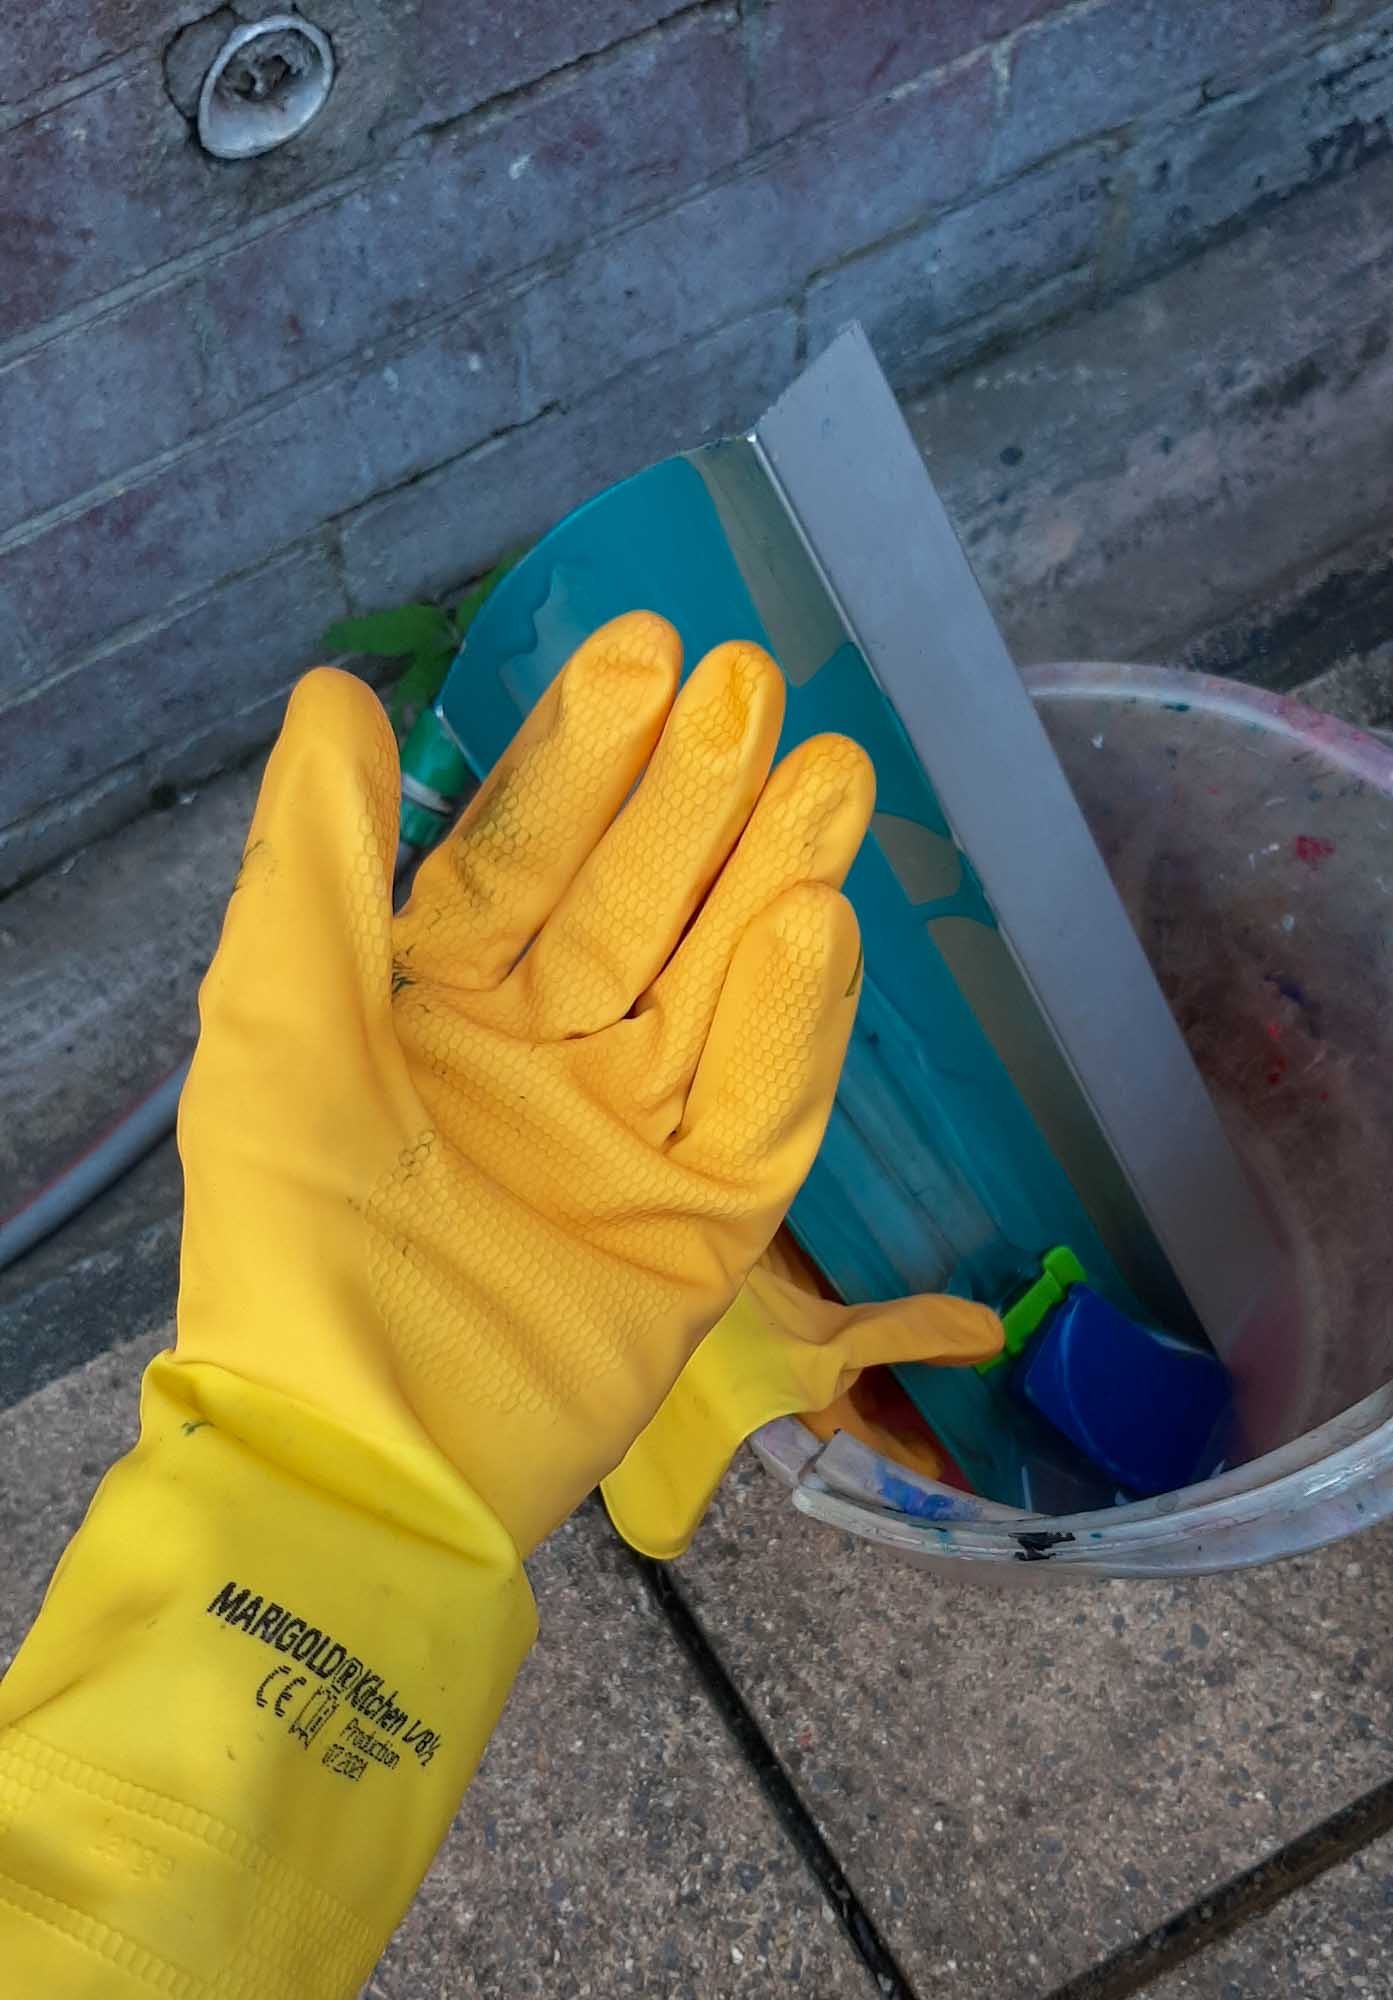
Marigolds are my number one choice for hand / wrist / lower arm protection.
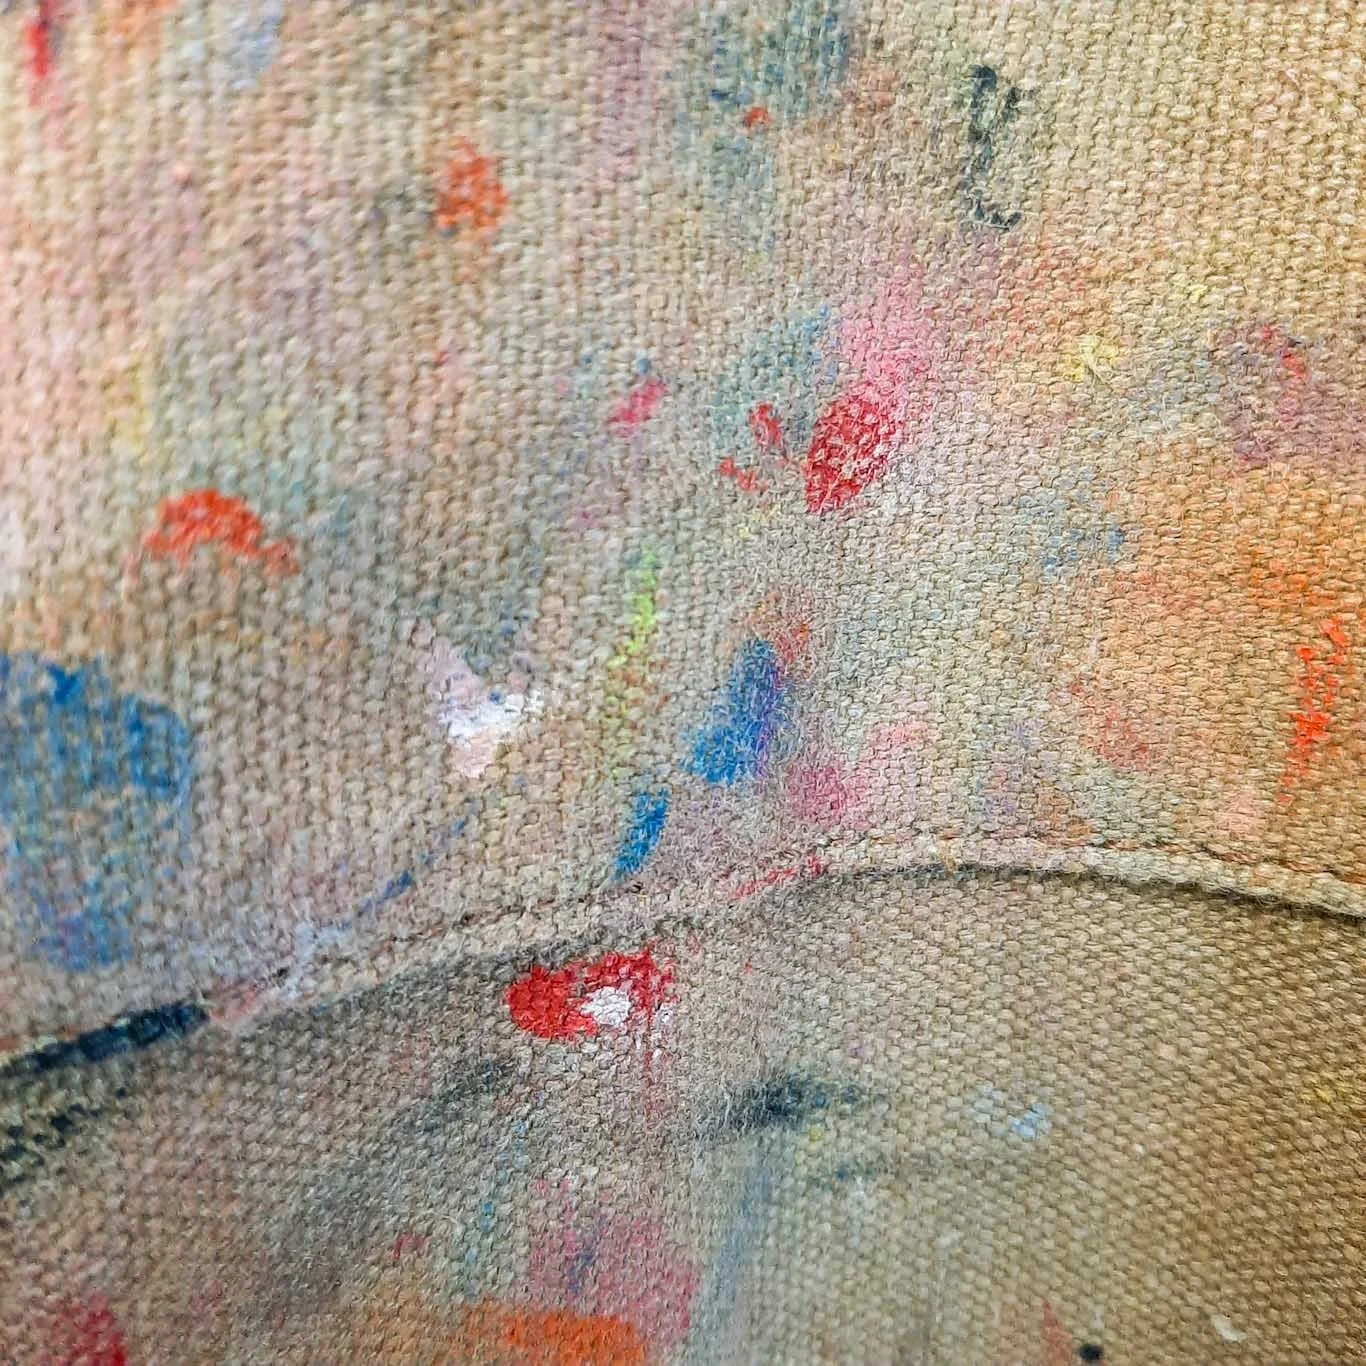
Mess is inevitable — protection helps.
Conclusion
These hand tools and supporting essentials are the backbone of silkscreen printing — simple, affordable, and essential for any studio, no matter the size.
What’s the one tool you couldn’t print without? Drop it in the comments — I’d love to hear.
———
This post is part of the Screen printing Tools & Materials Series
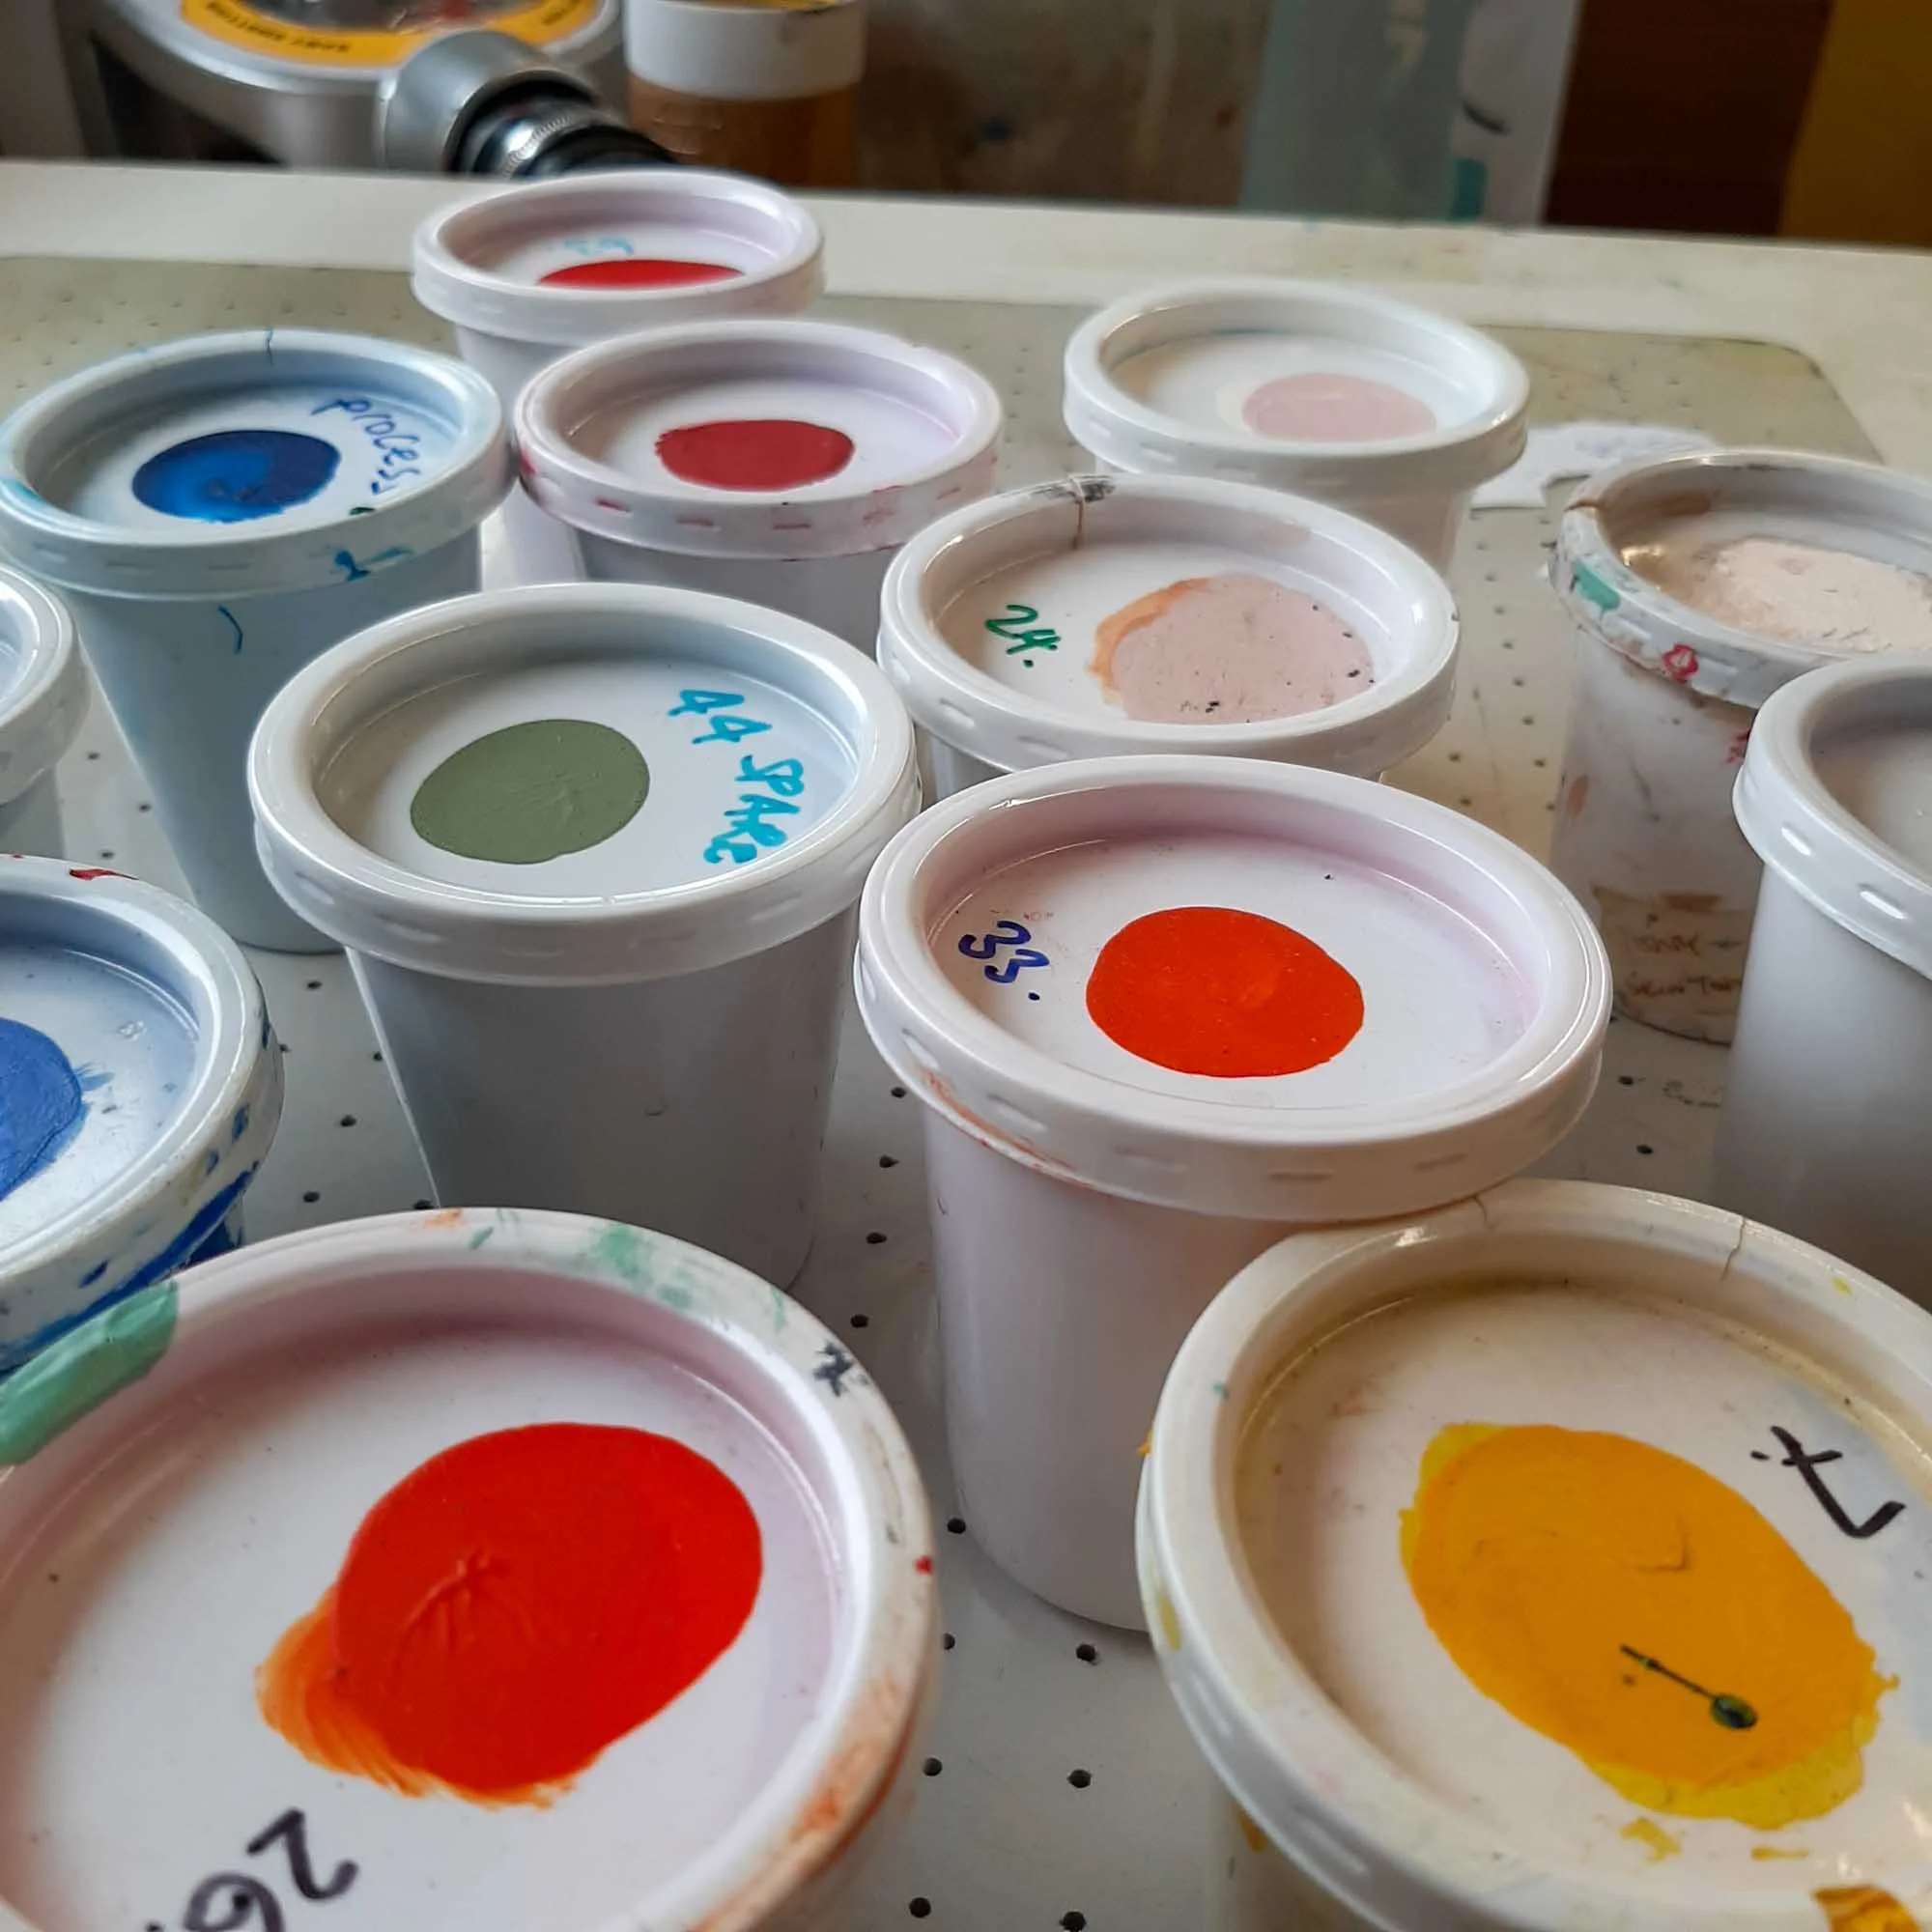

I use water‑based acrylic inks for all my printing, mixing them thick, storing them carefully and reviving older colours when needed. In this post, I share how I mix my inks, the colours I keep on hand, and the storage setup that keeps more than 120 pots in good working order.