Storage And Organisation in a Tiny print Studio
(Print Studio Setup Series, Part 2)
Working in a tiny studio means every inch has to earn its keep. Over the years I’ve tried, tested and tweaked all sorts of storage ideas to keep my shed workspace functional, tidy and ready for printing.
In this post, I’ll show you the shelves, racks, hooks and improvised solutions that make a small studio feel bigger — and keep the chaos at bay.
———
STORAGE AND ORGANISATION IN A TINY PRINT STUDIO
Storage in a small studio is all about adaptability. Over time, I’ve found solutions that make the most of every inch — from under‑worktop cupboards to hooks on the wall. Here’s how I keep things organised in my shed studio, and why I think storage is as much about character as it is about convenience.
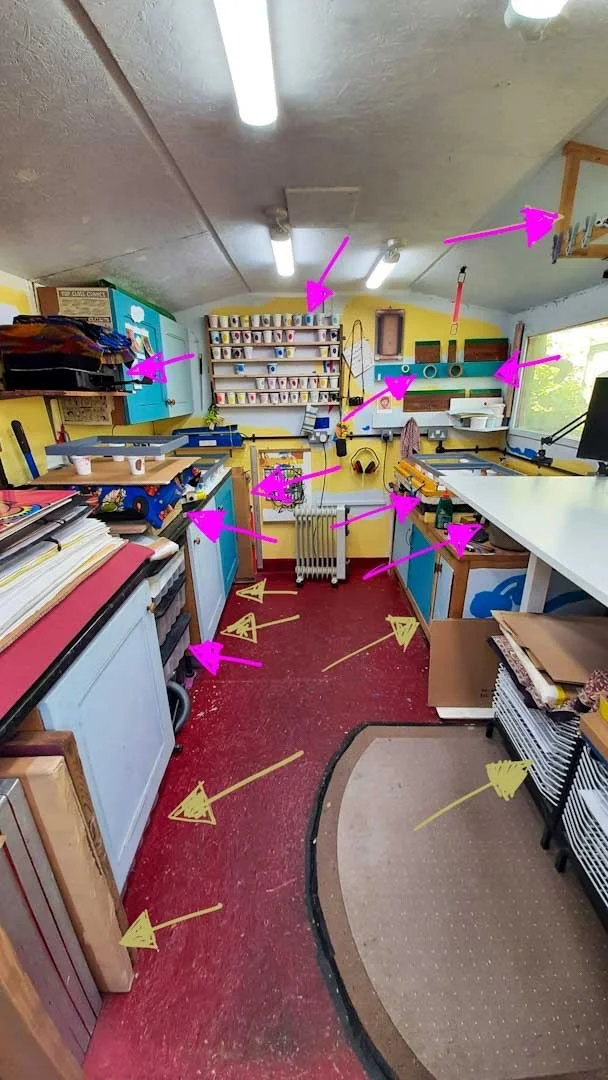
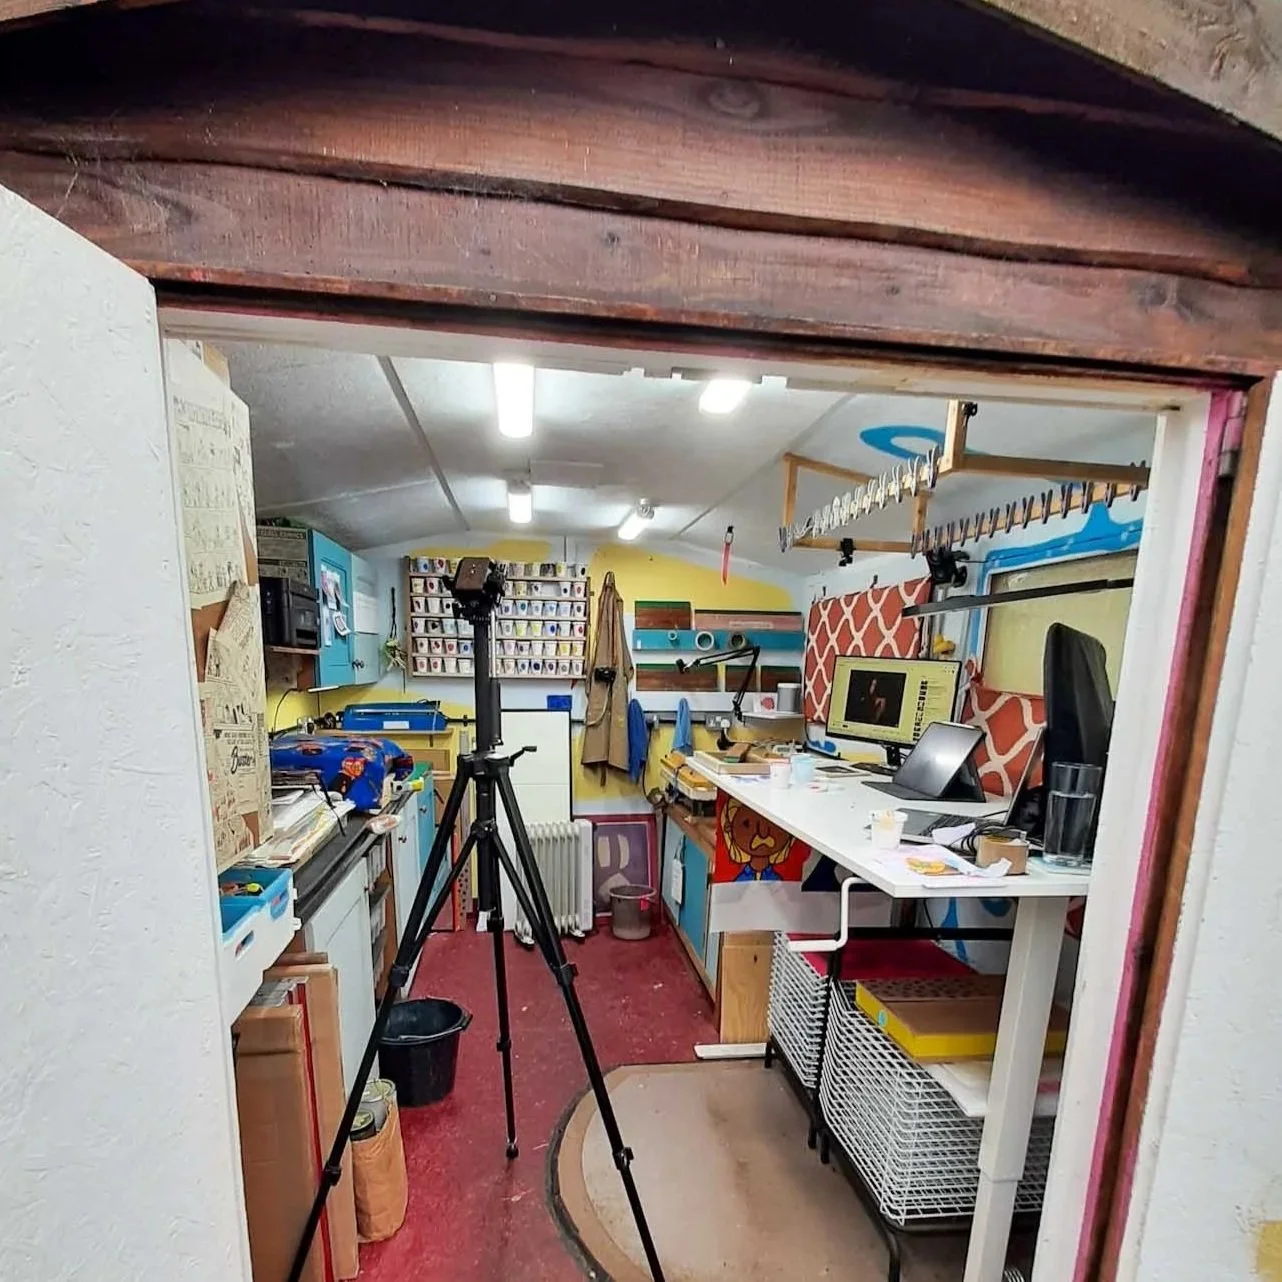
A full view of the studio with arrows highlighting key storage areas — from shelving and drawers to work surfaces and tucked‑away tools.
Cupboards & Boxes
The main storage comes from the under‑ and over‑worktop cupboards I mentioned in the blog post Setting Up a Silkscreen Studio in a Small Space. They house everything from works mounted on plywood awaiting framing, to unmixed ink supplies.
Don’t be afraid to store items in large boxes within cupboards — it’s a great way to maximise space and group things logically. I have one box for framing bits, another for consumables like tapes and yoghurt pots.
Plastic Boxes
I use shallow plastic boxes, a bit smaller than A2, under the cupboards (three in total) and three more on shelves. Their hinged lids make them easy to access. The ones on the floor get a bit cold, so I use them for non‑perishable supplies. The ones off the floor are safe enough for prints that haven’t found homes yet.
Shelves
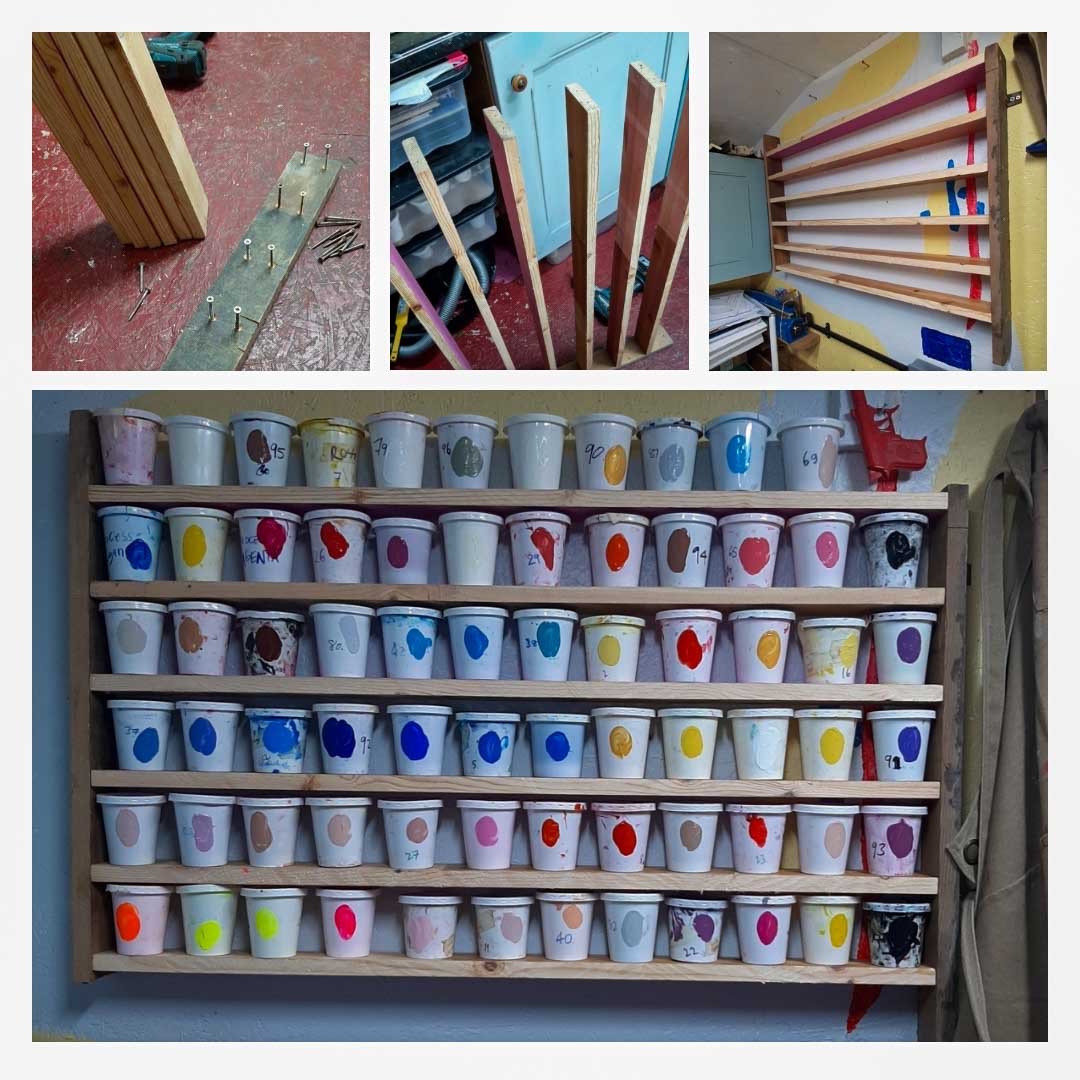
I’ve added shelves gradually. Most recently, I built one to house mixed inks — it makes them easy to select and looks fabulous, doubling as a backdrop to the studio. I made it from old floorboards salvaged from a local coffee shop refit.
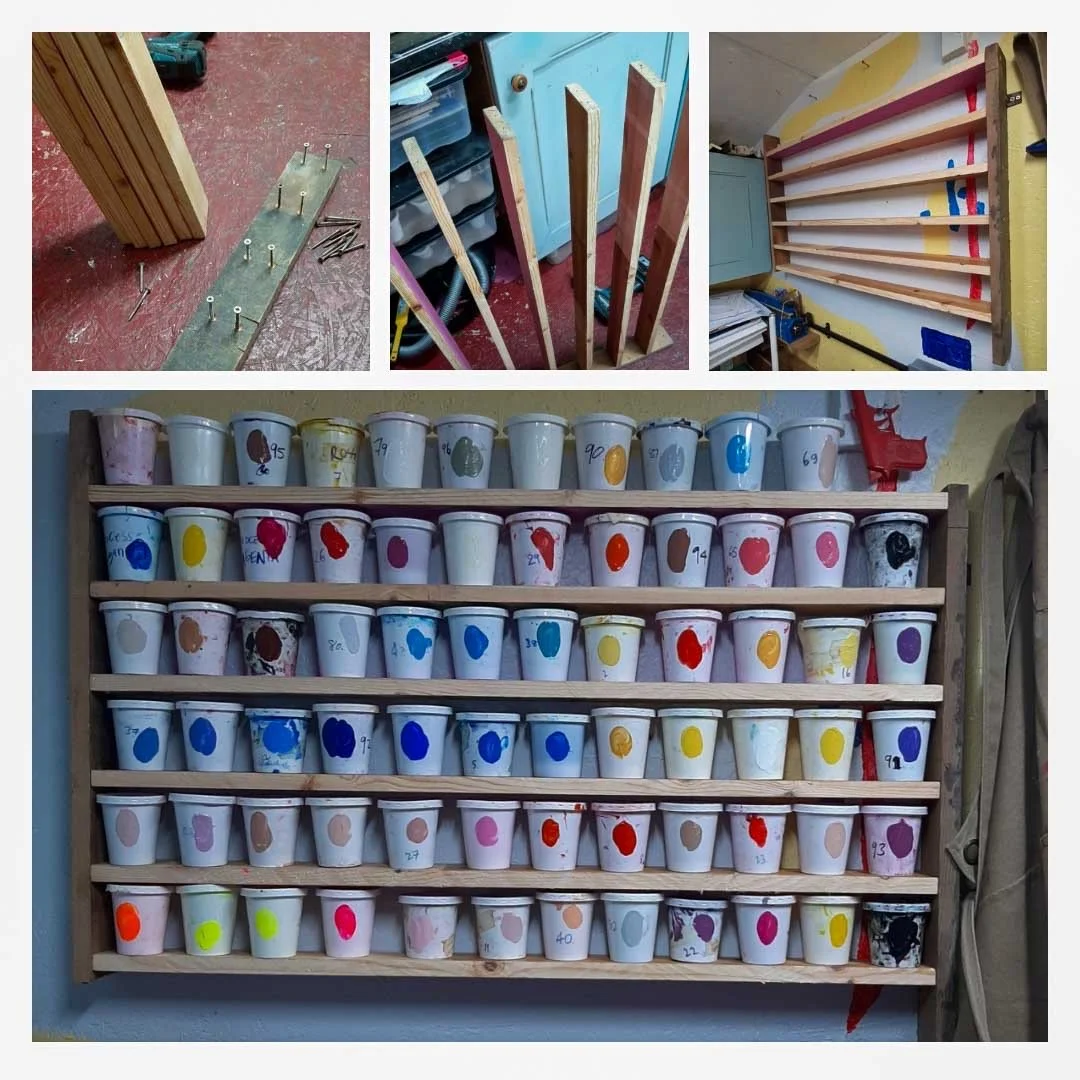
From planks to paint pots — this DIY shelf keeps my inks visible, accessible and neatly organised by colour.
Other shelves hold squeegees (within reach of the printing table), my A4 printer, router, Bluetooth speaker, and a few other bits — keeping work surfaces clear. I even have a long, thin shelf above the doorway for storing a matt trimmer. Perfectly out of the way.
Hooks
Hooks are great for awkward items or things you need to grab quickly. On mine:
Serrated knife for tearing paper
Stanley knife
Ear defenders
Masking, parcel, and invisible tape
Oversized squeegee
Small hammer
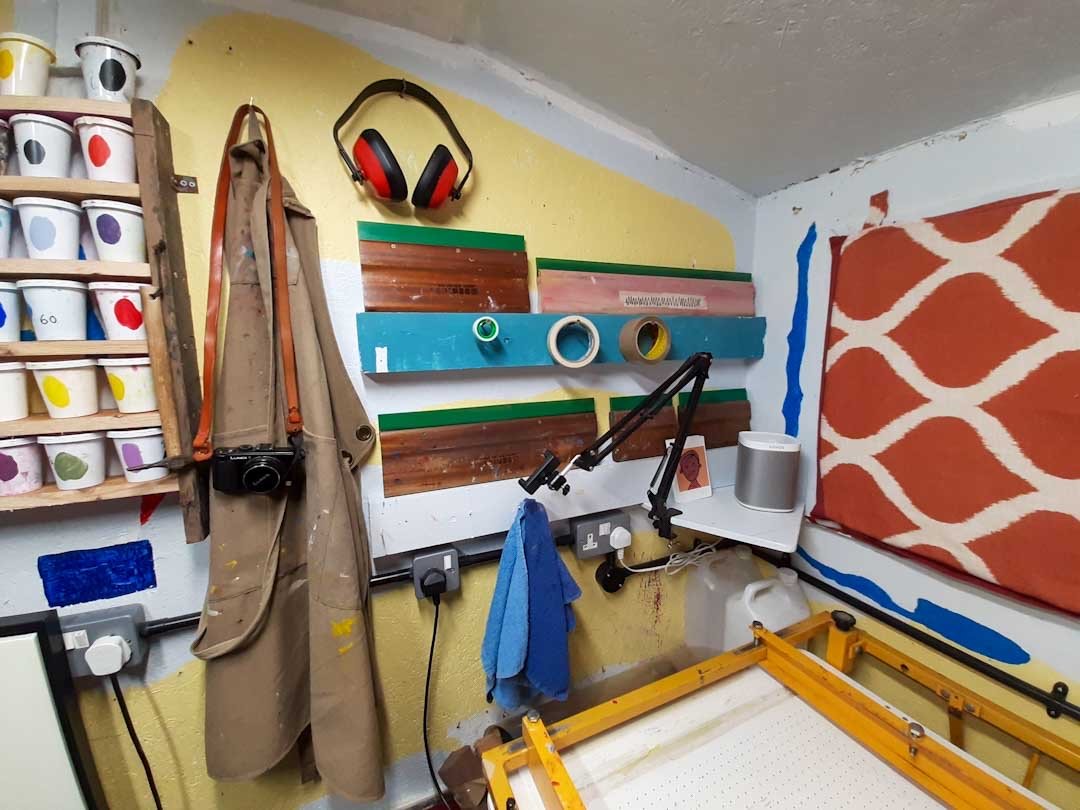
Squeegees, tapes, inks and tools all stored within arm’s reach of the vacuum table — a setup that keeps the workflow flowing
Paper Storage
I keep a pile of A1 cartridge paper on the base of my exposure unit. It’s essential for the first few prints of a screen, checking registration, or making rough prints after clearing grit from the mesh.
I’ve often dreamed of a plan chest — it seems idyllic — but I’ve never found one that fits the space.
Printing paper usually arrives in sturdy cardboard boxes. I store one alongside my screens, and another in a small gap below the drying cupboard. A thin sheet of laminate beneath it lets me slide it out easily.
Under the Vacuum Table
There’s a gap below my vacuum table — perfect for a couple of tea towels and some long, thin bits of frame moulding. It’s a snug fit, but it works.
Vertical Storage for Large Works
Recently I needed to store some larger works that hadn’t yet left the studio. To avoid warping, they needed to be stored vertically. The shed walls aren’t dead straight, so I attached three batons at different heights and packed them out to hold the work upright. It’s a bit improvised, but it does the job.
Small Items & Odd Bits
Pens and stationery live in small wooden boxes. Cut pieces of ply sit quietly in a nook beside my desk, waiting for their moment.
One solution I’m particularly happy with: a wooden platform I built so my A3 printer can sit on top of the awkwardly‑shaped, ridiculously heavy frame‑cutting guillotine. It’s just a plank of plywood with some two‑by‑four screwed underneath, but it lets two space‑gobbling bits of kit share the same footprint. The guillotine only gets occasional use, so it’s happy to wait beneath the printer.
Drying Racks
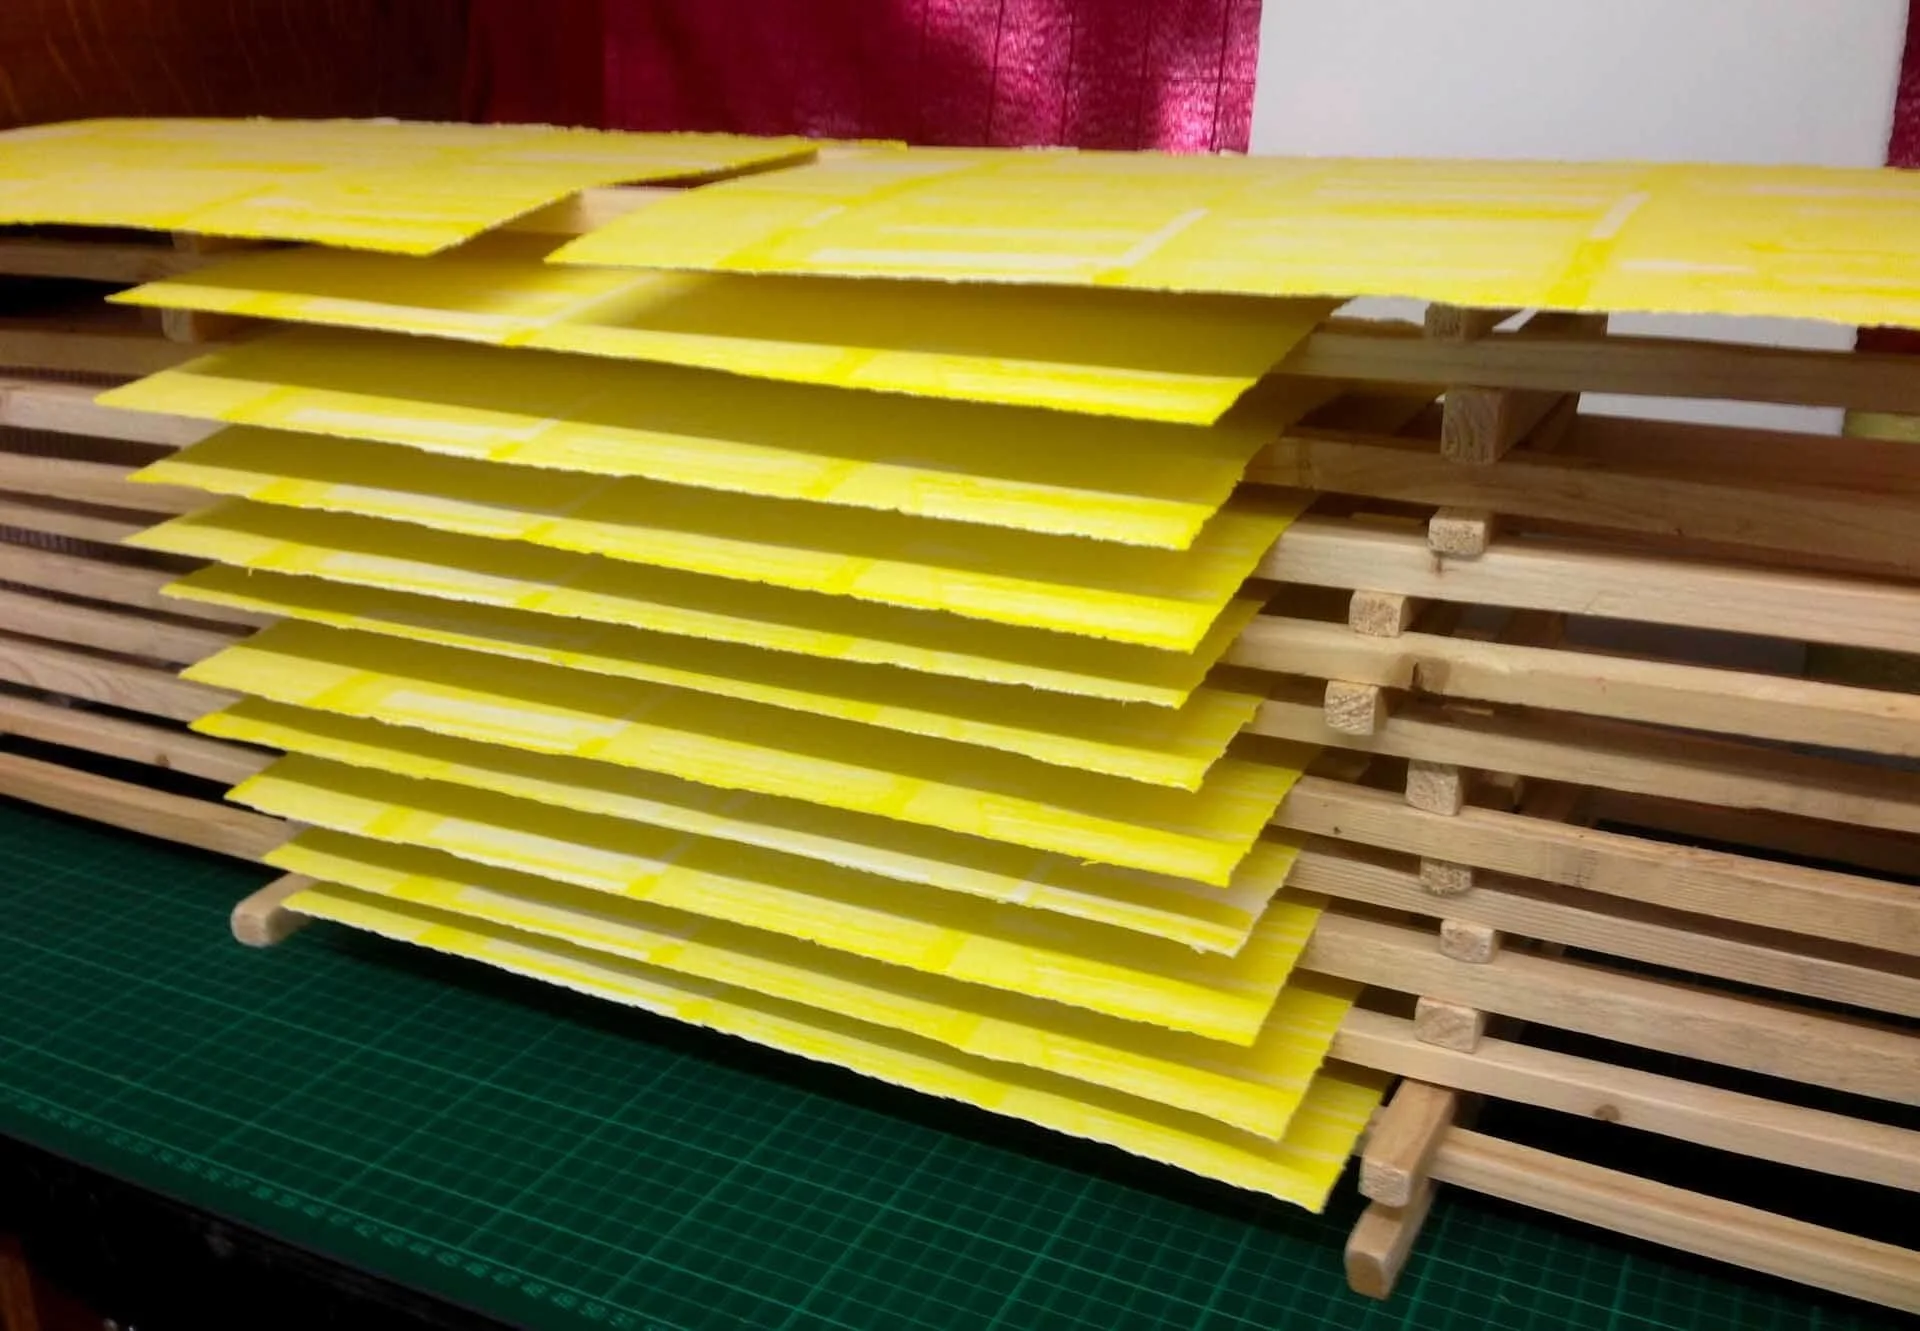
I have drying racks suspended above and tucked below my desk (more on those in a separate post). Just make sure they’re positioned so you don’t bump your head or your feet — that would be annoying.
Final Thoughts
Storage in a tiny studio is about placing things where they need to be. My frame‑pinning device, for example, is screwed down next to the vacuum table — because that’s where it’s most useful.
Adaptability is key. Storage evolves. If something needs housing, add a hook or put up a shelf. It builds the character of your studio and makes your life easier. A win‑win.
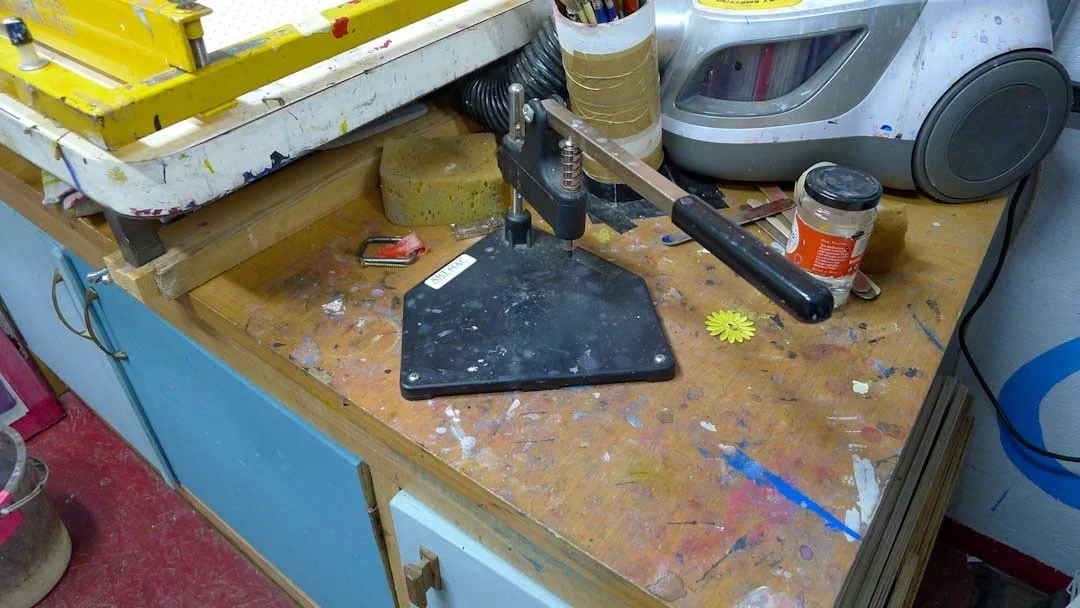
My framing and pinning station — a busy corner where prints get finished, pressed and prepped for display.
---
This post is part of the Print Studio Setup Series:

My exposure unit started life as a simple second‑hand frame with halogen lamps, but a few small changes made it far more flexible for my studio. This post explains how I adapted it to handle larger screens, save space and work more efficiently in a small shed workspace.